Amazon KDP guide, KDP book publishing
Booklet Google Docs: Small Format Publishing
Mar
Okay so I just spent like three hours last Tuesday messing with Google Docs booklet formatting and honestly it’s way simpler than people think but there’s this one trick that nobody talks about.
The Basic Setup That Actually Works
Right so first thing – you gotta understand that Google Docs doesn’t have a native booklet mode like Word does. Which is annoying but whatever, we work with what we have. The workaround is honestly better for KDP stuff anyway because you get more control.
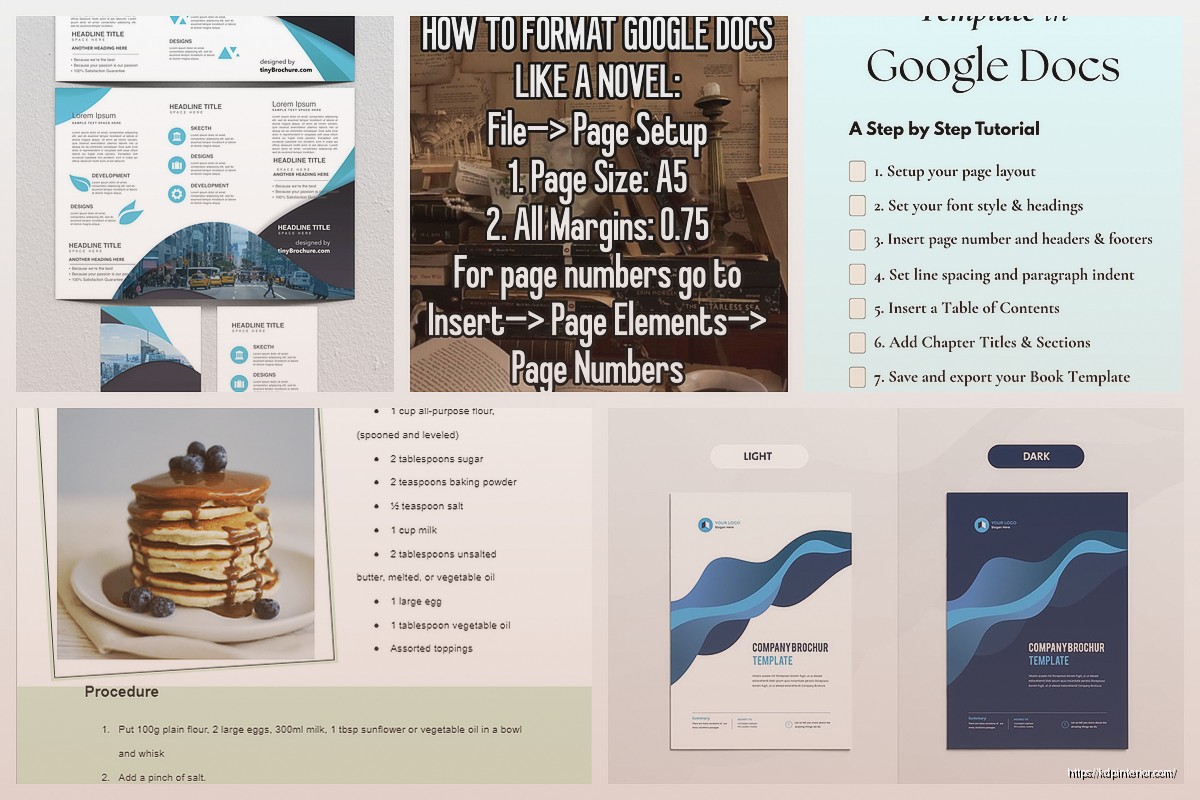
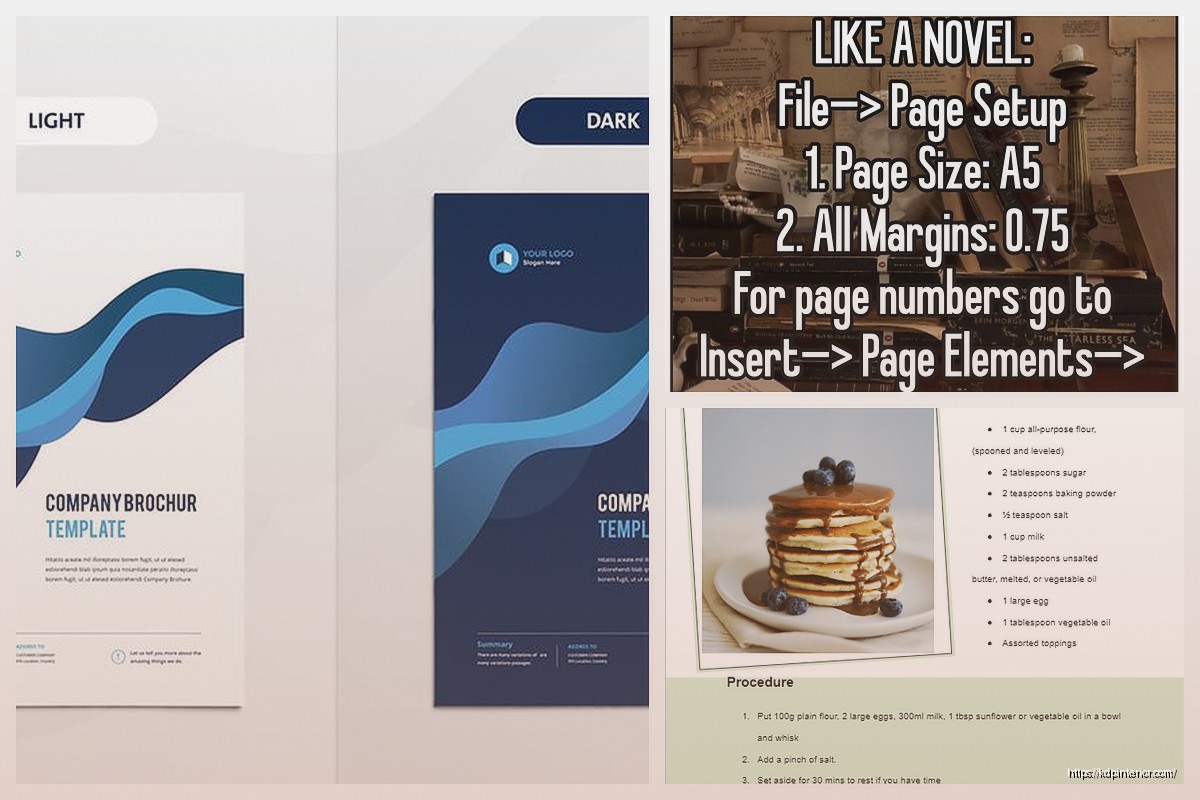
Start by opening a new Google Doc and immediately go to File > Page Setup. This is where most people screw up because they try to format as they write. Don’t do that. Set your page size first – I usually go with 5.5 x 8.5 inches for booklets because it’s exactly half of a standard letter size and prints clean.
In the page setup dialog you’ll see custom size at the bottom. Click that and punch in your dimensions. For margins I go with 0.5 inches on all sides but if you’re doing spiral binding or saddle stitch you might want to bump the inside margin to 0.75 inches. Just depends on how thick your booklet ends up being.
The Column Trick Nobody Mentions
Wait I forgot to mention – before you start writing anything, go to Format > Columns and set it to one column. I know that sounds obvious but Google Docs sometimes defaults to weird settings if you’ve been messing with other documents.
Here’s where it gets interesting though. If you want that classic booklet feel with two pages side-by-side when you print, you need to think about your layout differently. I learned this the hard way after printing like 50 test copies that looked terrible.
You’re gonna create your content in regular single-page format in Google Docs, but when you export to PDF you’ll rearrange everything. The reason is Google Docs just isn’t built for booklet imposition – that’s the fancy term for arranging pages so they print correctly when you fold them.
Content Creation Tips
So when I’m actually writing the booklet content, I keep each “spread” concept in mind even though I’m typing in regular format. Like if I know pages 2-3 will face each other when someone opens the booklet, I make sure the content flows that way.
My cat literally just knocked over my coffee while I was testing this last week and I had to redo a whole recipe booklet but anyway –
For headers and footers, use Insert > Header & page number but keep them simple. Page numbers should go on the outside edges (right on odd pages, left on even pages) if you’re getting fancy. But honestly for most KDP low-content stuff I just center them or skip them entirely.
Font and Style Choices
This is gonna sound weird but the font size matters way more in booklets than regular books. Since you’re working with a smaller format, 11pt or 12pt is usually your sweet spot. I see people going with 10pt thinking it looks more “professional” and then their 60-year-old buyers can’t read it without squinting.
I stick with Georgia or Garamond for body text. Arial and Calibri look cheap in print, fight me on this. For headings you can get more creative but nothing too decorative – remember this is printing small.
Images and Graphics in Small Format
Okay so images are tricky in booklets. You want at least 300 DPI but in Google Docs you don’t always have control over how images compress. What I do is size my images correctly BEFORE uploading them to the doc.
Let’s say you want a full-page image in your 5.5 x 8.5 booklet. Your image should be 1650 x 2550 pixels minimum (that’s 5.5 x 300 and 8.5 x 300). Upload it, then in Google Docs right-click and go to Image options > Size & rotation and make sure “Lock aspect ratio” is checked.
For smaller graphics and icons, same rule applies. I use Canva to create most of my booklet graphics at the exact pixel dimensions I need, then export as PNG and drop them into Docs. Works perfectly every time.
The Export Process
Here’s where it gets real. Once your content is done, you need to export it properly. Go to File > Download > PDF Document. This gives you a standard PDF with all your pages in order.
But wait – if you’re printing this yourself or using a local print shop that needs booklet imposition, you’ll need additional software. I use a free tool called BookletCreator (there’s also PDFBooklet) that takes your regular PDF and rearranges the pages for booklet printing.
The way it works is pretty cool actually. For a 12-page booklet, the software puts page 12 and page 1 on the same sheet, then page 2 and page 11, and so on. When you print double-sided and fold it, everything magically lines up.
For KDP Specifically
If you’re uploading to KDP, you don’t need the imposition software. Just upload your regular PDF with pages in normal order. KDP handles the printing setup on their end.
BUT – and this is important – you need to set up your Google Doc with the actual trim size you want. So if you’re doing a 5 x 8 inch booklet, set your page size to exactly that. Don’t try to do any fancy multiple-pages-per-sheet stuff. KDP wants one page per PDF page.
Also make sure your margins meet KDP’s requirements. For books under 150 pages you need at least 0.25 inches on all sides, but I always go bigger because it just looks better. Nobody wants text crammed to the edge.
Headers and Section Breaks
Oh and another thing – if you’re doing different sections in your booklet like I do with my planners, use Insert > Break > Section break (next page). This lets you have different headers or footers in different sections without everything getting messed up.
I was watching The Bear while formatting a booklet last month and totally forgot to add section breaks. Had to go back and fix like 30 pages because the headers were all wrong. Super annoying.
Table of Contents Hack
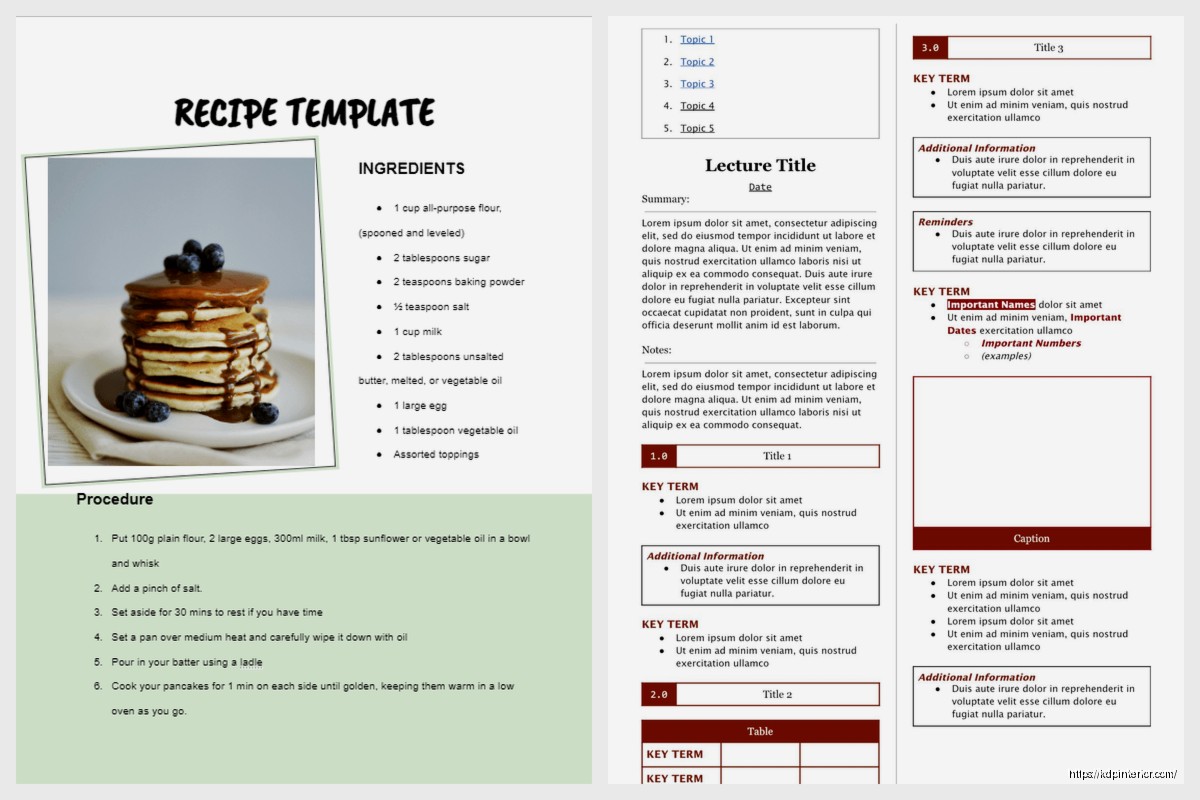
For booklets with more than like 15 pages, a table of contents helps. Google Docs can auto-generate one but it’s kinda clunky for small formats. What I do instead is create a manual TOC with dot leaders.
Type your chapter or section name, then go to Insert > Special characters and search for “leader.” Pick the dotted line character and it’ll fill the space between your chapter name and page number. Looks way cleaner than the auto-generated version and you have complete control.
Color vs Black and White
Real talk – color printing is expensive. If you’re doing KDP, black and white interior is like $0.012 per page while color is $0.06 per page. That adds up fast on a 50-page booklet.
I only do color interiors for journals and planners where the color actually adds value. Recipe booklets, workbooks, guides – all black and white with maybe a color cover. Keeps costs down and you can price more competitively.
When you’re designing in Google Docs for black and white, make sure your images and graphics look good in grayscale. I learned this after printing a batch where the colored boxes I used for emphasis just turned into muddy gray blobs.
Cover Design Considerations
Covers are a whole different beast. Google Docs works for interior pages but for covers I always use Canva or even Photoshop. You need the spine width calculation and bleed areas and Google Docs just doesn’t handle that well.
KDP has a cover calculator that tells you exact dimensions including spine. Use that, create your cover separately, then upload interior and cover as two different files. Way easier than trying to make Google Docs do something it wasn’t designed for.
Testing Before You Publish
This is gonna save you so much headaches – always order a proof copy. Always. I don’t care how perfect it looks on your screen, printing is different.
I’ve had fonts that looked fine in Google Docs but printed too light. Images that seemed high quality but came out pixelated. Margins that looked good digitally but felt cramped in physical form.
The proof copy costs like $2-5 depending on your booklet size and Amazon gets it to you in a few days. Check everything – page alignment, image quality, margins, even how it feels to flip through. Make notes, fix issues, order another proof if needed.
Common Mistakes I See
People try to get too creative with Google Docs and it just doesn’t translate to print. Fancy fonts that look cool on screen render weird. Complex layouts that shift when converted to PDF. Background colors that eat up your margins and cost extra in printing.
Keep it simple. Clean fonts, clear hierarchy, good white space. That’s what sells on KDP anyway – people want functional booklets not design experiments.
Also watch your file size. Google Docs PDFs can get bloated if you have lots of images. Anything over 200MB and KDP might reject it. Compress your images before adding them to the doc.
Formatting Checklist I Actually Use
Before I export any booklet I run through this list because I’ve screwed up enough times to learn:
- Page size set to final trim size
- Margins at least 0.5 inches all around
- All images 300 DPI or higher
- Fonts embedded (happens automatically with PDF export but worth checking)
- Page numbers correct if I’m using them
- No headers or footers in the margins bleed area
- All text is actual text not images of text (for accessibility)
- Section breaks where I need different formatting
Takes like five minutes to verify all this but saves hours of fixing later.
The thing about booklet publishing on KDP is volume matters more than perfection. I’d rather publish ten decent booklets than spend six months making one perfect one. Google Docs lets you move fast – embrace that advantage instead of fighting it.
DISCOVER OUR FREE BEST SELLING PRODUCTS
Editable Canva Lined Journal: Express Your Thoughts – KDP Template
Lined Pages Journal 120 pages Ready to Upload PDF Commercial Use KDP Template 6×9 8.5×11 5×8 for Notebooks, Diaries, Low Content
Lined Pages Journal 120 pages Ready to Upload PDF Commercial Use KDP Template 6×9 8.5×11 5×8 for Notebooks, Diaries, Low Content
Cute Dogs Coloring Book for Kids | Activity Book | KDP Ready-To-Upload
Daily Planner Diary : Diary Planners for Everyday Productivity, 120 pages, 6×9 Size | Amazon KDP Interior
Wolf Coloring KDP interior For Adults, Used as Low Content Book, PDF Template Ready To Upload COMMERCIAL Use 8.5×11"
Coloring Animals Head Book for Kids, Perfect for ages 2-4, 4-8 | 8.5×11 PDF
Printable Blank Comic Book Pages PDF : Create Your Own Comics – 3 Available Sizes
Notes KDP interior Ready To Upload, Sizes 8.5×11 6×9 5×8 inch PDF FILE Used as Amazon KDP Paperback Low Content Book, journal, Notebook, Planner, COMMERCIAL Use
Black Lined Journal: 120 Pages of Black Lined Paper Perfect for Journaling, KDP Notebook Template – 6×9
Student Planner Journal 120 pages Ready to Upload PDF Commercial Use KDP Template 6×9" 8.5×11" for Low Content book
Recipe Journal Template – Editable Recipe Book Template, 120 Pages – Amazon KDP Interior