Amazon KDP guide, KDP book publishing
KDP Book Template: Interior Formatting Made Easy
Mar
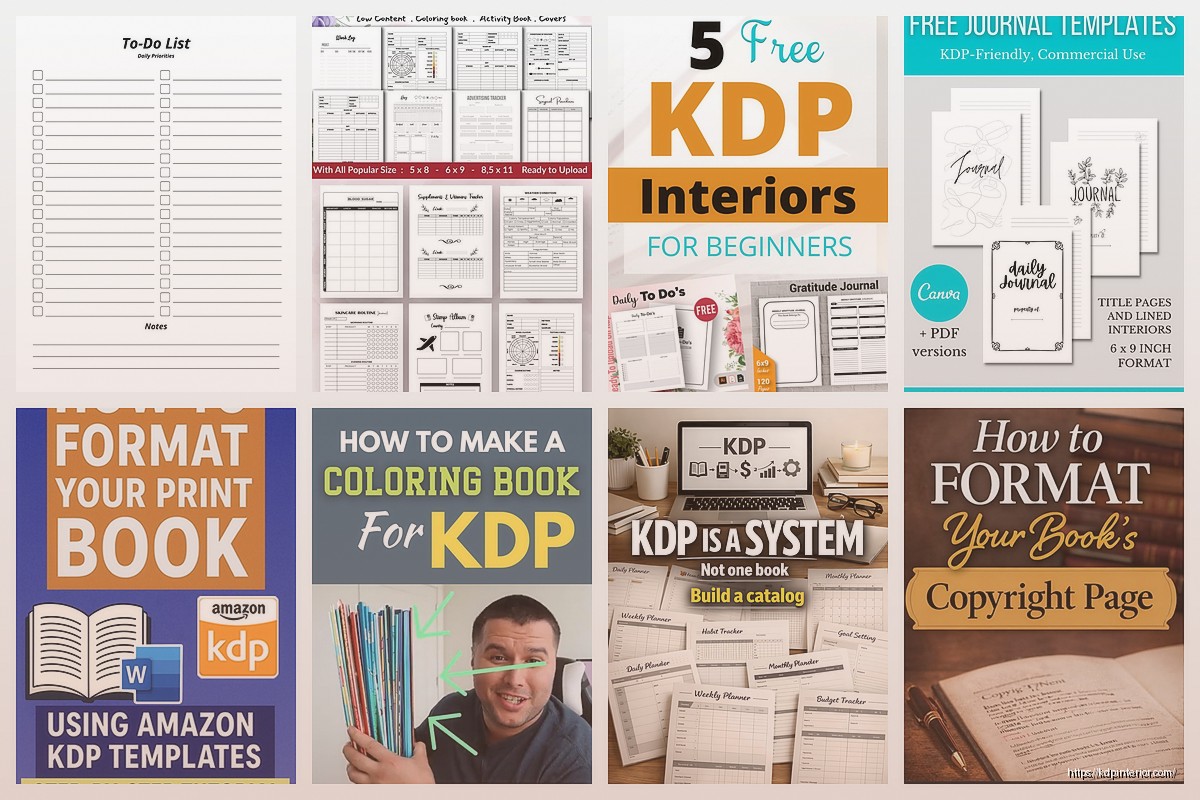
Okay so templates are honestly the thing that saved me probably hundreds of hours when I first started doing this KDP thing seriously. Like I was manually formatting every single book in Word and it was… yeah not sustainable when you’re trying to pump out low-content books at any kind of volume.
The Basic Setup You Actually Need
First thing – you gotta understand that Amazon has specific trim sizes and they’re kinda picky about margins. The most common sizes I use are 6×9 and 8.5×11. For journals and planners, 8.5×11 is king. For books that are more text-heavy or look like actual books, 6×9 feels right.
So here’s what I do. I open a blank Word document (yeah I know there’s fancy software but Word works fine honestly) and immediately go to Layout > Size > More Paper Sizes. Then I manually enter the dimensions. For a 6×9 book, that’s literally 6 inches wide by 9 inches tall. Sounds obvious but I’ve seen people mess this up by doing it in centimeters or something.
Margins are where people screw up constantly. Amazon needs bleed on certain types of books but for most black and white interiors you don’t need to worry about that. My standard margins for a 6×9:
- Top: 0.5 inches
- Bottom: 0.5 inches
- Inside (gutter): 0.75 inches
- Outside: 0.5 inches
The inside margin is bigger because that’s where the binding happens and you don’t want text disappearing into the spine. Trust me I learned this the hard way with my third or fourth book where half the content was basically unreadable.
Actually Making a Template You’ll Reuse
Wait I forgot to mention – once you set this up properly ONCE, save it as a template file. In Word that’s a .dotx file. Then every new project starts from that baseline and you’re not reinventing the wheel every single time.
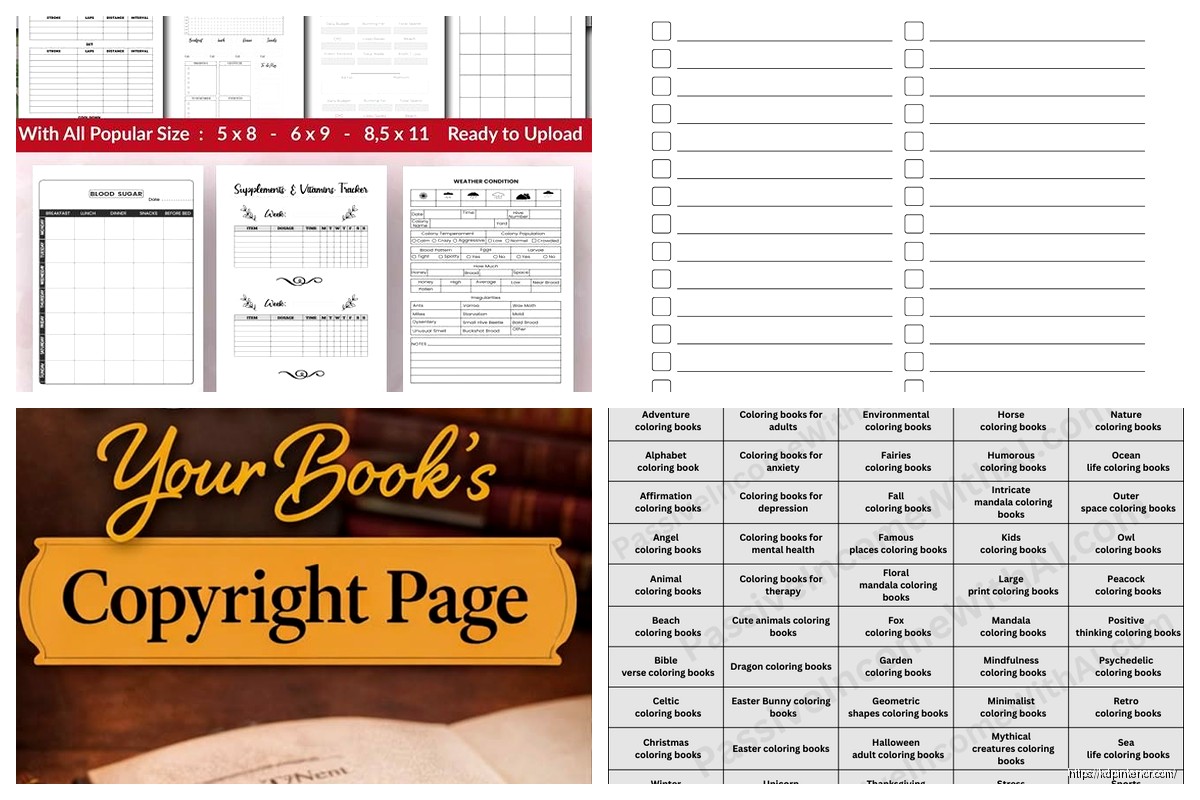
For low-content books specifically (journals, planners, logbooks, all that stuff), your template is gonna be mostly about the repeating elements. Like if you’re making a lined journal, you need those lines to be exactly the same on every page.
I use tables for this which sounds weird but hear me out. A table with like 30 rows and 1 column, set the row height to whatever spacing you want (usually 0.3 inches looks good for standard writing lines), then format the borders so only the bottom border shows. Boom – you’ve got perfectly spaced lines. Copy paste that across 100 pages and you’re done.
Oh and another thing – page numbers. People overthink this so much. Just use the Insert > Page Number function but make sure you set it up in the footer. For most books I put them centered at the bottom. Some people do that thing where odd pages have numbers on the right and even on the left but honestly for KDP that’s overkill unless you’re doing something really premium.
Headers and Footers Without Losing Your Mind
This is gonna sound obvious but turn on “Different First Page” in your header/footer settings. Your title page doesn’t need a page number on it. Looks amateurish if it’s there.
For a basic book template I usually have:
- First page (title page): no header, no footer
- Second page (copyright/info): no header, maybe a footer with page number
- Rest of the book: simple footer with page number
If you’re doing something fancier like a planner where each section is different, you can use section breaks. Layout > Breaks > Next Page (under Section Breaks). Then each section can have its own header/footer setup. I use this for planners where the monthly section looks different from the weekly section looks different from the notes section.
The Styles Thing Nobody Wants to Learn
Okay so I avoided learning Styles in Word for like two years and it was stupid. Styles are basically just saved formatting that you can apply with one click. If you’re doing anything with actual text content – like a recipe book or a guided journal with prompts – you need to set up styles for your headings.
Create a style for “Chapter Title” or whatever you want to call it. Set the font, size, spacing, all that. Then every time you need a chapter title you just apply that style. The magic happens when you decide later you want all your chapter titles to be blue instead of black or whatever… you just change the style once and it updates everywhere.
I literally watched my cat knock over my coffee while I was figuring this out one night and had to redo like three pages but anyway.
Fonts That Won’t Get You Rejected
Amazon’s pretty chill about fonts but you gotta make sure you have the license to embed them in a PDF. Safest bet? Stick with the fonts that come with Word. Times New Roman, Arial, Calibri, Georgia – all totally fine.
For low-content books I actually use Arial a lot because it’s clean and readable. For books that are more “booky” I go with Garamond or Georgia. Font size depends on the trim size but 11pt or 12pt is usually good for body text in a 6×9 book.
One thing that tripped me up early – decorative fonts for headers are fine but test them at actual size. What looks cool on your computer screen at 100% zoom might be illegible when it’s printed at actual book size. I always print test pages on my home printer before uploading anything.
Low-Content Specific Templates
This is where I make most of my money honestly so let me break down what works.
For a lined journal, you want about 25-30 lines per page depending on your trim size. In an 8.5×11 book I do 30 lines. That table trick I mentioned earlier? That’s your best friend. Set the table to full page width minus margins, lock the row height, remove all borders except bottom borders, make those borders a light gray (not black – too harsh), and you’re golden.
Planners are more complex because you’ve got different page types. Monthly calendar pages, weekly spreads, daily pages maybe, notes sections. I have like five different master templates for planners at this point. The key is getting your calendar grids right. Again, tables. A monthly calendar is basically a 7-column table (days of the week) with 5 or 6 rows (weeks in the month).
For logbooks – like workout logs, reading logs, whatever – you’re usually dealing with forms that repeat. Create one perfect page, then copy it as many times as you need. I made a fishing log last year that was literally the same page layout 120 times and it sells consistently.
The PDF Export Settings Everyone Gets Wrong
Okay so you’ve got your template all set up, your book is done, now you gotta export it to PDF for KDP. This is where people mess up constantly.
In Word, go to File > Save As > PDF. But BEFORE you click save, click on Options. Make sure these are set:
- ISO 19005-1 compliant (PDF/A): UNCHECKED (Amazon doesn’t need this)
- Bitmap text when fonts may not be embedded: CHECKED
- Create bookmarks: doesn’t matter for most books
The big one is making sure your PDF is high quality. Under Optimize for, choose “Standard” not “Minimum size.” Amazon’s gonna compress it anyway but starting with a quality file matters.
Oh and another thing – check your actual PDF before uploading. Open it in Adobe Reader or whatever and flip through. Check that margins look right, pages are in order, nothing weird happened during conversion. I caught a glitch once where every 10th page was blank for no reason… would’ve been embarrassing if I’d published that.
Color vs Black and White Interior Considerations
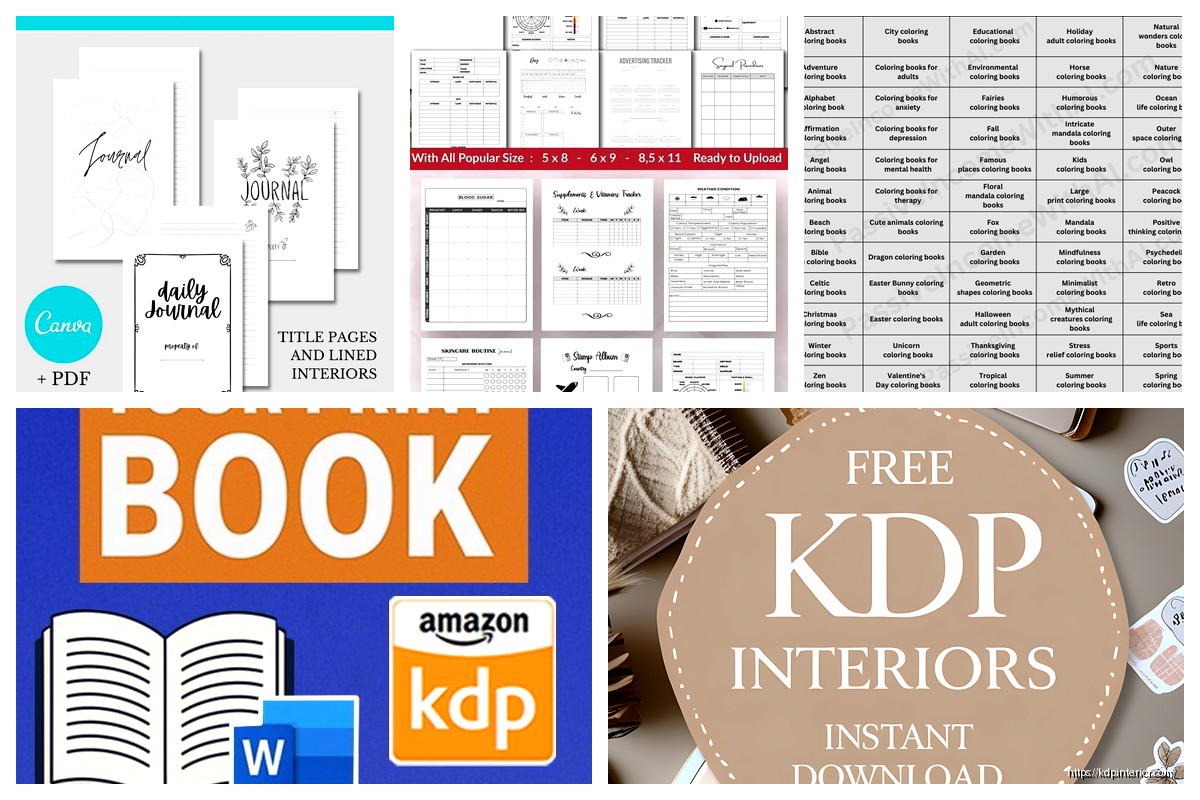
Most of my books are black and white interior because it’s cheaper for customers and the margins are way better. But if you’re doing something like a coloring book or a planner with color elements, you gotta set up your template differently.
Color interiors need to be in CMYK color mode technically, though Amazon’s system converts RGB pretty well in my experience. The bigger issue is file size. Color PDFs get huge fast, and Amazon has a file size limit (I think it’s 650MB but check their current specs).
For coloring books specifically, you want thick black lines (I use 2-3pt stroke width) and you’re not actually using color in the interior at all – that’s what the customer adds. So it’s still a black and white interior file, you’re just designing something meant to be colored.
Testing Before You Go Live
Okay so this is gonna sound like overkill but order a proof copy before you publish anything important. Amazon lets you order author copies at cost, and seeing your book physically in your hands shows you stuff you can’t see on screen.
I’ve caught so many little things with proof copies:
- Page numbers too close to the edge
- Text that looked fine on screen but is too small when printed
- Margins that are technically fine but feel cramped
- Colors that look different printed vs on screen (for covers mainly)
For low-content books where you’re using the same template over and over, order ONE proof of that template style. Once you know it’s good, you can confidently publish other books using that same template without proofing every single one.
Organizing Your Template Library
I’ve got probably 30+ templates saved at this point. Different trim sizes, different styles, different purposes. Keep them organized or you’ll waste time hunting for the right one.
My folder structure is basically:
- KDP Templates > 6×9 Books > Lined Journals
- KDP Templates > 6×9 Books > Blank Pages
- KDP Templates > 8.5×11 Books > Planners
- KDP Templates > 8.5×11 Books > Logbooks
Name your files something obvious like “TEMPLATE_8.5x11_LinedJournal_30lines.dotx” so you know exactly what it is without opening it.
Wait I should mention – back up your templates somewhere that’s not just your computer. I use Dropbox but Google Drive, OneDrive, whatever. I had a laptop die on me in 2019 and almost lost everything. Not fun.
The truth is once you’ve got solid templates dialed in, your production speed increases like crazy. I can put together a new low-content book in under an hour now because I’m not messing with formatting, I’m just filling in content or adjusting small things. That’s the whole point of templates – do the hard work once, reuse it forever.
DISCOVER OUR FREE BEST SELLING PRODUCTS
Editable Canva Lined Journal: Express Your Thoughts – KDP Template
Lined Pages Journal 120 pages Ready to Upload PDF Commercial Use KDP Template 6×9 8.5×11 5×8 for Notebooks, Diaries, Low Content
Lined Pages Journal 120 pages Ready to Upload PDF Commercial Use KDP Template 6×9 8.5×11 5×8 for Notebooks, Diaries, Low Content
Cute Dogs Coloring Book for Kids | Activity Book | KDP Ready-To-Upload
Daily Planner Diary : Diary Planners for Everyday Productivity, 120 pages, 6×9 Size | Amazon KDP Interior
Wolf Coloring KDP interior For Adults, Used as Low Content Book, PDF Template Ready To Upload COMMERCIAL Use 8.5×11"
Coloring Animals Head Book for Kids, Perfect for ages 2-4, 4-8 | 8.5×11 PDF
Printable Blank Comic Book Pages PDF : Create Your Own Comics – 3 Available Sizes
Notes KDP interior Ready To Upload, Sizes 8.5×11 6×9 5×8 inch PDF FILE Used as Amazon KDP Paperback Low Content Book, journal, Notebook, Planner, COMMERCIAL Use
Black Lined Journal: 120 Pages of Black Lined Paper Perfect for Journaling, KDP Notebook Template – 6×9
Student Planner Journal 120 pages Ready to Upload PDF Commercial Use KDP Template 6×9" 8.5×11" for Low Content book
Recipe Journal Template – Editable Recipe Book Template, 120 Pages – Amazon KDP Interior