Amazon KDP guide, KDP book publishing
Novel Template Google Docs: Fiction Writing Setup

Apr
Okay so I just spent like three hours setting up a novel template in Google Docs last week because one of my clients kept asking how to organize their manuscript properly and honestly, it’s way simpler than people make it sound but there’s a few things you gotta know upfront.
The Basic Setup That Actually Works
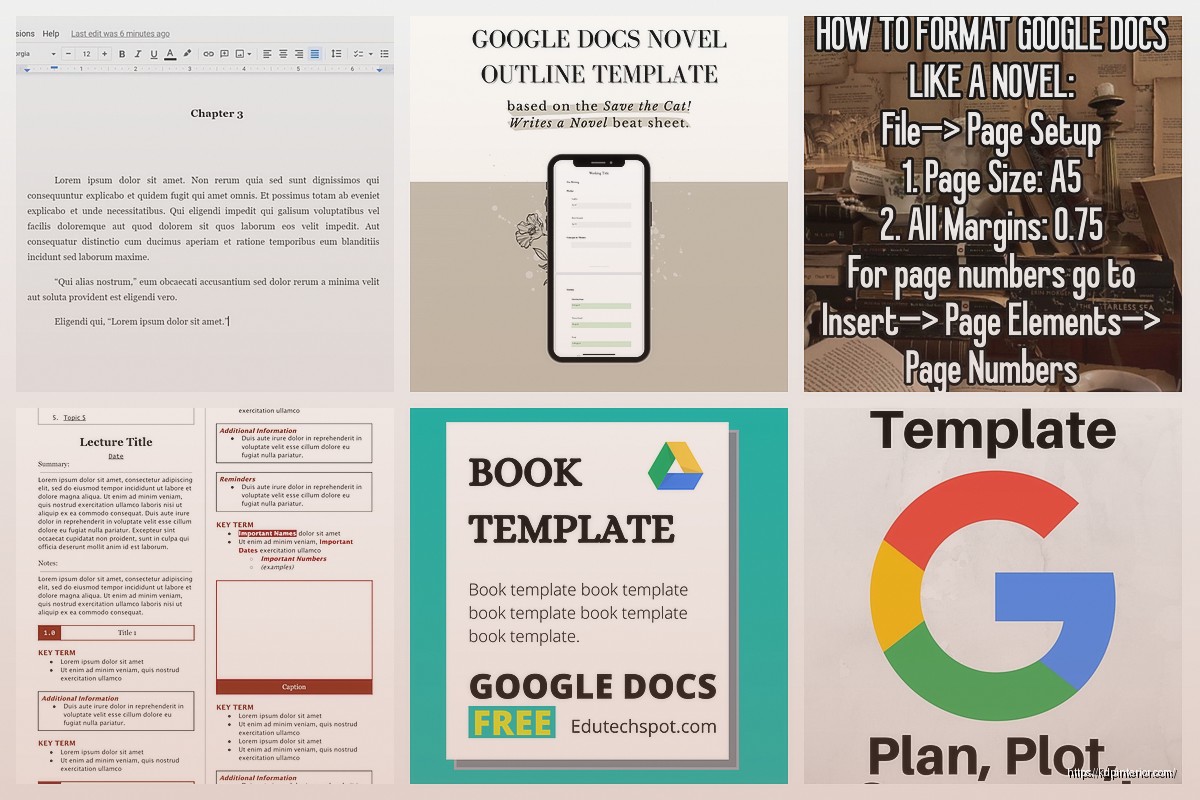
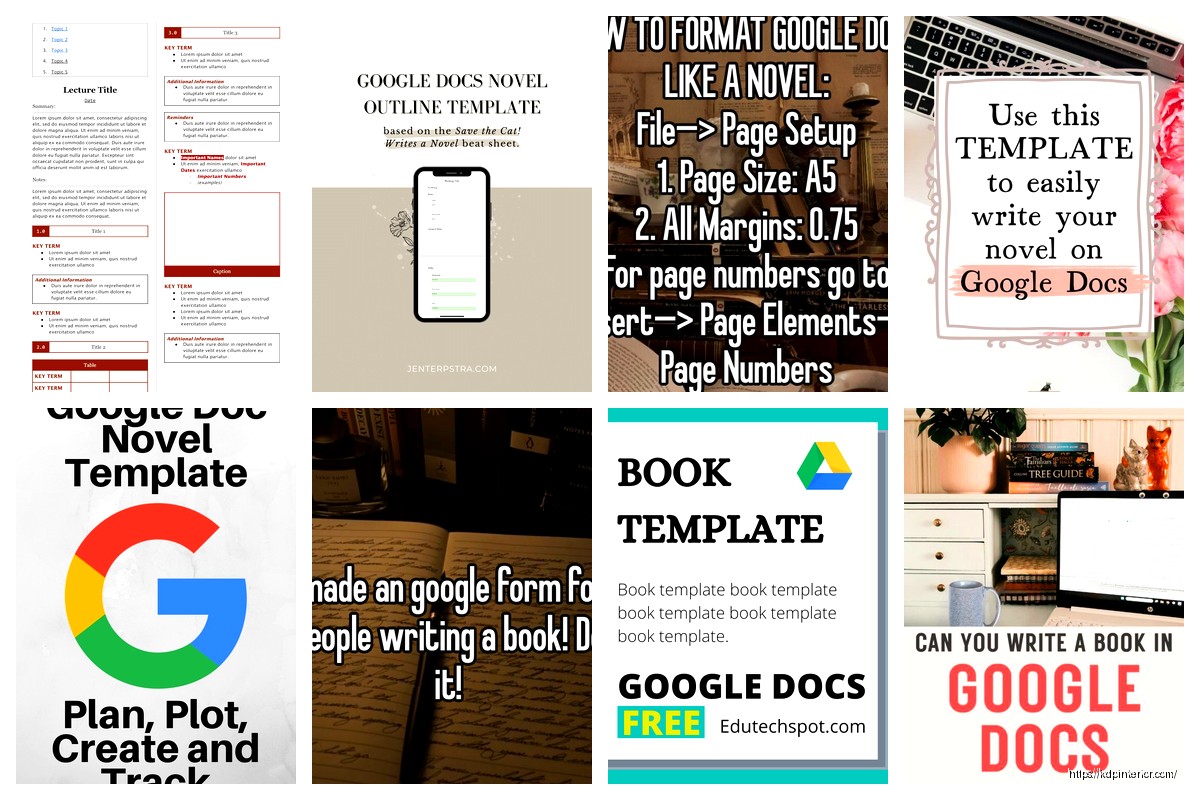
First thing – don’t overthink this. I see writers spending days on fancy templates when you literally just need a clean doc with proper formatting. Open a blank Google Doc and immediately go to File > Page Setup. Set your margins to 1 inch all around. This is standard manuscript format and if you’re planning to eventually export to KDP or IngramSpark or whatever, you want this baseline.
For font, just use Times New Roman 12pt. I know everyone wants to be creative here but trust me, when you’re staring at 80,000 words, you want readability. I tried Garamond once because it looked “writerly” and my eyes were dying by chapter five.
Chapter Heading Styles
Here’s where Google Docs actually shines compared to Word – the Styles feature is cleaner. Go to Format > Paragraph Styles and set up your chapter headings. I usually do:
- Chapter Title: 18pt, bold, centered
- Chapter Number: 14pt, centered, maybe italicized
- Scene Breaks: Just three asterisks centered with space above and below
The key thing is to use the actual Heading styles (Heading 1, Heading 2, etc.) because this builds your document outline automatically. Click that little icon on the left sidebar that looks like a list? That’s your outline view and it’s gonna save your life when you’re trying to find Chapter 23 at 2am.
Oh and another thing – name your chapters consistently. Either “Chapter 1” or “Chapter One” but pick one system. I’ve seen manuscripts where someone switched halfway through and it looks sloppy when you’re doing final edits.
Setting Up Your Title Page
Put this on page one but don’t stress about it too much since you’ll probably redo it for actual publishing anyway. Include:
- Your novel title (centered, all caps or title case)
- Your pen name or real name
- Word count (approximate is fine)
- Contact info if you’re querying agents
I usually do a page break after the title page so chapter one starts fresh.
The Chapter Template Structure
This is gonna sound weird but I literally copy-paste the same structure for each chapter. Makes everything uniform and I don’t have to remember formatting every single time. Here’s what I use:
Insert a page break, then your chapter heading, then two line breaks before the actual text starts. Some people do one line break but I like the breathing room.
For the body text, double-spacing is traditional manuscript format. Go to Format > Line Spacing > Double. Yeah it looks weird if you’re used to reading published books, but editors and beta readers expect this. More space for comments and notes.
First line indent should be 0.5 inches. You can set this as default by adjusting the ruler at the top or going to Format > Align & Indent > Indentation Options. DO NOT use the tab key for every paragraph, that’s amateur hour and it’ll mess you up when you export.
Scene Breaks and Transitions
For scene breaks within a chapter, I use the centered asterism (three asterisks in a row). Some people use ###, some use a single centered asterisk. Doesn’t really matter but be consistent.
Pro tip I learned the hard way: If your scene break falls at the end of a page, add a note like [SCENE BREAK] because sometimes the formatting gets lost in conversion and readers won’t know there was supposed to be a transition there.
Track Your Progress Stuff
Wait I forgot to mention – at the very top of my document, before the title page, I keep a little tracking section that I hide when I’m not using it. It’s just for me and includes:
- Target word count
- Current word count (Tools > Word Count is your friend)
- Deadline dates
- Notes about plot holes I need to fix
- Character name spellings because I ALWAYS forget if it’s Kaitlyn or Caitlin
You can use the document outline to collapse this section when you don’t need it.
Using Comments for Editing Notes
Okay so funny story – I used to keep a separate doc with all my editing notes and it was a nightmare trying to remember which note went with which scene. Then I discovered just highlighting text and adding a comment directly in Google Docs (Ctrl+Alt+M or Cmd+Option+M on Mac).
You can tag yourself in comments like +daniel@whatever.com and it creates a task list. Super useful when you’re doing revision passes and you know you need to fix something but not right now.
The comment threads also work great if you’re collaborating with an editor or beta reader. They can suggest changes, you can reply, mark as resolved when done. I had my cat walk across my keyboard once and delete like 500 words, but because my editor had commented in that section earlier, I could see the original text in the comment thread. Saved my butt.
Front Matter and Back Matter
Most people forget about this but you’re gonna need:
Front Matter:
- Title page
- Copyright page (even if it’s just placeholder text)
- Dedication (optional)
- Table of contents (Google Docs can auto-generate this from your heading styles)
Back Matter:
- Acknowledgments
- About the author
- Other books by you
- Newsletter signup (if you have one)
I keep these in separate sections with page breaks so I can move them around easily.
Version Control Because You Will Need It
Google Docs has automatic version history which is honestly the main reason I use it over Word for drafting. Go to File > Version History > See Version History and you can see every change ever made. You can name versions too – like “Draft 1 Complete” or “Before Major Plot Change” so you can roll back if needed.
I usually create a named version at the end of each draft, and also before any major editing session. Lost an entire subplot once because I cut it thinking I didn’t need it, then realized three days later it was actually important. Version history saved me.
The Outline Sidebar Thing
This deserves its own section because it’s that useful. When you use proper heading styles, Google Docs builds an outline in the left sidebar automatically. You can click any chapter and jump right to it. No scrolling through 300 pages looking for that one scene.
You can also rearrange chapters by dragging them in the outline view, though I don’t recommend this for major restructuring – too easy to mess up your formatting.
Templates for Different POV Structures
If you’re writing multiple POV, you might want different formatting for each POV character. I’ve done this where:
- Character A chapters use Heading 1
- Character B chapters use Heading 2 with different styling
- Character C gets Heading 3
Then in your outline view, they’re visually distinct and you can track if you’re spending too much time with one character.
Or you can do what I usually do and just put the character name in the chapter heading like “Chapter 5 – Sarah” or whatever.
Setting Up Master Documents
For longer series or if you’re writing multiple books, don’t put everything in one doc. Google Docs starts getting laggy around 100k words. I keep each book in its own document, then have a master “Series Bible” document with:
- Character descriptions and arcs
- Timeline of events
- World-building notes
- Continuity details
Link between documents using Insert > Link. You can link to specific headings in other docs too which is super handy.
Export Settings When You’re Done
Eventually you’re gonna need to get this out of Google Docs. For KDP, I usually export as .docx (File > Download > Microsoft Word). The formatting translates pretty well but always check:
- Scene breaks survived
- Chapter headings are still formatted correctly
- No weird extra spaces appeared
For print books, PDF export works but you’ll probably want to format in something else like Vellum or Atticus anyway. Google Docs is great for drafting but not ideal for final print layout.
Collaboration Features If You Need Them
The sharing options are straightforward – click Share in the top right, add email addresses. You can give people:
- View only (they can read but not change anything)
- Comment (they can add suggestions and comments)
- Edit (full access to change stuff)
For beta readers, I usually do Comment access. For editors, Edit access but I always work on a copy, never the master document.
Suggesting mode is great for editors – they can propose changes and you can accept or reject each one. Turn it on from the pencil icon in the top right.
Random Useful Shortcuts
These’ll speed up your workflow:
- Ctrl+Enter (Cmd+Enter on Mac) = page break
- Ctrl+K = insert link
- Ctrl+Alt+M = add comment
- Ctrl+F = find and replace (crucial for editing)
- Ctrl+H = find and replace with more options
Find and replace is how I fix character name inconsistencies or change “very” to something better across the whole manuscript.
Backup Strategy
Even though Google Docs saves automatically, I’m paranoid so I download a backup copy as .docx every week and save it to Dropbox. Cloud redundancy. Takes two minutes and I’ve never regretted it.
Also keep earlier drafts as separate docs, don’t just overwrite. Name them “Novel Title – Draft 1”, “Novel Title – Draft 2” etc. Storage is cheap, rewriting from memory is not.
The actual template I use is pretty basic honestly – it’s more about the workflow and knowing how to use the features than having some elaborate setup. You can literally start with a blank doc, set your margins and font, create a few heading styles, and you’re good to go. Everything else is just optimization.
I was watching The Bear last night and thinking about how they’re so obsessed with systems and efficiency in that kitchen, and novel writing templates are kinda the same thing. It’s just about removing friction so you can focus on the actual writing instead of fighting with formatting every time you sit down.
DISCOVER OUR FREE BEST SELLING PRODUCTS
Editable Canva Lined Journal: Express Your Thoughts – KDP Template
Lined Pages Journal 120 pages Ready to Upload PDF Commercial Use KDP Template 6×9 8.5×11 5×8 for Notebooks, Diaries, Low Content
Lined Pages Journal 120 pages Ready to Upload PDF Commercial Use KDP Template 6×9 8.5×11 5×8 for Notebooks, Diaries, Low Content
Cute Dogs Coloring Book for Kids | Activity Book | KDP Ready-To-Upload
Daily Planner Diary : Diary Planners for Everyday Productivity, 120 pages, 6×9 Size | Amazon KDP Interior
Wolf Coloring KDP interior For Adults, Used as Low Content Book, PDF Template Ready To Upload COMMERCIAL Use 8.5×11"
Coloring Animals Head Book for Kids, Perfect for ages 2-4, 4-8 | 8.5×11 PDF
Printable Blank Comic Book Pages PDF : Create Your Own Comics – 3 Available Sizes
Notes KDP interior Ready To Upload, Sizes 8.5×11 6×9 5×8 inch PDF FILE Used as Amazon KDP Paperback Low Content Book, journal, Notebook, Planner, COMMERCIAL Use
Black Lined Journal: 120 Pages of Black Lined Paper Perfect for Journaling, KDP Notebook Template – 6×9
Student Planner Journal 120 pages Ready to Upload PDF Commercial Use KDP Template 6×9" 8.5×11" for Low Content book
Recipe Journal Template – Editable Recipe Book Template, 120 Pages – Amazon KDP Interior