Amazon KDP guide, KDP book publishing
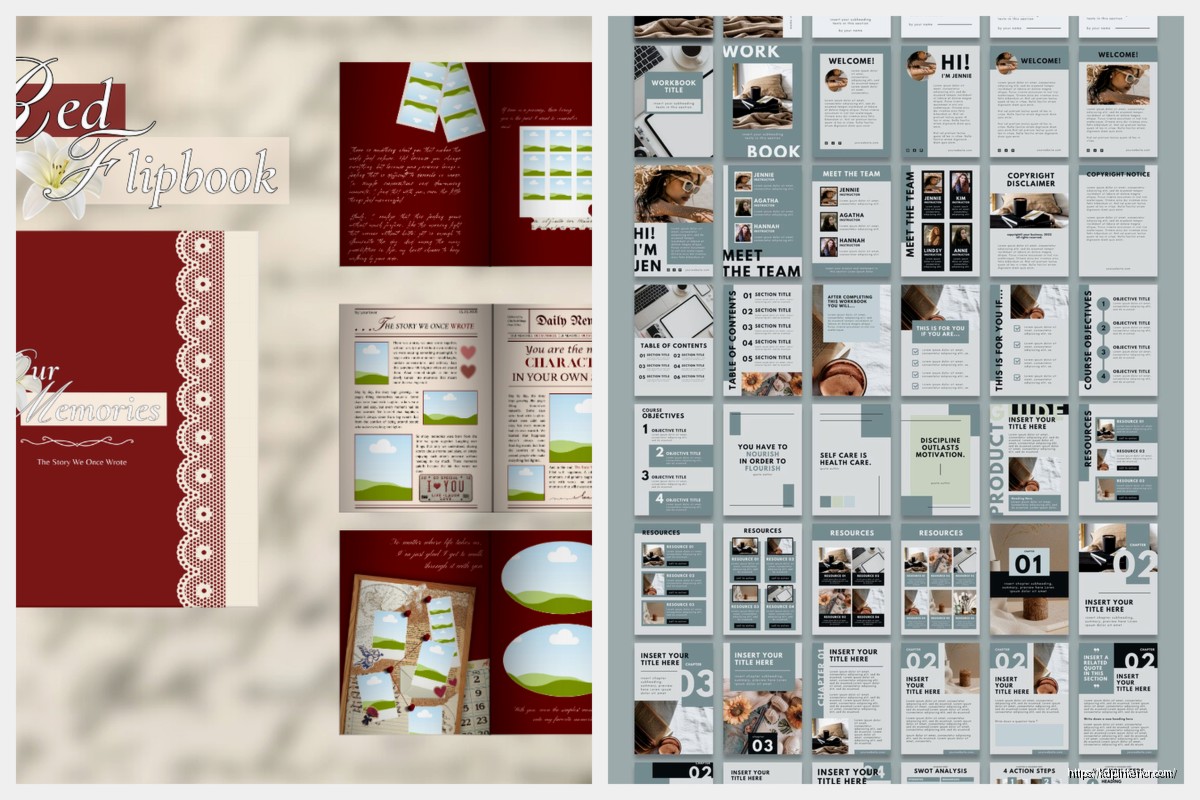
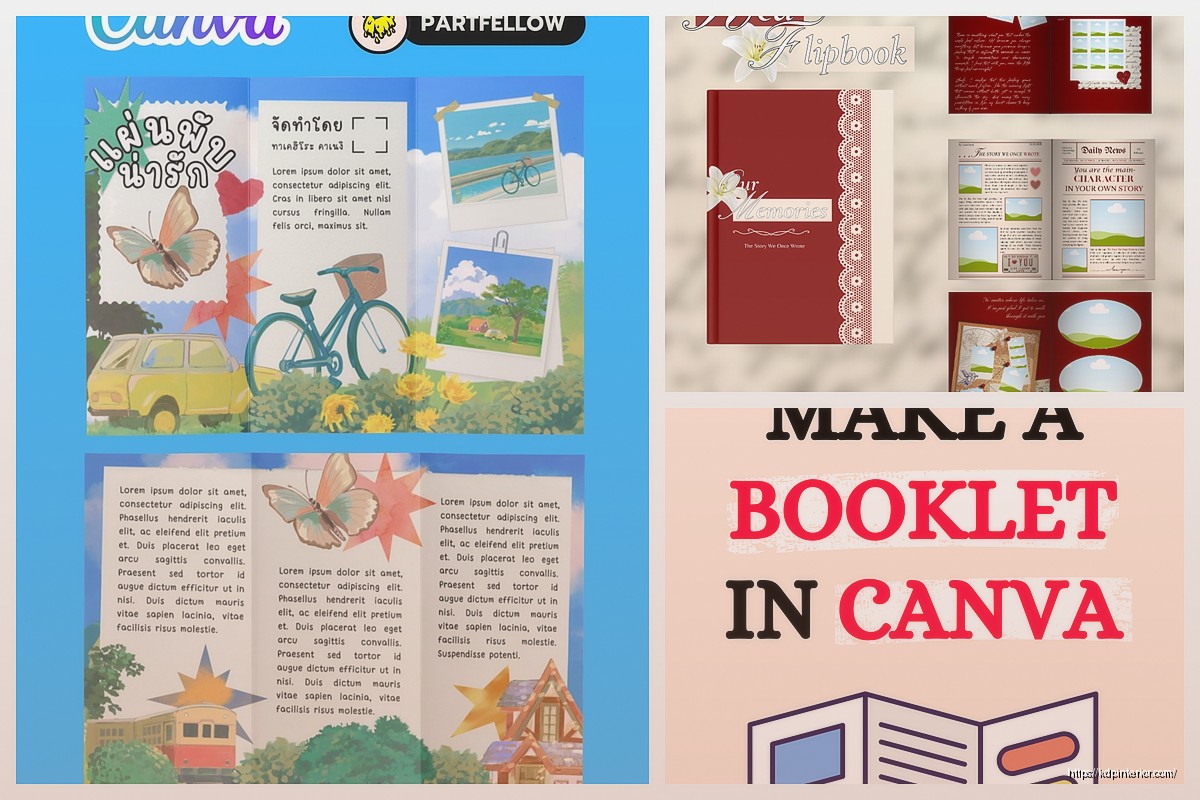
Canva Booklet: Small Format Design Tutorial
May
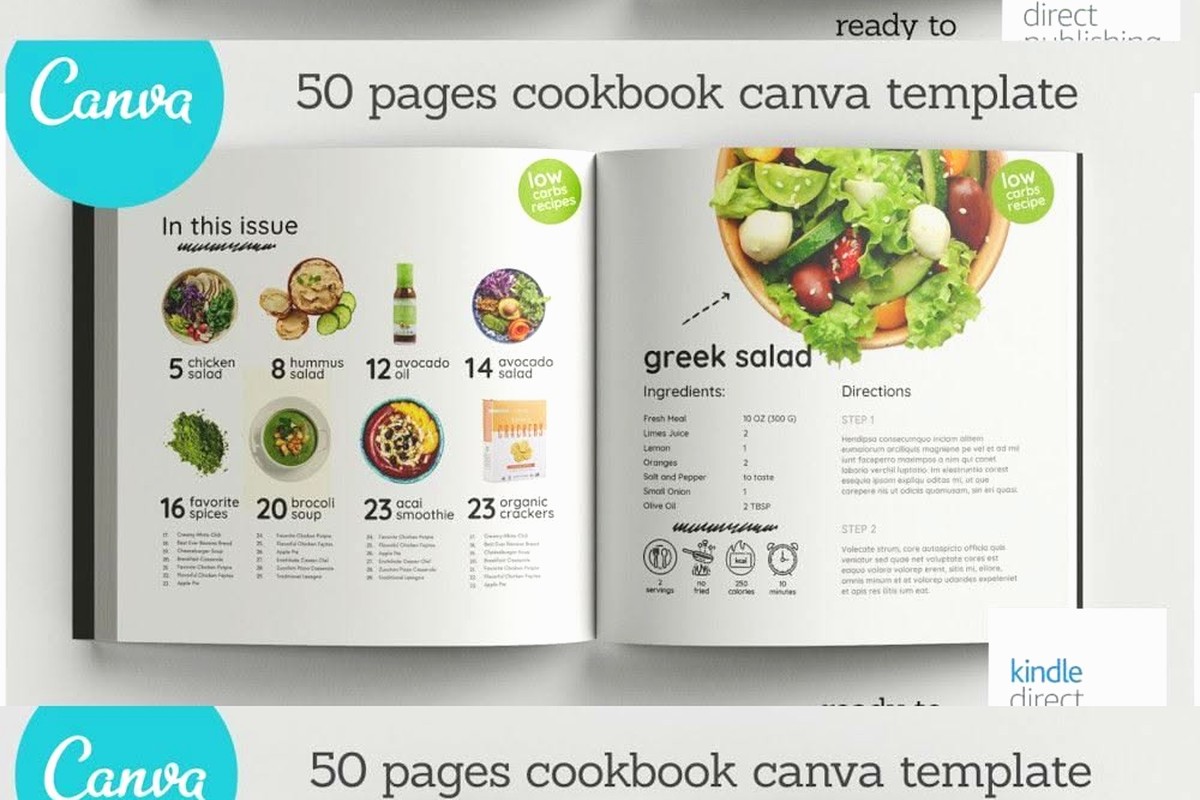
Okay so small format booklets in Canva are actually way easier than you’d think, and I just spent like three hours last week testing different sizes because I was creating this mini recipe book thing for a client who wanted something that could fit in a purse.
First thing – you gotta understand that “small format” usually means anything under 6×9 inches. The most popular sizes for booklets are 5.5×8.5 (digest size), 5×8, and sometimes 4×6 if you’re going really tiny. Amazon KDP supports all of these, which is clutch because that’s where most of my clients end up publishing.
When you open Canva, don’t use their booklet templates right away because honestly they’re sized weird for print. Instead go to Custom Size and here’s what you need to know – you’re creating pages, not spreads. So if you want a 5×8 booklet, you create a 5×8 document. Canva will treat each page as a single page, which is exactly what KDP wants for the PDF upload.
Setting Up Your Document Properly
Create a custom size document and add however many pages you need. Remember booklets need to be divisible by 2 for printing, but honestly just make it divisible by 4 to be safe because that’s how signatures work in printing. So 24 pages, 28 pages, 32 pages – you get it.
One thing that messed me up when I first started – the bleed. Canva doesn’t have automatic bleed settings like InDesign, so you gotta work around it. For KDP, you need 0.125 inches of bleed on all sides. What I do is create my document slightly larger than the final trim size. So for a 5×8 book, I’d create a 5.25×8.25 document, then make sure all my important text and images stay 0.25 inches away from the edges.
Actually wait, let me back up because there’s an easier way if you’re just starting out. Use the exact trim size (like 5×8) and just keep everything at least 0.5 inches from the edges. Yeah you lose some design space but you won’t accidentally cut off text, which I’ve definitely done before and had to reupload like 40 pages.
Design Elements That Actually Work for Small Formats
This is gonna sound obvious but small pages mean you can’t cram as much stuff on there. I see people try to fit the same amount of content from an 8.5×11 page onto a 5×8 and it looks insane.
Font sizes need to be bigger than you think. For body text, I never go below 10pt, usually stick around 11-12pt. Headers can be 16-20pt depending on the vibe. I was watching The Bear while designing last night and got distracted, came back and realized I’d made all my headers 24pt which was way too big, so yeah, stay focused.
Margins are your friend. On a 5×8 page, I do 0.5-inch margins minimum. Sometimes 0.75 inches if there’s a lot of text because reading tiny dense paragraphs is brutal. Left and right margins can be slightly different too – like 0.6 inches on the inside (gutter) and 0.5 on the outside. This matters more when it’s printed and bound.
Working With Canva’s Layout Tools
So Canva has this grid thing under Elements that’s actually super helpful. You can drag a grid onto your page and it’ll help you keep everything aligned. For booklets I usually use a 2-column or 3-column grid depending on the content type.
Oh and another thing – use the ruler and guides. Click on the ruler (you gotta turn it on in the settings if you don’t see it) and drag guides onto your page. I set guides at my margin lines so I know exactly where my safe zone is. It’s tedious but saves so much time later.
For page numbers, create a text box and position it consistently on every page. Bottom center or bottom outer corner usually works best. In Canva you can’t auto-number pages like in InDesign which honestly sucks, so you’re manually typing them. Copy and paste the text box to each page and just change the number. Takes maybe 10 minutes for a 30-page booklet.
Images and Graphics in Small Format
Here’s where it gets tricky. Images need to be high resolution because you’re shrinking them down. Canva’s free images are usually fine, but if you’re uploading your own, make sure they’re at least 300 DPI at the size you’re using them.
I learned this the hard way with a journal I made last year – looked perfect on screen, printed out all pixelated and grainy. Now I always do a test print of one or two pages before I upload the whole thing to KDP.
Full-page background images are cool but they need to extend past the page edges (the bleed area). If you’re using the larger document size method I mentioned, make sure the image covers the entire page including that extra 0.125 inches on each side.
Color vs Black and White Considerations
Most of my small format booklets are black and white interiors because the printing cost on KDP is way cheaper. If you’re doing color, just know your royalty takes a hit. A 5×8, 50-page color booklet might cost $3-4 to print, while black and white is like $1.50.
When designing for black and white, use actual black (#000000) not dark gray. Canva sometimes defaults to slightly off-black and it prints weird. Also avoid large solid black areas because they can look splotchy when printed – use dark gray fills instead for big shapes.
Wait I forgot to mention – if you’re doing black and white interior, make sure none of your elements have color in them. Go through every page and check because sometimes Canva sneaks in color even in “black and white” templates. Click on each element and make sure it’s actually grayscale.
Typography Tips That Actually Matter
Don’t use more than two fonts. I usually do one for headers and one for body text. Canva has a million fonts but most of them are trash for books. Stick with clean, readable ones like Libre Baskerville, Lora, Merriweather for body text. For headers, maybe Montserrat or Raleway.
Line spacing (leading) should be around 1.3-1.5 for body text. In Canva this is under the spacing settings. Too tight and it’s hard to read, too loose and it looks amateurish.
Paragraph spacing – add a little gap between paragraphs, maybe 10-15 pts. Or do the traditional indent thing where the first line of each paragraph is indented 0.25 inches. Just don’t do both, that’s weird.
Organizing Your Content Pages
Front matter comes first – title page, copyright page, maybe a table of contents if it’s that kind of booklet. Title page can be fancy with graphics. Copyright page should be simple, just the text.
For the main content, consistency is key. If chapter 1 starts on a right-hand page, all chapters should start on right-hand pages. This means sometimes you’ll have blank left pages, which is totally normal.
Running headers are optional but nice for navigation. Just a small text at the top of each page with maybe the chapter title or book title. Keep it subtle, like 8-9pt font.
My dog just knocked over my coffee which is a sign I should wrap this up but let me hit a few more things.
Exporting for Print
When you’re done, download as PDF Print. This is important – not PDF Standard, PDF Print. It preserves the quality better for printing.
The file size might be huge, especially if you have lots of images. That’s fine for upload to KDP, they’ll accept files up to like 650 MB or something.
Before you upload, open that PDF and zoom in to 200-300% and check the text clarity. Check that images aren’t blurry. Scroll through every single page because I guarantee you’ll find something you missed.
Testing Before Publishing
Order a proof copy. Always. It costs maybe $5-10 depending on your page count but it’s worth it. You’ll see issues in print that you never noticed on screen. The colors might be different, text might be smaller than you thought, margins might feel cramped.
I usually order two proof copies actually – one to mark up with notes and one to keep as reference. When the proof arrives, read through it like you’re a customer. Is it comfortable to hold? Easy to read? Does it feel like quality?
Common Mistakes to Avoid
Don’t put important text or images in the gutter (the middle where the pages meet). It’ll get lost in the binding. Keep stuff at least 0.5 inches from the inner margin.
Don’t make your backgrounds super dark if you’re doing black and white printing. It uses a lot of ink and KDP’s black and white printing is kinda meh with large dark areas.
Don’t forget page numbers. Sounds basic but I’ve uploaded booklets without them and had to redo the whole thing.
Don’t use Canva’s “magic resize” for booklets. It messes up the formatting. Create each size manually if you’re making multiple formats.
Advanced Layout Tricks
If you want to get fancy, create master pages for different sections. Like one master for chapter openings, one for regular content pages. Design each master once, then duplicate it for all the pages that need that layout. Saves time and keeps everything consistent.
Use Canva’s Brand Kit if you have Canva Pro. Set your colors, fonts, and logos so everything stays on-brand throughout the booklet. I use this for all my client work and it’s honestly worth the subscription just for this feature.
For spiral-bound booklets, add a wider margin on the left side – like 1 inch – because the spiral takes up space. KDP doesn’t do spiral binding but if you’re printing elsewhere this matters.
Text wrap around images – Canva doesn’t do this automatically so you gotta fake it with text boxes. Create separate text boxes above and below the image, align them carefully. It’s annoying but looks professional when done right.
The absolute biggest thing is just starting simple. Make a basic 20-page booklet first, get it printed, see how it feels. Then add more complex design elements. I spent way too long overthinking my first booklet and it honestly didn’t need to be that complicated. People just want readable, nice-looking content.
Also grab the free KDP cover template for your size and use those measurements. They’re exact and include all the bleed and spine calculations already done for you.
DISCOVER OUR FREE BEST SELLING PRODUCTS
Editable Canva Lined Journal: Express Your Thoughts – KDP Template
Lined Pages Journal 120 pages Ready to Upload PDF Commercial Use KDP Template 6×9 8.5×11 5×8 for Notebooks, Diaries, Low Content
Lined Pages Journal 120 pages Ready to Upload PDF Commercial Use KDP Template 6×9 8.5×11 5×8 for Notebooks, Diaries, Low Content
Cute Dogs Coloring Book for Kids | Activity Book | KDP Ready-To-Upload
Daily Planner Diary : Diary Planners for Everyday Productivity, 120 pages, 6×9 Size | Amazon KDP Interior
Wolf Coloring KDP interior For Adults, Used as Low Content Book, PDF Template Ready To Upload COMMERCIAL Use 8.5×11"
Coloring Animals Head Book for Kids, Perfect for ages 2-4, 4-8 | 8.5×11 PDF
Printable Blank Comic Book Pages PDF : Create Your Own Comics – 3 Available Sizes
Notes KDP interior Ready To Upload, Sizes 8.5×11 6×9 5×8 inch PDF FILE Used as Amazon KDP Paperback Low Content Book, journal, Notebook, Planner, COMMERCIAL Use
Black Lined Journal: 120 Pages of Black Lined Paper Perfect for Journaling, KDP Notebook Template – 6×9
Student Planner Journal 120 pages Ready to Upload PDF Commercial Use KDP Template 6×9" 8.5×11" for Low Content book
Recipe Journal Template – Editable Recipe Book Template, 120 Pages – Amazon KDP Interior