Amazon KDP guide, KDP book publishing
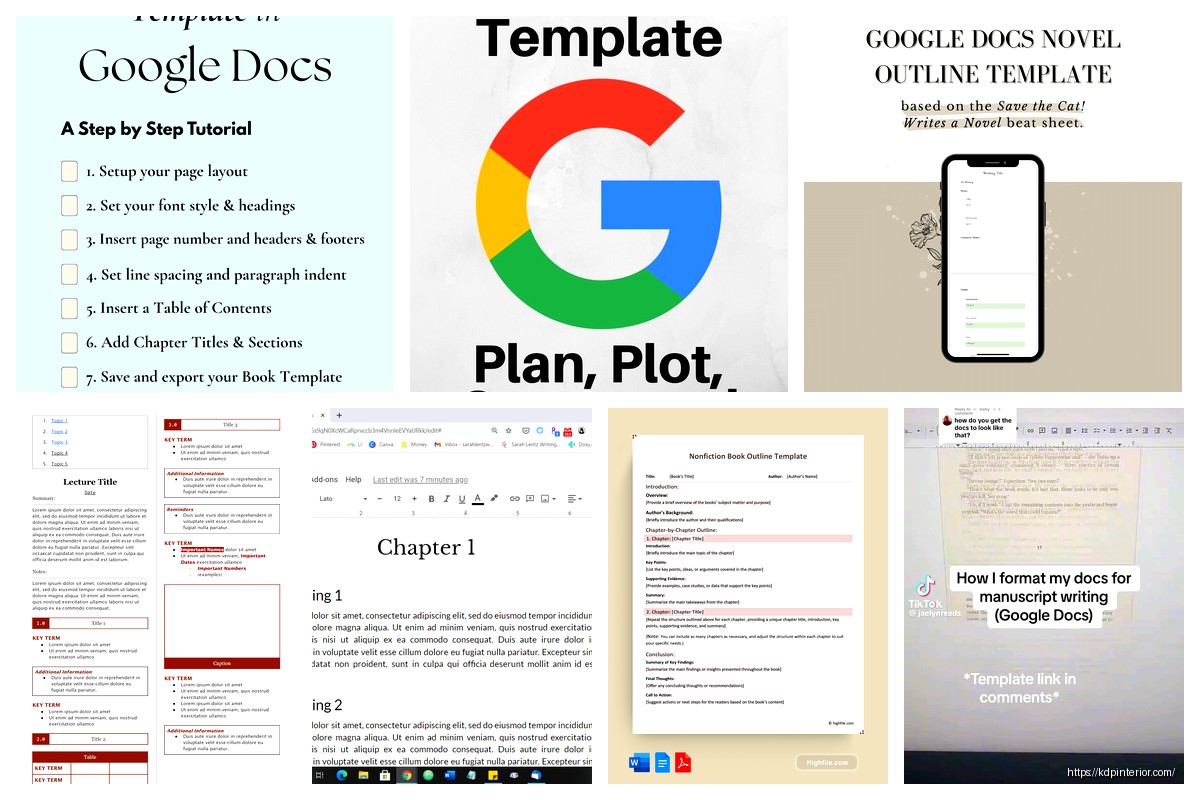
Book Outline Template Google Docs: Cloud Planning

Apr
Okay so I literally just spent the last three days rebuilding my entire outlining system in Google Docs because my old Word templates kept corrupting and I’m gonna walk you through exactly how I set this up now.
Why Google Docs Actually Makes Sense for Book Outlines
First thing – I used to think cloud planning was overkill for outlining, like why do I need my outline everywhere? But then my laptop died last year (middle of a project launch, naturally) and I lost two weeks of outline work because my backup was… not recent. So yeah, Google Docs saves automatically and I can access it from my phone when I’m at the grocery store and randomly think of a chapter idea.
The real advantage though is collaboration if you’re working with ghostwriters or editors. I’ve got like 6 projects running simultaneously right now and being able to share specific outlines with specific people without emailing Word docs back and forth is honestly a gamechanger.
Setting Up Your Basic Template Structure
Here’s what I do – open a fresh Google Doc and immediately rename it something like “MASTER Book Outline Template” so you don’t accidentally write in it later. Done that twice, it’s annoying.
Start with your document outline feature. Go to View > Show document outline. This is gonna be your navigation sidebar and trust me, once your outline has 30+ chapters you’ll need this.
For the actual template structure I use:
- Book title placeholder at top (Heading 1)
- Working subtitle or hook line
- Target word count and audience notes
- Quick positioning statement – like one sentence about what makes this different
- Then the actual chapter breakdown
Each chapter gets formatted as Heading 2 so it shows up in that document outline sidebar. Under each chapter heading I’ve got:
- Chapter goal/purpose (what is this chapter supposed to accomplish)
- Key points to cover (bullet list)
- Estimated word count
- Research needed (this one’s important, I’ll come back to it)
- Status tag
The Status Tag System That Actually Works
Okay so funny story – I used to write “DONE” or “IN PROGRESS” and then couldn’t find anything. Now I use highlighting colors because they’re visual and I can scan the doc fast. Yellow = needs research, green = drafted, red = needs major revision, blue = ready for editor. You can customize the highlighting colors in Google Docs but the defaults work fine.
To highlight in Google Docs just select your status text and click the highlighter icon. I put the status at the very beginning of each chapter section so I can scroll and immediately see where everything stands.
Making Your Template Reusable
This part took me forever to figure out because Google Docs doesn’t have “templates” the same way Word does, it’s kinda weird.
What you gotta do is create your master template, then go to File > Make a copy every single time you start a new project. I keep all my templates in a folder called “00 TEMPLATES” (the zeros make it sort to the top) and then I’ve got a folder structure like:
- 01 Active Projects
- 02 Outlined Not Started
- 03 Completed Outlines Archive
- 00 TEMPLATES
When I start a new book I copy the template into “02 Outlined Not Started” and rename it immediately with the project name and date. Dating your files is huge because I’ve definitely had situations where I had three versions of the same outline and no idea which was current.
Using Comments and Suggestions for Planning
Wait I forgot to mention – the comments feature in Google Docs is incredibly useful for outlines. Like way more useful than I expected.
When I’m outlining and I think of something but I’m not sure where it fits, I just highlight any nearby text and add a comment with my random idea. Then later when I’m doing my revision pass I can address all the comments at once. You can also assign comments to yourself or collaborators which sounds dorky but actually helps when you’ve got multiple projects.
To add a comment select any text and either right-click > Comment or use Ctrl+Alt+M (Cmd+Option+M on Mac). Your comments show up in the right sidebar and you can resolve them when you’ve dealt with the issue.
The Suggesting mode is also clutch when you’re not sure about structure changes. Turn it on from the editing dropdown (top right, where it usually says “Editing”) and switch to “Suggesting.” Then any changes you make show up as suggestions that you can accept or reject later. I use this when I’m tired and outlining but don’t trust my judgment – I can review my suggestions the next morning with fresh eyes.
Adding Research Links and Resources Directly
This is gonna sound weird but embedding links directly into your outline saves so much time later. When I’m researching book topics I find articles, competitor books, Amazon listings, whatever – and I just link them right in the relevant chapter section.
To add a link in Google Docs select your text and Ctrl+K (Cmd+K on Mac) then paste your URL. I usually make the text descriptive like “competitor analysis – Book Title” so I know what I’m clicking on later.
I also keep a “Research Dump” section at the bottom of every outline where I paste links that are useful but I haven’t figured out where they fit yet. My cat just knocked over my water bottle, hang on.
Creating a Table of Contents
Okay so if you’ve formatted your chapters as headings (which you should), Google Docs can auto-generate a table of contents. Put your cursor where you want the TOC (I put mine right after my book title section) then go to Insert > Table of contents.
You get two options – one with page numbers and one with blue links. I always use the linked version because you can click to jump to that section. The TOC updates automatically when you add or change headings which is honestly magical when you’re reorganizing chapters.
Templates for Different Book Types
I’ve got different master templates for different types of books and this matters more than you’d think.
For non-fiction how-to books my template has:
- Problem/solution structure for each chapter
- Action steps section
- Common mistakes to address
- Examples/case studies needed
For low-content planning books (like planners or journals) my outline is more about page layouts and feature lists than narrative flow.
For fiction or narrative non-fiction I include:
- Scene setting notes
- Character development checkpoints
- Tension/pacing notes
- Foreshadowing elements
The nice thing about keeping these in Google Docs is I can duplicate and modify templates way faster than starting from scratch.
Using Google Docs Features for Better Planning
There’s a bunch of features most people don’t use that actually help with outlining.
Voice typing – if you’re brainstorming chapters, turn on voice typing (Tools > Voice typing) and just talk through your ideas. I do this while driving sometimes using my phone, it’s technically not safe but neither is forgetting my brilliant ideas.
Explore tool – there’s a little star icon in the bottom right (or Tools > Explore). This lets you search the web without leaving your document. When I’m outlining and need quick facts or want to check if something’s been done before, I use this instead of opening new tabs.
Word count tracking – Tools > Word count shows you total words but also lets you see word count for selected text. I use this to check if individual chapter sections are hitting my target ranges.
Creating Chapter Templates Within Your Outline
Here’s something that speeds up my process – I have a “blank chapter template” section at the bottom of my outline that I copy and paste whenever I add a new chapter. It has all my standard fields already formatted:
Chapter X: [Title] Goal: [What this chapter accomplishes] Key Points:
• Point one
• Point two
• Point three
Word count target: [number] Research needed: [list] Status: [Not started]
I just copy this whole block, paste it where I need a new chapter, and fill in the brackets. Way faster than reformatting every time.
Sharing and Collaboration Settings
If you’re working with others (or even just accessing from multiple devices) you need to understand sharing settings.
Click the Share button (top right). You’ve got options:
- Restricted – only people you specify can access
- Anyone with the link – anyone who has the link can view/comment/edit depending on what you choose
For my own outlines I usually keep them restricted to just me. But when I’m hiring a ghostwriter or working with an editor, I’ll share specific outlines and set their permission to “Commenter” so they can add feedback without accidentally deleting my structure.
You can also set expiration dates on sharing access which is useful if you’re doing short-term collaborations.
Version History Is Your Safety Net
This has saved my butt multiple times – Google Docs automatically saves version history. Go to File > Version history > See version history and you can see every auto-saved version plus any versions you named.
I name versions at major milestones like “Initial structure complete” or “After reorganizing Part 2” so I can jump back to those specific points if needed. To name a version go to File > Version history > Name current version.
Last month I completely restructured an outline, hated it, and was able to revert to the previous version in like 30 seconds. Try doing that with a Word doc you’ve saved over.
Mobile Access and Offline Editing
The Google Docs app is actually decent for reviewing outlines on your phone. I wouldn’t want to write a full outline on mobile but for reviewing and adding quick comments it works fine.
For offline access (like if you’re on a plane or whatever), open your doc and it’ll automatically cache for offline editing if you’ve turned that on in Google Drive settings. On desktop you need the Google Docs Offline extension, but on mobile it just works if you’ve opened the doc recently.
Linking Multiple Outline Documents
Sometimes I have master series outlines where each book gets its own doc but they’re all connected. I’ll create a “Series Bible” document that has links to all the individual book outlines, plus series-wide information like character consistency notes or world-building details.
You can link to other Google Docs by just pasting the URL – it’ll auto-convert to a clean link. I keep all related docs in the same folder so I can find them easily.
Oh and another thing – you can use @ mentions in Google Docs now. Type @ and start typing someone’s name (if you’ve shared the doc with them) and they’ll get notified about your comment. Useful for collaborative planning.
Formatting Tips That Save Time
Format your headings once and they’ll stay consistent. I use:
- Heading 1: 18pt bold for book title
- Heading 2: 14pt bold for chapter titles
- Heading 3: 12pt bold for major sections within chapters
- Normal text: 11pt for all content
Set these up in your master template and then every new outline you create from it will have consistent formatting. You can modify styles by formatting text how you want it, then going to the styles dropdown and updating the style to match.
I also use colored text sometimes – like red text for sections that need attention or blue text for notes to myself that aren’t part of the actual outline content.
The Find and Replace feature (Ctrl+H) is super helpful when you’re reorganizing. If you decide to rename a recurring element or character across your whole outline, you can replace all instances at once.
Anyway that’s basically my whole system. I’ve been watching The Last of Us while setting up my latest outline and honestly the template approach has probably saved me 100+ hours over the past few years compared to starting from scratch every time. The cloud access means I haven’t lost work in ages and being able to collaborate without email chains is worth the switch alone.

DISCOVER OUR FREE BEST SELLING PRODUCTS
Editable Canva Lined Journal: Express Your Thoughts – KDP Template
Lined Pages Journal 120 pages Ready to Upload PDF Commercial Use KDP Template 6×9 8.5×11 5×8 for Notebooks, Diaries, Low Content
Lined Pages Journal 120 pages Ready to Upload PDF Commercial Use KDP Template 6×9 8.5×11 5×8 for Notebooks, Diaries, Low Content
Cute Dogs Coloring Book for Kids | Activity Book | KDP Ready-To-Upload
Daily Planner Diary : Diary Planners for Everyday Productivity, 120 pages, 6×9 Size | Amazon KDP Interior
Wolf Coloring KDP interior For Adults, Used as Low Content Book, PDF Template Ready To Upload COMMERCIAL Use 8.5×11"
Coloring Animals Head Book for Kids, Perfect for ages 2-4, 4-8 | 8.5×11 PDF
Printable Blank Comic Book Pages PDF : Create Your Own Comics – 3 Available Sizes
Notes KDP interior Ready To Upload, Sizes 8.5×11 6×9 5×8 inch PDF FILE Used as Amazon KDP Paperback Low Content Book, journal, Notebook, Planner, COMMERCIAL Use
Black Lined Journal: 120 Pages of Black Lined Paper Perfect for Journaling, KDP Notebook Template – 6×9
Student Planner Journal 120 pages Ready to Upload PDF Commercial Use KDP Template 6×9" 8.5×11" for Low Content book
Recipe Journal Template – Editable Recipe Book Template, 120 Pages – Amazon KDP Interior