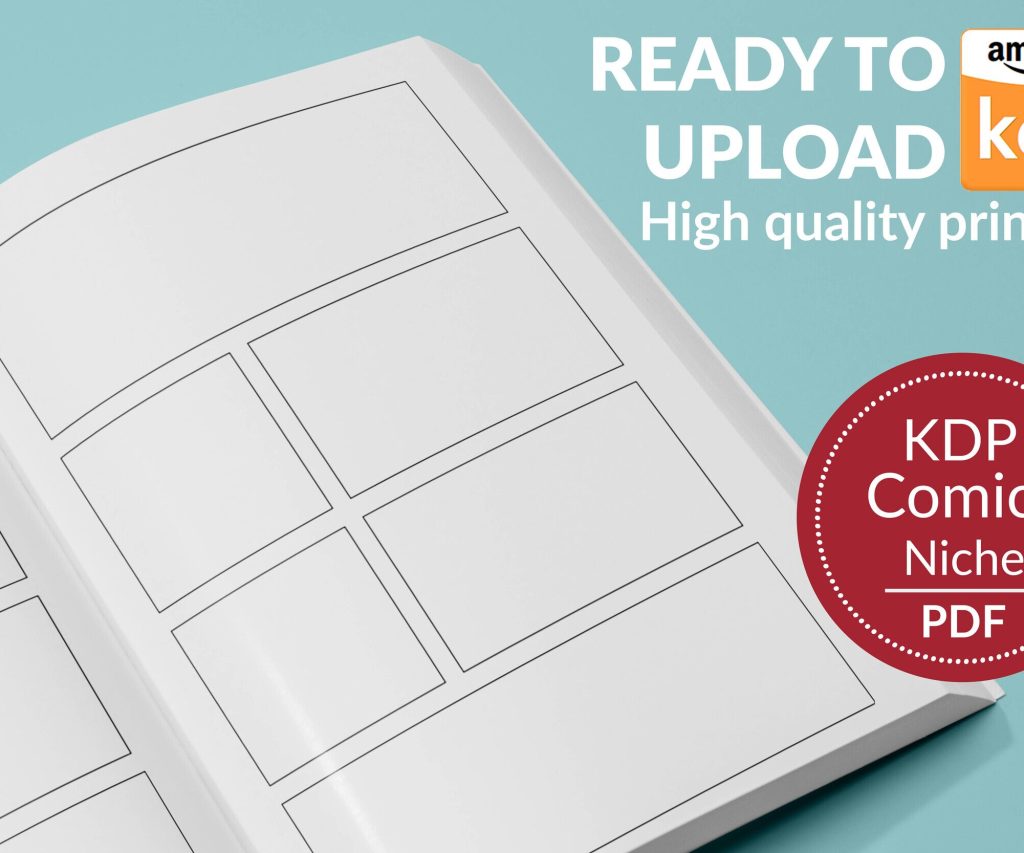
 Printable Blank Comic Book Pages PDF : Create Your Own Comics - 3 Available Sizes
 Subtotal: $0.00
Amazon KDP guide, KDP book publishing
Amazon Hardcover Template: Premium Book Specs
24
Mar
Mar
Okay so I just uploaded three hardcovers last week and honestly the template specs are way more forgiving than you’d think but there’s still some gotchas that’ll mess you up if you don’t know what you’re doing.
The Basic Hardcover Specs You Actually Need
Right so Amazon’s hardcover option is only available through KDP, not IngramSpark or anything else if you’re going that route. The trim sizes are pretty limited compared to paperback which used to annoy me but now I kinda get it because it keeps things standardized for their printing.
You’ve got these trim sizes to pick from:
- 5.5 x 8.5 inches
- 6 x 9 inches (this is what I use like 80% of the time)
- 6.14 x 9.21 inches
- 6.69 x 9.61 inches
- 7 x 10 inches
- 7.44 x 9.69 inches
- 8.25 x 11 inches
- 8.5 x 11 inches
The 6 x 9 is your standard nonfiction size and honestly unless you’ve got a specific reason to go bigger or smaller just stick with that. My dog literally just knocked over my coffee while I’m writing this so if this seems scattered that’s why.
Interior File Specs That’ll Save You Hours
So here’s where people mess up constantly. Your interior needs to be PDF format, nothing else. Amazon says they accept other formats but trust me just go with PDF/X-1a:2001 if you can or regular PDF if you’re using something basic like Canva or Vellum.
Page count minimum is 75 pages. Maximum is 828 pages but like who’s writing an 828 page hardcover for KDP honestly. Most of my books sit between 120-250 pages which feels substantial without being crazy expensive to print.
Bleed settings – okay so this is gonna sound weird but you actually have two options and it matters more than you think. You can go with bleed (0.125 inches on all sides) or no bleed. If you’ve got images or colored backgrounds that go to the edge of the page you NEED bleed. If it’s just text with maybe some simple graphics that don’t touch the edges, no bleed is totally fine and actually easier to format.
I usually do no bleed for my low content planners and journals in hardcover because it’s just simpler and the printers are less likely to have slight misalignments. With bleed you sometimes get this thing where the cut is like a millimeter off and suddenly your design looks wonky.
Margins Are Not Negotiable
Amazon requires these minimum margins:
- Inside margin (gutter): 0.375 inches minimum
- Outside margin: 0.25 inches minimum
- Top margin: 0.25 inches minimum
- Bottom margin: 0.25 inches minimum
But here’s what I actually use because the minimums are way too tight. For a 6 x 9 hardcover I do 0.5 inches on the gutter, 0.5 inches outside, 0.5 top and bottom. Gives you breathing room and looks more professional. Nothing worse than text that’s crammed right up against the binding.
Oh and the gutter needs to be bigger as your page count goes up. Like if you’re doing a 300 page book you probably want 0.625 or even 0.75 inches on that inside margin because the book’s gonna be thicker and harder to read near the spine.
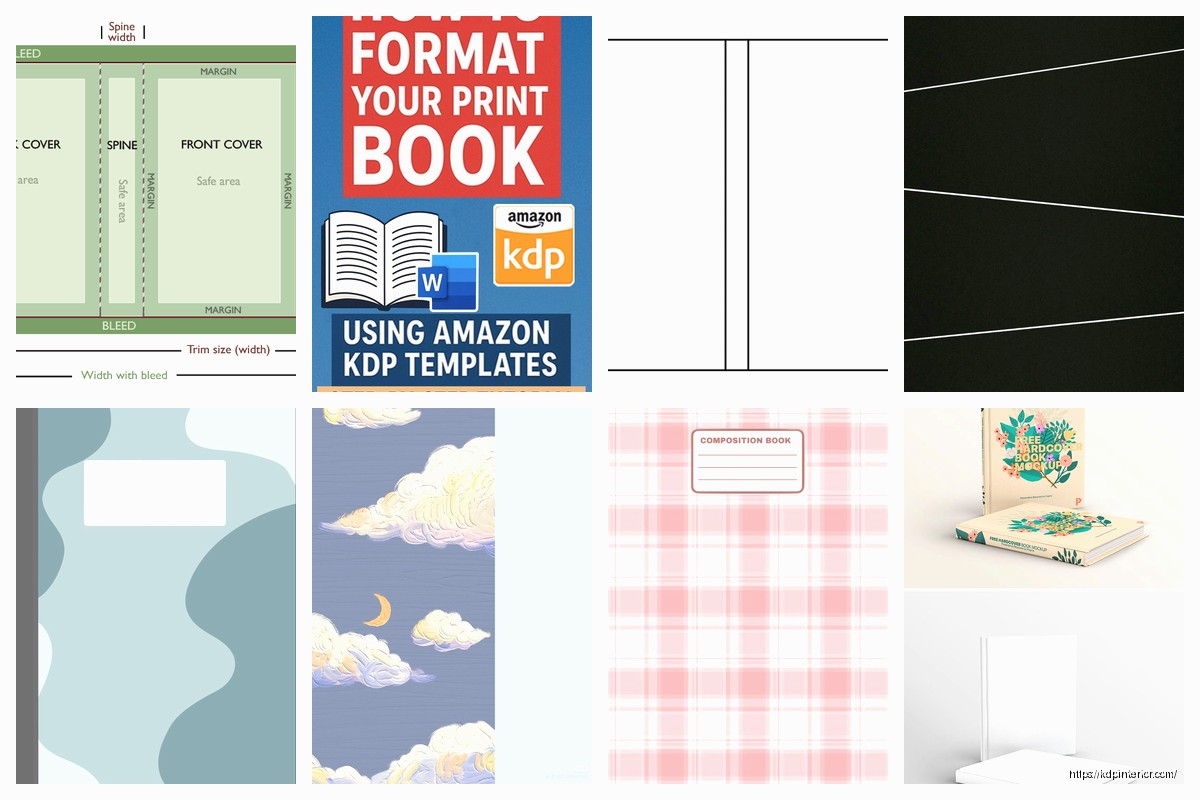
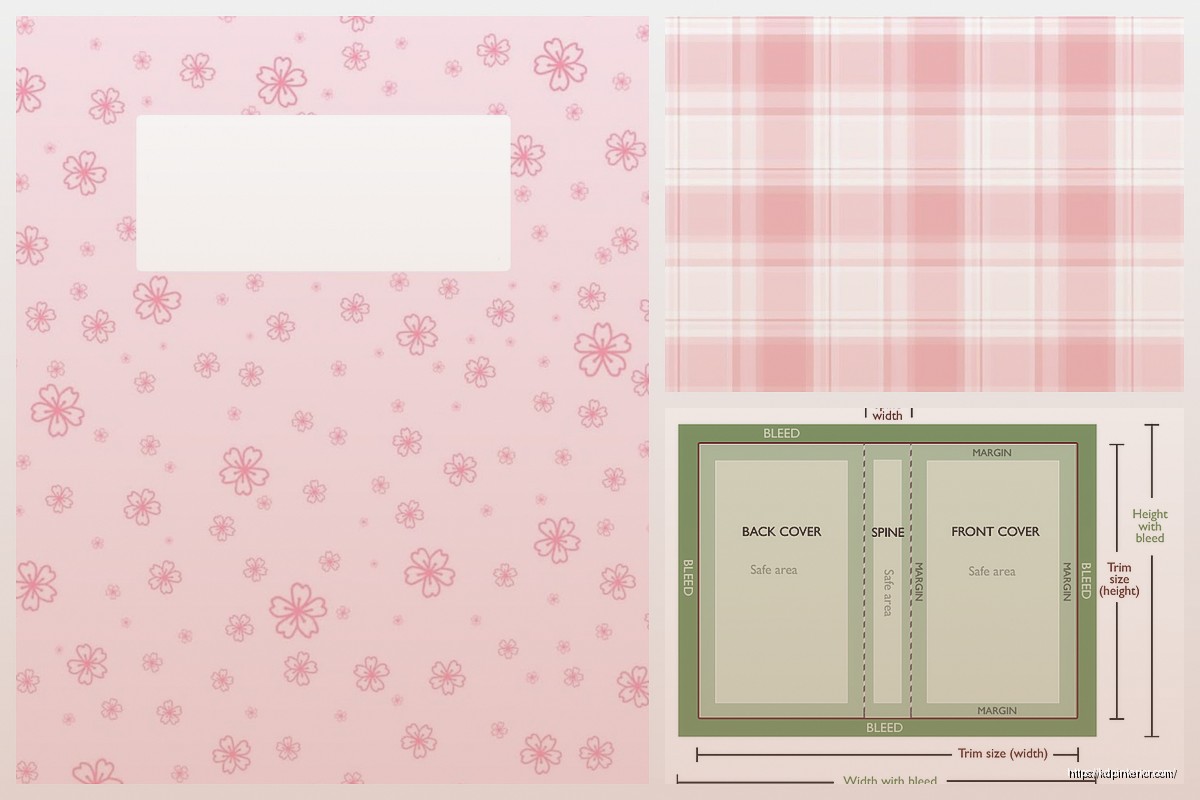
Cover Template Specifics That Actually Matter
This is where it gets slightly annoying. You can’t just wing the cover dimensions – you gotta use Amazon’s cover calculator. Go to your KDP bookshelf, click “Calculate cover dimensions” or something like that, it’s in the help section I think.
You input your trim size, page count, paper type (white or cream), and whether you have bleed. It spits out the exact dimensions you need.
For a 6 x 9 hardcover with let’s say 150 pages on white paper with bleed, you’re looking at something like 12.5 inches wide by 9.25 inches tall but DON’T quote me on that because it changes with page count. The spine width is the part that changes most – more pages means wider spine obviously.
The cover template has three sections: front cover, spine, back cover. The spine is in the middle and this is super important – Amazon gives you a “safety zone” on the spine. Keep all text and important graphics inside that safety zone because the binding process isn’t perfectly precise and you don’t want your title cut off.
I use a 0.0625 inch safety margin on the spine beyond what Amazon recommends because I’ve had books come back where the title was juuust slightly shifted. Better safe than reprinting 50 author copies.
Hardcover Case Wrap vs Dust Jacket
Wait I forgot to mention – Amazon only does case wrap hardcovers (also called casewrap). That means the cover is printed directly on the boards. There’s no dust jacket option through KDP which some people complain about but honestly for the price point it’s fine.
Your cover design wraps around the entire book. The inside front and back covers are blank – you can’t print on those. Some people don’t realize that and design these elaborate interior cover designs that just… don’t print.
Color Space and Image Quality
RGB or CMYK? Okay so technically Amazon converts everything to their own color profile during printing but I always submit in CMYK if I’m doing anything with color because it’s closer to what’ll actually print. RGB colors especially bright blues and greens can look really different when printed.
For black and white interiors just use grayscale. Don’t use RGB black or CMYK black for a black and white book because it can cause weird printing artifacts.
Image resolution needs to be 300 DPI minimum for anything going to print. I’ve seen people submit 72 DPI images (web resolution) and then wonder why their books look pixelated. If you’re pulling images from anywhere online, check the resolution first.
Paper Type Decisions
You get two choices: white or cream paper. White is brighter, makes colors pop more if you have color images, looks more modern. Cream is easier on the eyes for reading, looks more classic, hides print imperfections slightly better.
For fiction I usually go cream. For nonfiction with lots of diagrams or photos I go white. For journals and planners white feels more premium to me.
The paper weight is standardized – you don’t get to pick like you would with a traditional printer. It’s gonna be whatever Amazon uses which is fine, it’s decent quality.
File Naming Conventions Nobody Tells You
This is gonna sound nitpicky but name your files clearly. I use something like “BookTitle_Interior_6x9_150pages.pdf” and “BookTitle_Cover_6x9_150pages.pdf” so when I’m looking at my folders six months later I know exactly what I’m looking at.
Amazon doesn’t care what you name the files but YOU will care when you’re trying to find the right version after making twelve revisions.
Actually Formatting the Interior
Most people use either Microsoft Word, Adobe InDesign, or Vellum. I’ve used all three. InDesign is the most powerful but has the steepest learning curve. Vellum is stupid easy but costs like $250 (one-time payment though). Word is free if you already have it but formatting can be finicky.
For hardcover I actually prefer InDesign or Vellum because the formatting stays consistent. With Word I’ve had weird things happen where margins shift slightly when converting to PDF.
Set up your document with facing pages if your software allows it. This means odd-numbered pages are always on the right, even-numbered on the left, just like in a real book. Your headers, footers, and page numbers should reflect this.
Fonts matter more in hardcover than paperback for some reason – maybe because people expect more from a premium product? Stick with clean, readable fonts. I use Garamond or Baskerville for fiction, Helvetica or Lato for nonfiction. Minimum 10pt font size, I usually do 11pt because it’s easier to read.
Line spacing should be 1.15 to 1.5 depending on your font. Single spacing looks cramped, double spacing wastes paper and makes the book unnecessarily thick.
The Actual Upload Process
Okay so you’ve got your files ready. Log into KDP, create a new hardcover (or add hardcover to an existing paperback/ebook). Fill in all the metadata – title, author name, description, keywords, categories. This is the same as setting up any other book.
When you get to the content section you’ll upload your interior PDF and cover PDF separately. Amazon runs an automated review that takes like 30 seconds to 2 minutes. It checks for common problems – margins too small, cover dimensions wrong, pages not divisible by 2 (hardcovers need even page counts).
If it passes the automated check you can order a proof copy. DO THIS. Don’t skip the proof. I’ve uploaded books that looked perfect on screen and then the printed version had issues I didn’t catch. Colors were off, text was harder to read than expected, spine alignment was slightly off.
The proof costs whatever the printing cost is plus shipping. For a 150 page 6 x 9 hardcover you’re looking at maybe $8-12 depending on where you live.
Common Rejection Reasons
Amazon will reject your files if:
- Margins are too small
- Cover dimensions don’t match the calculator
- Page count doesn’t match what you entered
- File is corrupted or wrong format
- Text or images in the spine are outside the safety zone
- Interior is RGB when it should be grayscale
I had one book rejected because I accidentally left crop marks on the cover PDF. Those need to be removed before upload.
Pricing Considerations for Hardcover
Printing costs for hardcover are way higher than paperback. That 150 page book? Probably costs around $7-8 to print. Compare that to maybe $3 for paperback. Your royalty is 60% of list price minus printing costs for expanded distribution, or list price minus printing costs minus Amazon’s cut for standard distribution.
Most people price hardcovers between $24.99 and $39.99 depending on page count and genre. You need to cover your printing costs and still make some profit. I usually aim for at least $5-7 profit per sale.
Oh and another thing – hardcovers take longer to print and ship. Tell your readers this if they’re expecting quick delivery. Standard production time is like 3-5 business days plus shipping.
Testing Different Specs
I always test at least two trim sizes when I’m starting a new series. Order proof copies of both, see which one feels better in hand. The 5.5 x 8.5 is nice and compact, fits in a bag easily. The 7 x 10 is great for workbooks or anything with lots of exercises.
Also test cream vs white paper if you’re on the fence. The $10 for an extra proof is worth it to see the actual difference.
Last thing – and this is something I learned the hard way – make sure your cover design works at thumbnail size. Hardcovers often get displayed next to paperbacks and ebooks on Amazon, so your cover needs to be readable when it’s tiny on a phone screen. Text shouldn’t be too small, design shouldn’t be too busy.
Anyway that’s basically everything I wish someone had told me before I did my first hardcover. The specs aren’t as scary as they seem once you’ve done one or two books. Just take your time with the setup, double-check everything, and order that proof before you approve it for distribution.
DISCOVER OUR FREE BEST SELLING PRODUCTS
Editable Canva Lined Journal: Express Your Thoughts – KDP Template
Lined Pages Journal 120 pages Ready to Upload PDF Commercial Use KDP Template 6×9 8.5×11 5×8 for Notebooks, Diaries, Low Content
Lined Pages Journal 120 pages Ready to Upload PDF Commercial Use KDP Template 6×9 8.5×11 5×8 for Notebooks, Diaries, Low Content
Cute Dogs Coloring Book for Kids | Activity Book | KDP Ready-To-Upload
Daily Planner Diary : Diary Planners for Everyday Productivity, 120 pages, 6×9 Size | Amazon KDP Interior
Wolf Coloring KDP interior For Adults, Used as Low Content Book, PDF Template Ready To Upload COMMERCIAL Use 8.5×11"
Coloring Animals Head Book for Kids, Perfect for ages 2-4, 4-8 | 8.5×11 PDF
Printable Blank Comic Book Pages PDF : Create Your Own Comics – 3 Available Sizes
Notes KDP interior Ready To Upload, Sizes 8.5×11 6×9 5×8 inch PDF FILE Used as Amazon KDP Paperback Low Content Book, journal, Notebook, Planner, COMMERCIAL Use
Black Lined Journal: 120 Pages of Black Lined Paper Perfect for Journaling, KDP Notebook Template – 6×9
Student Planner Journal 120 pages Ready to Upload PDF Commercial Use KDP Template 6×9" 8.5×11" for Low Content book
Recipe Journal Template – Editable Recipe Book Template, 120 Pages – Amazon KDP Interior