-
×
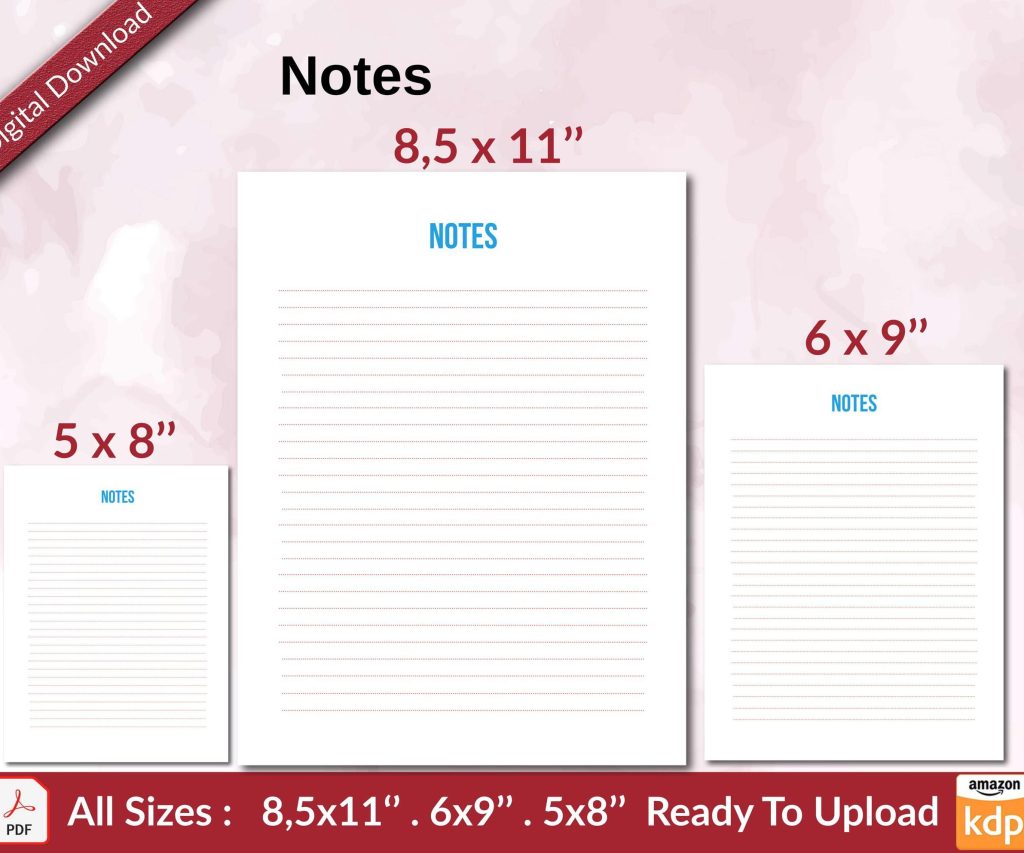 Notes KDP interior Ready To Upload, Sizes 8.5x11 6x9 5x8 inch PDF FILE Used as Amazon KDP Paperback Low Content Book, journal, Notebook, Planner, COMMERCIAL Use
1 × $0.00
Notes KDP interior Ready To Upload, Sizes 8.5x11 6x9 5x8 inch PDF FILE Used as Amazon KDP Paperback Low Content Book, journal, Notebook, Planner, COMMERCIAL Use
1 × $0.00
Subtotal: $0.00
Okay so the cover template thing trips up literally everyone when they first start, and honestly Amazon doesn’t make it super intuitive but here’s what you gotta know.
The main thing is that your paperback cover is ONE file that wraps around the entire book. So it’s got your back cover on the left, the spine in the middle, and your front cover on the right. Amazon calls this a “full cover” and you need to get the dimensions exactly right or their system will reject it.
Amazon has this cover calculator buried in KDP and I swear they move it around every few months but right now you find it by going to your bookshelf, clicking the three dots next to any book, and there’s a “Cover Calculator” option. Or just google “kdp cover calculator” and it should pop up.
You plug in your trim size (that’s the actual book size like 6×9 or 8.5×11), your page count, and the paper type. The paper type matters more than you’d think because cream paper is slightly thicker than white, so it affects your spine width.
I personally use 6×9 for most of my low-content stuff unless there’s a specific reason not to. My dog was literally barking at the delivery guy while I was setting up my first book and I accidentally selected 8.5×11 instead of 6×9 and didn’t realize until I ordered a proof copy. Cost me like an extra week.
So when you run the calculator, it spits out dimensions like this example for a 6×9 book with 120 pages on white paper:
Full cover width: 12.276 inches
Full cover height: 9.25 inches
That width number is weird right? That’s because it’s doing this calculation: back cover (6″) + spine width (0.276″) + front cover (6″) = 12.276″
The height is simpler – it’s just your trim height (9″) plus the bleed (0.125″ top and bottom) = 9.25″
Bleed is extra image that extends past where the book gets cut. When they print and trim thousands of books, the cut isn’t laser-precise every single time. If you don’t include bleed and your image ends exactly at the trim line, you might get white slivers on some copies.
Amazon requires 0.125 inches of bleed on all sides. So your important stuff (text, logos, images you care about) needs to stay at least 0.125″ away from the trim line. Actually I keep everything at least 0.25″ away to be safe because I’ve had covers where text got too close and looked weird.
I use a mix of Canva Pro and Photoshop depending on the project. Canva’s easier for simple stuff but Photoshop gives you more control.
In Photoshop, you’d create a new document with those exact dimensions the calculator gave you. So for that 6×9 example, you’d make a 12.276″ x 9.25″ canvas at 300 DPI. The DPI matters – don’t go below 300 or it’ll look pixelated when printed.
Then you need to set up guides to show where everything goes. This is where people mess up constantly.
You need guides for:
Amazon actually provides templates you can download with all these guides already set up. Go to the cover calculator, enter your specs, and there’s a “Download Template” button. It gives you a PNG file with all the guides marked.
I usually download that template and use it as a bottom layer in Photoshop, then build my design on top of it. Makes it so much easier to see where everything goes.
Okay so funny story – I designed like 15 covers for a series before I realized the spine width changes based on page count. So each book had a different page count (ranging from 100 to 150 pages) and I was using the same spine design for all of them. When I finally ordered proofs, the text was completely misaligned on half of them.
The spine width formula is basically: page count × paper thickness = spine width. Amazon’s calculator does this automatically but you gotta run it fresh for EACH book.
For a 100-page book on white paper, the spine might be like 0.23 inches. For 200 pages, it might be 0.46 inches. That difference matters when you’re placing text or images on the spine.
I watched this entire documentary about octopuses while setting up spine templates for my workbook series and now I can’t think about spine width without thinking about tentacles, which is completely unhelpful but there you go.
Amazon wants your cover as a PDF or a high-res image file (TIFF, PNG, or JPEG). I always use PDF because it handles colors better and doesn’t compress your images weird.
The color thing is important – you need to design in RGB color mode even though it’s printing in CMYK. Amazon converts it on their end. If you design in CMYK, colors sometimes shift and look off.
Make sure your PDF is flattened (all layers merged) and embedded fonts if you’re using any. I’ve had uploads rejected because fonts weren’t embedded and Amazon couldn’t render the text properly.
Your back cover is on the left side of the template. You need to include a barcode area and honestly this is where the safety margins really matter.
Amazon automatically puts a barcode on your back cover during printing. You need to leave a blank white or light-colored rectangle for it, usually in the bottom right corner of the back cover.
The barcode area should be at least 2″ wide by 1.2″ tall. I usually do 2.5″ x 1.5″ to be extra safe. Keep it at least 0.25″ from all edges.
If you put dark colors or busy patterns where the barcode goes, it won’t scan properly and Amazon will reject your file or the bookstores won’t be able to scan it.
Most of my books have:
Keep all text at least 0.25″ from the spine and edges. I learned this the hard way when my author bio got cut off on like 50 printed copies.
Amazon’s review process is part automated, part human, and they’ll reject your cover for specific things:
Low resolution: If any part of your cover is below 300 DPI, instant rejection. This happens a lot when people grab low-res images from Google.
Wrong dimensions: Even being off by a few pixels can cause problems. Always use the exact dimensions from the calculator.
Text too close to edges: If important text is in the bleed area, they’ll ask you to fix it. Not always, but often enough that it’s not worth risking.
Blurry barcode area: If your barcode space has busy patterns or isn’t light enough, rejection.
Copyright issues: Using images you don’t have rights to. I only use images from paid stock sites or stuff I create myself because I’ve heard horror stories about copyright strikes.
Before I upload any cover, I do this checklist:
The printout thing really helps because colors look different on screen vs paper. I’ve caught weird color issues this way that I never would’ve noticed digitally.
White paper is thinner, so same page count = narrower spine. Cream paper is thicker, slightly yellowed color, more traditional book feel.
I use white for anything with images or graphics because colors pop better. Cream for text-heavy books or anything going for a classic novel vibe.
The paper choice affects your spine calculation so make sure you select the right one in the calculator before designing.
If your dimensions are off or something’s in the wrong place, Amazon either rejects it during upload or during review. You fix it, re-upload, and wait for them to review again.
But if it gets approved and you order a proof copy and THEN realize something’s wrong? You gotta go back, edit the cover, re-upload, and wait for approval again before you can make the book live.
I always order a proof copy before making any book live. Always. I’ve caught spine alignment issues, color problems, and text sizing stuff that looked fine on screen but weird in print.
Wait I forgot to mention – when you’re looking at your template, remember you’re looking at it flat but it’ll be wrapped around a physical object. The spine bends. So sometimes designs that look perfect flat have weird visual breaks when the book is actually held. Hard to predict but worth thinking about.
Canva Pro: Has KDP cover templates built-in for common sizes. Not perfect but good starting point.
BookBolt: Has cover creators and dimension calculators. I use their tools sometimes for quick projects.
Photoshop: Still the best for precise control and professional results.
Kindle Create: Don’t use this for covers, it’s for interiors, but people confuse them.
The KDP cover calculator is free and honestly the most reliable source for exact dimensions. Third-party calculators sometimes have old formulas that don’t match Amazon’s current specs.
Just remember to run that calculator fresh every single time because page counts change, trim sizes vary, and you don’t wanna be that person (me, multiple times) who uses old dimensions and has to redo everything.

DISCOVER OUR FREE BEST SELLING PRODUCTS
Editable Canva Lined Journal: Express Your Thoughts – KDP Template
Lined Pages Journal 120 pages Ready to Upload PDF Commercial Use KDP Template 6×9 8.5×11 5×8 for Notebooks, Diaries, Low Content
Lined Pages Journal 120 pages Ready to Upload PDF Commercial Use KDP Template 6×9 8.5×11 5×8 for Notebooks, Diaries, Low Content
Cute Dogs Coloring Book for Kids | Activity Book | KDP Ready-To-Upload
Daily Planner Diary : Diary Planners for Everyday Productivity, 120 pages, 6×9 Size | Amazon KDP Interior
Wolf Coloring KDP interior For Adults, Used as Low Content Book, PDF Template Ready To Upload COMMERCIAL Use 8.5×11"
Coloring Animals Head Book for Kids, Perfect for ages 2-4, 4-8 | 8.5×11 PDF
Printable Blank Comic Book Pages PDF : Create Your Own Comics – 3 Available Sizes
Notes KDP interior Ready To Upload, Sizes 8.5×11 6×9 5×8 inch PDF FILE Used as Amazon KDP Paperback Low Content Book, journal, Notebook, Planner, COMMERCIAL Use
Black Lined Journal: 120 Pages of Black Lined Paper Perfect for Journaling, KDP Notebook Template – 6×9
Student Planner Journal 120 pages Ready to Upload PDF Commercial Use KDP Template 6×9" 8.5×11" for Low Content book
Recipe Journal Template – Editable Recipe Book Template, 120 Pages – Amazon KDP Interior