Amazon KDP guide, KDP book publishing
Blank Book Template: Customizable Publishing Format
Apr
Okay so blank book templates are honestly one of those things I wish someone had explained to me properly back in 2017 because I wasted like three months figuring this out the hard way.
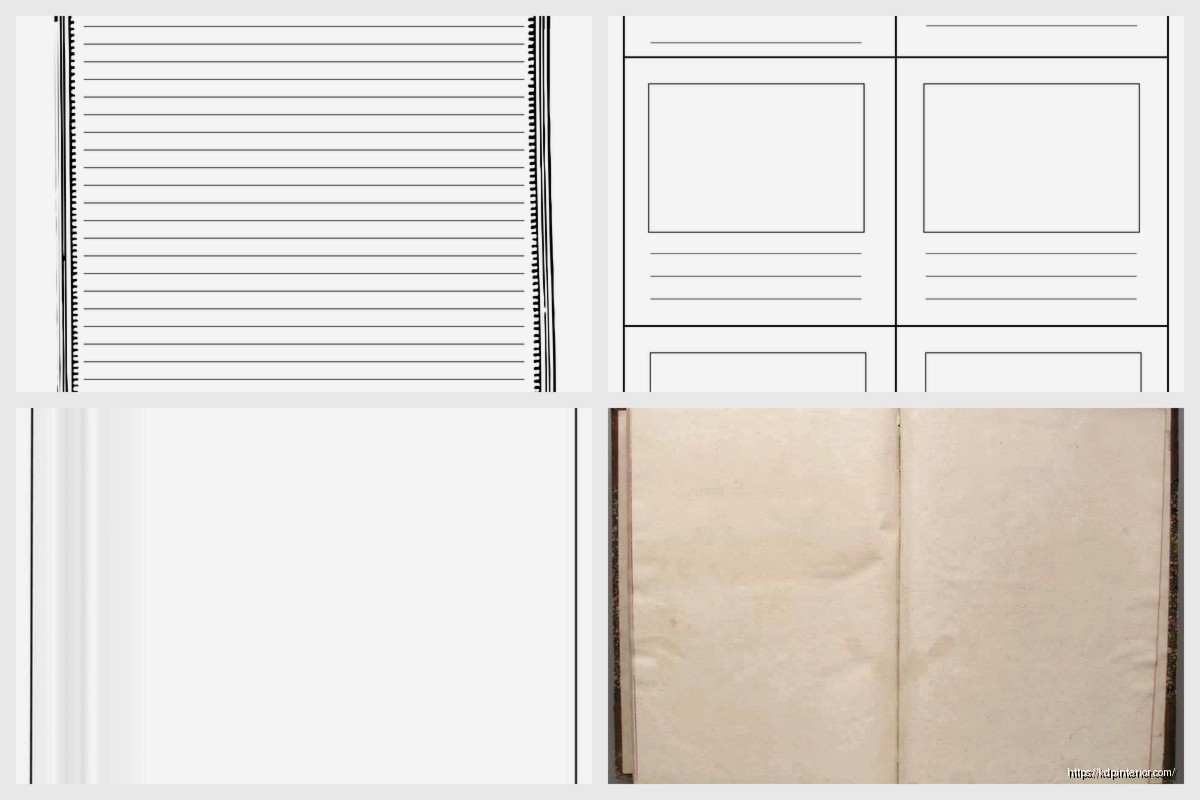
The basic concept is you’re creating an interior file that’s basically ready for someone to write in, draw in, or fill out. Think journals, notebooks, planners, logbooks, sketchbooks, that whole category. Amazon calls them low-content books but that term is kinda misleading because the formatting actually matters a ton.
The File Setup Nobody Tells You About
First thing – you gotta work in the actual trim size you’re publishing. This sounds obvious but I see people designing in standard 8.5×11 and then trying to resize everything and it’s a nightmare. If you’re doing a 6×9 notebook, your document needs to be 6×9 from the start.
Bleed is where everyone screws up initially. Amazon requires 0.125 inches on all sides for bleed. So your actual canvas size for a 6×9 book is 6.25 x 9.25 inches. The content that absolutely needs to stay safe (like page numbers or important lines) should be at least 0.25 inches from the trim edge. I learned this after my first batch of journals had page numbers cut off and yeah that was expensive.
Most people use either Adobe InDesign, Microsoft Word, or Affinity Publisher. I started with Word because I already had it, but honestly once you’re doing this regularly InDesign or Affinity makes way more sense. Word gets wonky with master pages and repeating elements.
Interior Patterns and Layouts
The money’s in variation honestly. A basic lined journal is fine but there’s so much competition. Where I’ve done better is combining elements – like lined pages with a small habit tracker at the bottom, or dotted pages with monthly calendar headers every 30 pages.
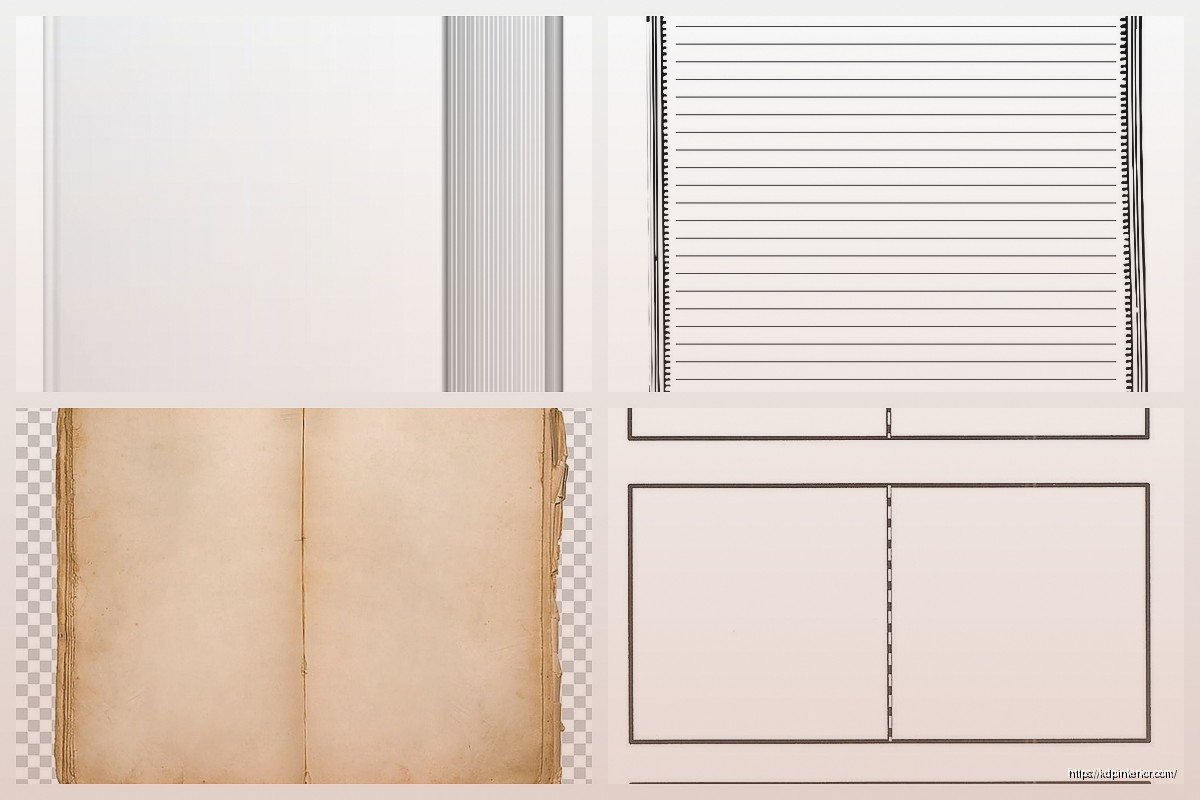
For lined notebooks the standard is usually 25-30 lines per page depending on trim size. I use 0.3 inch spacing for 6×9 books which gives you 24 lines with decent margins. Some people go tighter but then you get reviews complaining the lines are too close together and nobody wants that.
Dotted journals are huge right now, probably because of the whole bullet journal trend. I space dots 0.2 inches apart which works for both writing and drawing. The dots themselves should be subtle – I use 20-25% gray, not black. Black dots look aggressive and people hate writing over them.
Graph paper same deal – quarter inch squares are standard but I’ve had success with 5mm squares too because that’s what European customers expect.
Oh and another thing – margins matter more than you think. I do 0.5 inches on top and bottom, 0.75 inches on the sides. The inside margin (gutter) needs to be bigger than the outside or text disappears into the binding. This is especially true for thicker books over 200 pages.
Page Count Considerations
Amazon’s print-on-demand works in specific page counts. It’s gotta be divisible by 2, obviously, but there are sweet spots. 100, 120, 150, and 200 pages are my go-to counts. Anything under 80 pages feels flimsy and over 300 gets expensive to print which kills your royalty.
The pricing algorithm is weird too – sometimes adding 20 pages barely changes your cost but makes the book feel more substantial. I always check the royalty calculator before finalizing page count.
Wait I forgot to mention – you need to account for the title page, copyright page, and maybe a “this book belongs to” page at the front. So if you want 100 usable pages, your actual file needs 104-105 pages total. The back can have a few bonus pages or just leave them as regular content pages.
Creating Reusable Master Templates
This is where you save yourself insane amounts of time. Once you have one solid template, you can modify it for different niches instead of starting from scratch every time.
I have a master folder with these base templates:
- Lined journal (wide rule, college rule, narrow rule)
- Dotted grid (standard and light)
- Graph paper (quarter inch and 5mm)
- Blank pages (for sketchbooks)
- Mixed format (sections of different page types)
- Guided journals with prompts
Each one is set up with proper bleed, margins, and page numbering already configured. When I need to create something new, I just duplicate the closest template and modify it. Changed my whole workflow honestly.
For the actual design work, layers are your friend. Keep your base grid or lines on one layer, decorative elements on another, page numbers on another. Makes editing so much easier later.
The Customization Part That Actually Sells
Okay so here’s the thing about “customizable” – most buyers aren’t actually customizing blank books themselves. They’re looking for books customized for specific purposes. A “Fishing Log” sells better than “Blank Logbook” even if the interior is basically the same.
The customization happens in your marketing and cover design more than the interior. But you can add specific elements inside that make it targeted:
For a fitness journal you might add small checkbox sections for tracking sets and reps. For a gratitude journal maybe a small prompt at the top of each page. Recipe notebooks could have ingredient/instruction sections pre-formatted.
This is gonna sound weird but I keep a spreadsheet of all my template variations. Each row is a different niche application with notes on what interior modifications I made. Makes it easy to remember what worked when I’m creating something similar months later.
File Formats and Export Settings
Amazon wants PDF files and they’re picky about it. Has to be PDF/X-1a:2001 or PDF/X-3 format. RGB or CMYK color space works but CMYK is safer for print accuracy.
Export settings I use:
- High quality print preset
- Include bleed (that 0.125 inch extension)
- Crop marks optional but I leave them off
- Embed all fonts (critical – Amazon rejects files with unembedded fonts)
- Flatten transparency
- Compression set to maximum quality
File size usually ends up between 5-50 MB depending on page count and if you have graphic elements. Amazon’s limit is 650 MB so you’re fine unless you’re doing something really graphics-heavy.
One mistake I made early was using spot colors or special print effects in my PDF. Print-on-demand is basic CMYK only, no spot colors, no foil, no embossing. Keep it simple.
Tools and Resources Worth Using
I use Affinity Publisher for most projects now because it’s a one-time purchase unlike Adobe’s subscription. Handles master pages well, good PDF export options. Cost me $55 two years ago and still using it.
For quick modifications or testing ideas, Canva Pro actually works okay. They added bleed settings and you can create custom dimensions. Not ideal for complex projects but fine for simple lined or dotted journals.
Some people swear by Book Bolt for generating interiors. I tried it and yeah it’s fast but the outputs feel generic. Good for testing niches quickly though before you invest time in custom designs.
Tangent but my cat keeps walking across my keyboard while I work on templates and honestly it’s resulted in some accidental design elements I ended up keeping. Random.
Testing and Quality Control
Always order a proof copy before going live. Amazon’s previewer tool is okay but it doesn’t catch everything. I’ve had files look perfect on screen but print with weird spacing issues.
Things to check on your proof:
- Page numbers positioned correctly and not cut off
- Lines or grids are consistent throughout
- Gutter margin is wide enough (open the book flat and check)
- Paper quality works for your content (cream vs white matters)
- Overall book lies flat or stays open reasonably
White paper shows pen colors better but cream is easier on the eyes for long writing sessions. I usually go cream for journals, white for sketchbooks or planners with color elements.
The paper weight Amazon uses is decent but not amazing. It’s like 50-60lb paper depending on the facility. Fine for most purposes but fountain pens will bleed through. I mention this in my book descriptions to manage expectations.
Scaling Your Template Library
Once you’ve got solid templates, scaling is about smart variation not reinventing everything. I probably have 40-50 books published but really only 8-10 unique interior templates that I’ve modified for different niches.
The modification might just be changing the header on each page to say “Fishing Log Entry” instead of keeping it blank. Or adding a small monthly calendar grid at the start of a journal section. Small changes that make it niche-specific.
Color variations of the same interior are another easy win. A purple-accented interior for one cover design, blue for another. Technically different products but you’re reusing 95% of the work.
I keep a production calendar where I plan out template variations a month ahead. Prevents me from scrambling when I get an idea for a new niche. Also helps me batch similar work – like I’ll do all my planner updates in one session rather than switching between different project types.
Common Mistakes to Avoid
Don’t make your lines too dark. Seriously, 15-20% gray maximum for writing lines. Darker looks bold on screen but overwhelms the page when printed. I see this constantly in competitor books.
Page numbers – either include them or don’t, but be consistent. And position them where they won’t get cut. I put mine centered at the bottom, 0.3 inches from the page edge.
Another thing is forgetting about the gutter. Thicker books need wider inside margins or content gets lost in the binding. For a 200-page book I go at least 0.9 inches on the gutter side.
Copyright pages – keep them simple and standard. Amazon provides templates for the copyright language you need. Don’t get creative here, just functional.
Oh and don’t forget to test your template at different page counts before creating a whole series. Some designs work great at 100 pages but look weird at 200 because of how the spacing scales.
The biggest time-saver has honestly been keeping good documentation. Every template folder has a text file with the specs – trim size, margins, line spacing, color values, fonts used. Saves me from having to reverse-engineer my own work six months later when I want to create a variation.
You’re gonna make mistakes with your first few templates and that’s fine. I still have early books published with slightly off margins that sell okay anyway. Don’t let perfectionism stop you from getting something out there and learning from actual customer feedback.
DISCOVER OUR FREE BEST SELLING PRODUCTS
Editable Canva Lined Journal: Express Your Thoughts – KDP Template
Lined Pages Journal 120 pages Ready to Upload PDF Commercial Use KDP Template 6×9 8.5×11 5×8 for Notebooks, Diaries, Low Content
Lined Pages Journal 120 pages Ready to Upload PDF Commercial Use KDP Template 6×9 8.5×11 5×8 for Notebooks, Diaries, Low Content
Cute Dogs Coloring Book for Kids | Activity Book | KDP Ready-To-Upload
Daily Planner Diary : Diary Planners for Everyday Productivity, 120 pages, 6×9 Size | Amazon KDP Interior
Wolf Coloring KDP interior For Adults, Used as Low Content Book, PDF Template Ready To Upload COMMERCIAL Use 8.5×11"
Coloring Animals Head Book for Kids, Perfect for ages 2-4, 4-8 | 8.5×11 PDF
Printable Blank Comic Book Pages PDF : Create Your Own Comics – 3 Available Sizes
Notes KDP interior Ready To Upload, Sizes 8.5×11 6×9 5×8 inch PDF FILE Used as Amazon KDP Paperback Low Content Book, journal, Notebook, Planner, COMMERCIAL Use
Black Lined Journal: 120 Pages of Black Lined Paper Perfect for Journaling, KDP Notebook Template – 6×9
Student Planner Journal 120 pages Ready to Upload PDF Commercial Use KDP Template 6×9" 8.5×11" for Low Content book
Recipe Journal Template – Editable Recipe Book Template, 120 Pages – Amazon KDP Interior