Okay so I’ve been testing like five different 3D mockup generators this past month because honestly the flat cover images just weren’t converting anymore on my sales pages and I needed something that looked more professional without hiring a designer every single time.
The Quick Setup Most People Actually Use
Placeit is probably where you’re gonna start because it’s the easiest. You literally just upload your book cover design as a flat PNG or JPG, pick from their library of mockup templates, and boom you’ve got a 3D-looking book in like 2 minutes. I use this when I’m launching multiple books in a week and don’t have time to mess around with complicated software.
The templates are organized by book type so you can filter for paperback, hardcover, or ebook on device mockups. My go-to is always the “book standing at angle with shadow” because it works for pretty much any niche. They’ve got subscription pricing around $15 monthly or you can pay per mockup which gets expensive fast if you’re doing what I do.
One thing though – and this drove me crazy last Tuesday when I was rushing to finish a launch – the resolution on the free downloads is pretty low. You need the paid version to get high-res files suitable for actual sales pages. Found that out the hard way when my mockup looked pixelated on the Amazon A+ content section.
When You Need More Control
Okay so if Placeit feels too cookie-cutter, Smartmockups gives you way more customization options. You can adjust the book thickness, change lighting angles, add custom backgrounds, and even stack multiple books together for bundle mockups.
I was watching The Bear while testing this one and honestly got distracted because the interface has SO many options. But here’s what actually matters – you can save your custom settings as presets. So once you dial in the exact look you want for your brand, you just apply that preset to every new cover and maintain consistency across your whole catalog.
They have this feature where you can rotate the book in 3D space which sounds gimmicky but it’s actually useful when you need a specific angle for a Facebook ad or something. The pricing is similar to Placeit, around $19 monthly, but they do bundles if you prepay for a year.
Wait I forgot to mention – both of these tools let you create mockups for other products too like t-shirts and mugs, which is completely irrelevant unless you’re doing merch, but it’s there if you expand later.
The Professional Route That Takes More Time
Adobe Dimension is where things get serious. This is actual 3D rendering software, not just a template generator. The learning curve is steep and I’m not gonna lie, I almost gave up on it the first day because I couldn’t figure out how to properly map my cover onto the book model.
But here’s why I kept pushing through – the quality is insane compared to template generators. You have complete control over lighting, materials, camera angles, depth of field, everything. My mockups from Dimension look like actual product photography.
The workflow goes like this: import a 3D book model (Adobe provides some or you can find free ones online), apply your cover design as a texture to the front face and spine, adjust the materials so the paper looks realistic with slight texture, set up your lighting rig with usually three lights, position your camera, then render.
That first render took like 10 minutes on my laptop and I thought something was broken. Nope, that’s just how long high-quality 3D rendering takes. Now I usually set up renders before I go make coffee or walk my dog because you’re not doing anything else on your computer while it processes.
The Material Settings That Actually Matter
This is gonna sound weird but the glossiness slider is everything. Most people leave it at default and their book covers end up looking like plastic. You want to dial the glossiness down to around 15-20% for matte covers, maybe 40-50% if you’re trying to simulate a glossy finish.
The roughness map is another thing – it adds micro-texture that makes the paper look real instead of like a flat digital surface. I usually set roughness to about 60% for standard paperback simulation.
Adobe Dimension is included with Creative Cloud subscription which I already had for other publishing work, so it didn’t add extra cost for me. But if you’re starting from scratch it’s $55 monthly just for Dimension or $60 for the full Creative Cloud suite.
The Free Option Nobody Talks About
Okay so Canva added 3D mockup features last year and everybody slept on it. It’s not as robust as the paid tools but if you’re just starting out and testing whether better mockups actually improve your conversions, start here.
You need Canva Pro for the good mockup templates which is $13 monthly, but chances are you’re already using Canva for other design stuff anyway. The 3D effect is more of a perspective transform than true 3D rendering, but for social media posts and quick promo graphics it’s totally fine.
I used Canva mockups for my romance series last month and honestly couldn’t tell much difference in click-through rates compared to my Smartmockups versions. The quality gap matters more for premium niches like business books or high-ticket courses where buyers expect polished presentation.
Blender If You’re Feeling Ambitious
This is the nuclear option. Blender is completely free, fully professional 3D software that Disney and other studios actually use for real production work. It can do anything the paid tools do and more, but the interface looks like a spaceship control panel.
I spent three weekends learning just enough Blender to create custom book mockups and honestly it was overkill for my needs. But if you’re the type who likes having total control and doesn’t mind watching 50 YouTube tutorials, it’s incredibly powerful.
The advantage is you can create completely custom scenes – like a book sitting on a desk with coffee cup and reading glasses, or a stack of books in a library setting, or whatever branded environment you want. Template generators limit you to their pre-made scenes.
There’s this guy Ian Hubert on YouTube who does “lazy tutorials” that are each like one minute long and they’re the only reason I figured out the basics. The Blender community is huge so you can find tutorials for literally anything.
The Realistic Rendering Setup
If you go the Blender route, you’ll need to understand the Cycles render engine. It’s a path tracer that simulates how light actually bounces around in real life, which is why the results look photorealistic.
Basic setup: use an HDRI environment map for lighting instead of manual lights – it’s easier and looks better. You can download free HDRIs from Poly Haven. Set your samples to at least 256 for clean results, though I usually go 512 for final renders. Enable denoising or your images will look grainy.
My cat jumped on my keyboard during a render once and somehow changed the sample count to 4000 and the render took six hours. Don’t do that.
The Mockup Generator I Actually Use Most
Real talk – it’s still Placeit like 70% of the time. I know I just explained all these advanced options but for day-to-day publishing velocity, I need something fast. I batch-create mockups every Monday for the week’s launches and Placeit lets me knock out 10-15 mockups in an hour.
I save Adobe Dimension for my flagship titles or when I’m creating sales page assets that’ll be used for months. The time investment makes sense there. For a low-content book that might only sell 50 copies total, spending three hours perfecting a mockup is not worth it.
Format Export Settings You Need
Everyone messes this up initially. Your mockup needs to be PNG with transparency if you’re placing it on colored backgrounds. JPG is fine for white backgrounds but PNG gives you flexibility.
Resolution should be at least 2000px on the longest side for web use. If you’re doing print materials or Amazon A+ content, go 3000px or higher. File size will be bigger but quality matters more than load time for static marketing images.
Color space should be sRGB for web. I made the mistake of using Adobe RGB for mockups once and the colors looked totally different when uploaded versus how they appeared on my monitor. sRGB is the web standard, just use that.
The Aspect Ratio Thing
Different platforms need different aspect ratios. Facebook ads want 1:1 square or 4:5 portrait. Amazon A+ content works best with 16:9 landscape. Pinterest needs 2:3 vertical.
I usually create my master mockup in whatever ratio makes the book look best, then crop different versions for each platform rather than trying to design for one specific ratio from the start. Takes an extra 10 minutes but ensures everything looks intentional rather than awkwardly cropped.
The Shadow and Background Debate
Drop shadows make mockups look more professional but they can also look dated if overdone. Current design trend is toward softer, more realistic shadows or even no shadow at all with just the 3D perspective doing the work.
I typically use a soft shadow with about 30% opacity positioned slightly offset from the book. The shadow should be darker directly under the book and fade as it extends outward – that’s how real shadows work and your brain notices when it’s wrong even if you can’t articulate why.
Background choice matters more than people think. Pure white is safe but boring. Light gray or subtle gradients add depth without being distracting. I avoid busy backgrounds because they compete with the book cover for attention.
Oh and another thing – if you’re doing multiple books in a series, keep the mockup angle and lighting consistent across all of them. It looks way more professional when they’re displayed together on your author page or in marketing materials.
Automation If You’re Doing Volume
Okay so this is more advanced but if you’re publishing multiple books weekly like I do sometimes, you need automation. Placeit has an API that lets you generate mockups programmatically. I have a simple Python script that takes my cover files and generates standard mockups automatically.
The script cost me $150 to have someone on Upwork build it but it’s saved probably 20 hours of manual mockup creation at this point. Worth it if you’re doing serious volume, probably overkill if you’re publishing one book per month.
Some of the mockup generators also offer batch processing where you upload multiple covers and they generate the same mockup template for all of them. Not as flexible as a custom script but easier to set up.
Common Mistakes I See Everywhere
Using mockups that don’t match your actual book format – if you’re selling a paperback, don’t use a hardcover mockup. Readers notice and it feels misleading even if unintentional.
Making the mockup too small in the frame – your cover design should be readable in the mockup. If people have to zoom in to see the title, the mockup isn’t doing its job.
Inconsistent lighting across different mockups for the same book – it looks unprofessional when your Facebook ad shows the book in warm lighting but your sales page has cool lighting.
Over-editing the mockup in post-processing – some people add so many filters and effects that the book looks fake. The goal is realism, not Instagram aesthetic.
Actually I’m guilty of that last one sometimes because I get carried away in Photoshop, gotta watch that.
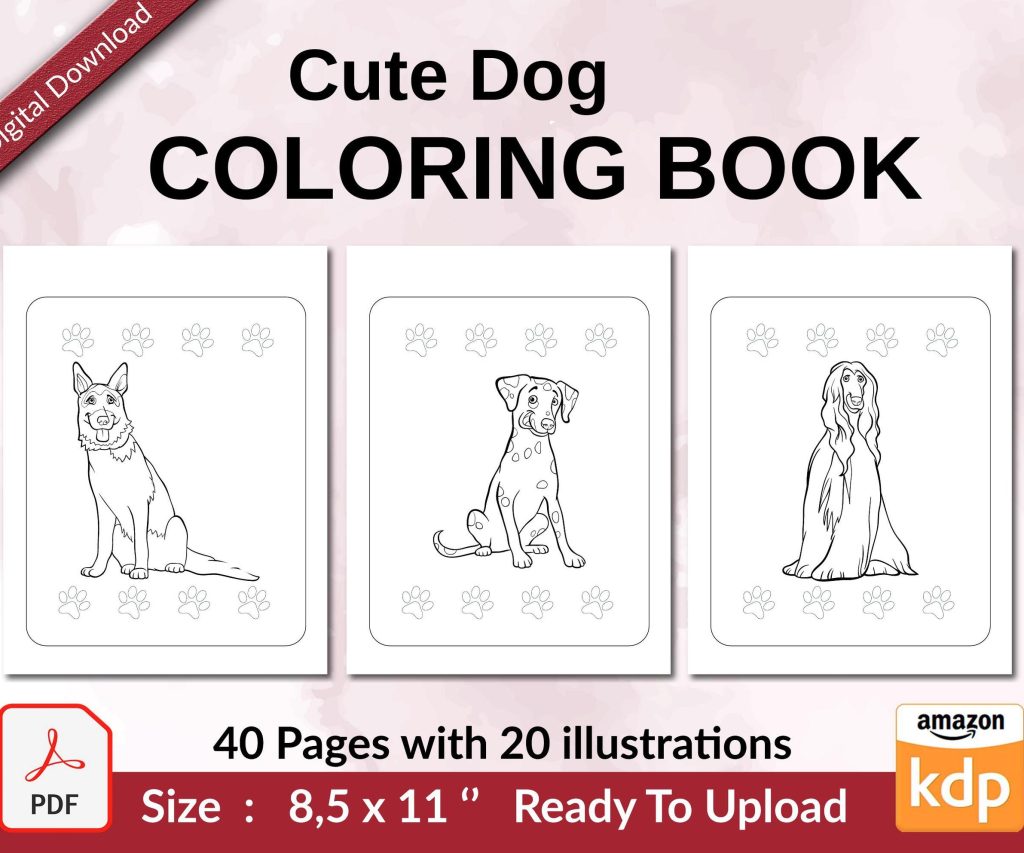 Cute Dogs Coloring Book for Kids | Activity Book | KDP Ready-To-Upload
1 × $0.00
Cute Dogs Coloring Book for Kids | Activity Book | KDP Ready-To-Upload
1 × $0.00 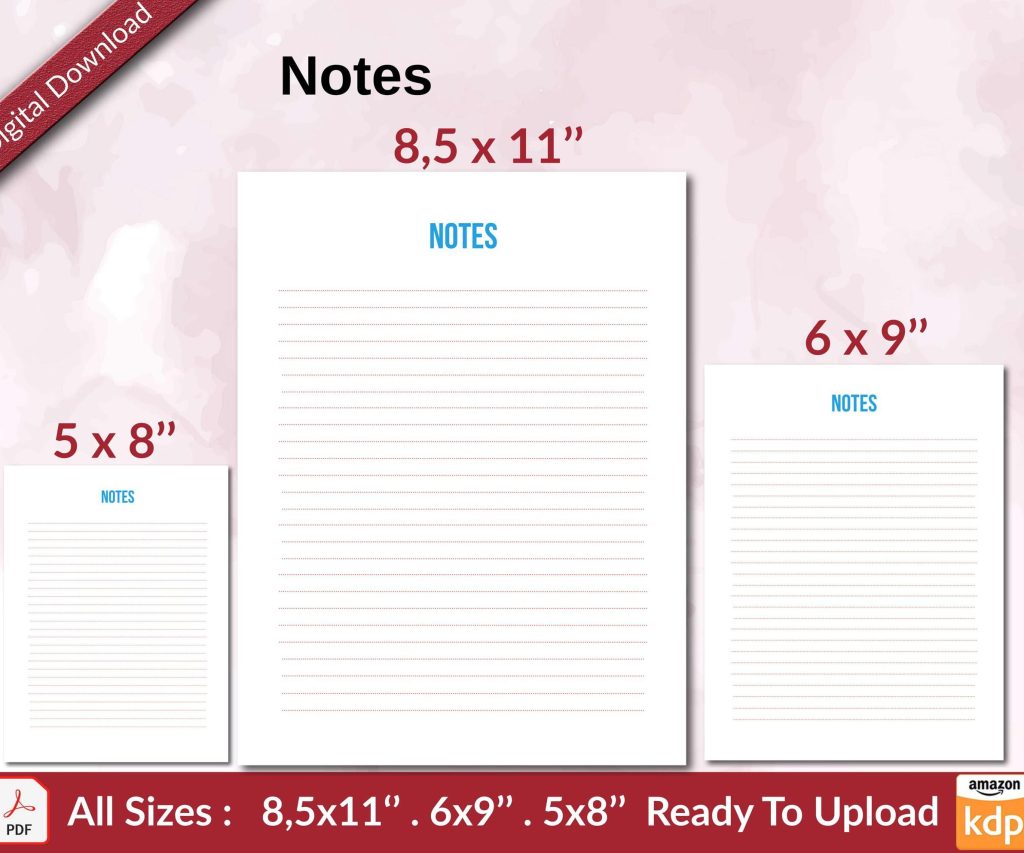 Notes KDP interior Ready To Upload, Sizes 8.5x11 6x9 5x8 inch PDF FILE Used as Amazon KDP Paperback Low Content Book, journal, Notebook, Planner, COMMERCIAL Use
1 × $0.00
Notes KDP interior Ready To Upload, Sizes 8.5x11 6x9 5x8 inch PDF FILE Used as Amazon KDP Paperback Low Content Book, journal, Notebook, Planner, COMMERCIAL Use
1 × $0.00 
DISCOVER OUR FREE BEST SELLING PRODUCTS
Editable Canva Lined Journal: Express Your Thoughts – KDP Template
Lined Pages Journal 120 pages Ready to Upload PDF Commercial Use KDP Template 6×9 8.5×11 5×8 for Notebooks, Diaries, Low Content
Lined Pages Journal 120 pages Ready to Upload PDF Commercial Use KDP Template 6×9 8.5×11 5×8 for Notebooks, Diaries, Low Content
Cute Dogs Coloring Book for Kids | Activity Book | KDP Ready-To-Upload
Daily Planner Diary : Diary Planners for Everyday Productivity, 120 pages, 6×9 Size | Amazon KDP Interior
Wolf Coloring KDP interior For Adults, Used as Low Content Book, PDF Template Ready To Upload COMMERCIAL Use 8.5×11"
Coloring Animals Head Book for Kids, Perfect for ages 2-4, 4-8 | 8.5×11 PDF
Printable Blank Comic Book Pages PDF : Create Your Own Comics – 3 Available Sizes
Notes KDP interior Ready To Upload, Sizes 8.5×11 6×9 5×8 inch PDF FILE Used as Amazon KDP Paperback Low Content Book, journal, Notebook, Planner, COMMERCIAL Use
Black Lined Journal: 120 Pages of Black Lined Paper Perfect for Journaling, KDP Notebook Template – 6×9
Student Planner Journal 120 pages Ready to Upload PDF Commercial Use KDP Template 6×9" 8.5×11" for Low Content book
Recipe Journal Template – Editable Recipe Book Template, 120 Pages – Amazon KDP Interior