-
×
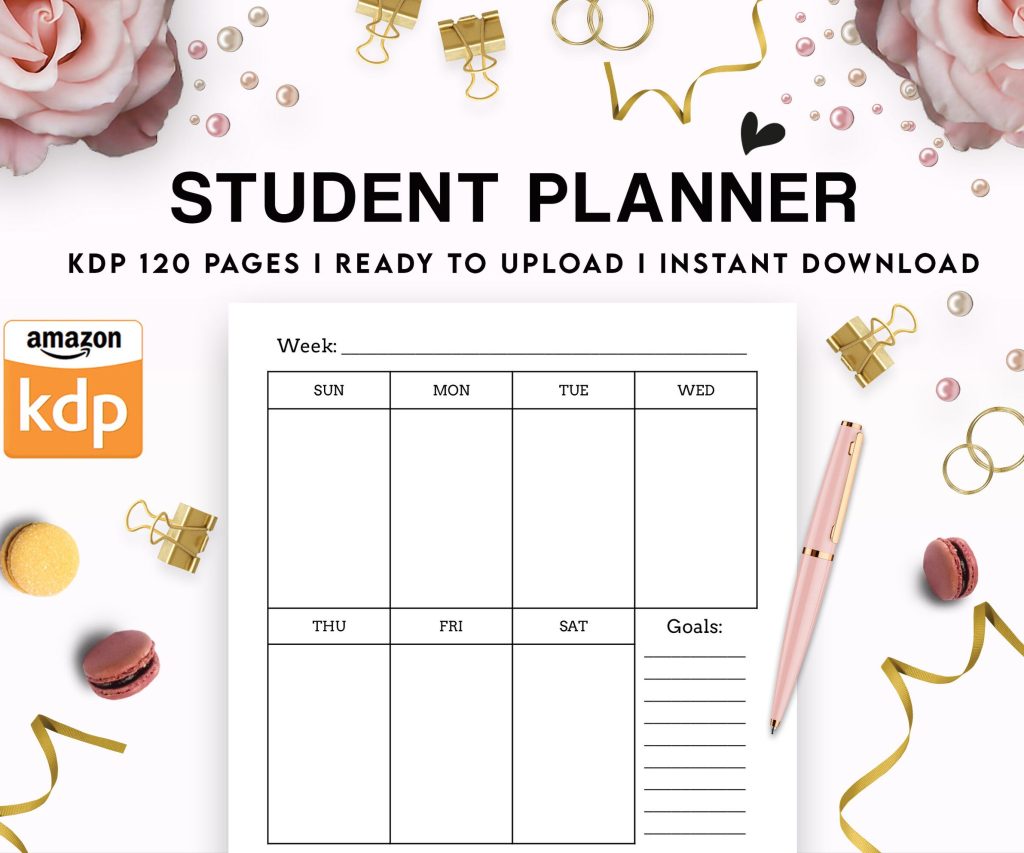 Student Planner Journal 120 pages Ready to Upload PDF Commercial Use KDP Template 6x9" 8.5x11" for Low Content book
1 × $0.00
Student Planner Journal 120 pages Ready to Upload PDF Commercial Use KDP Template 6x9" 8.5x11" for Low Content book
1 × $0.00
Subtotal: $0.00
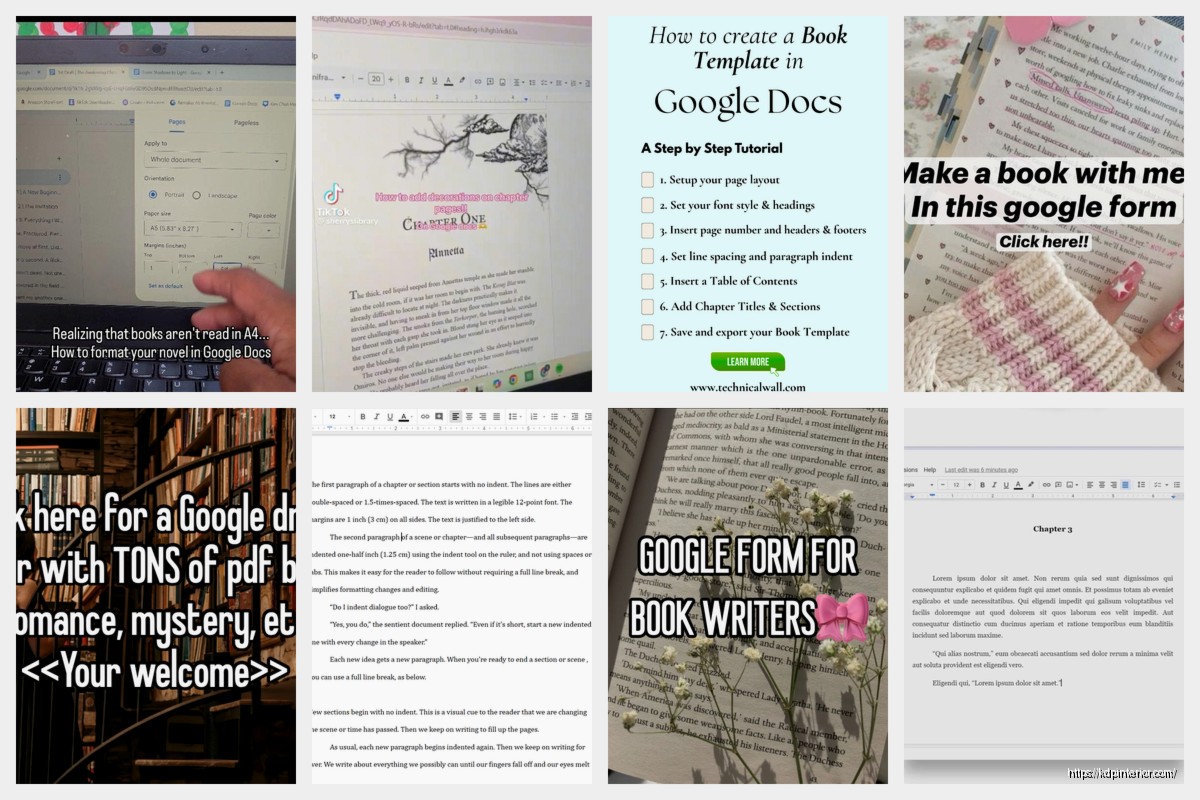
Okay so I literally just walked someone through this yesterday and honestly Google Docs is kinda perfect for formatting books if you know the right tricks. Most people mess this up because they treat it like a regular document instead of something that needs to convert cleanly to whatever format Amazon or IngramSpark wants.
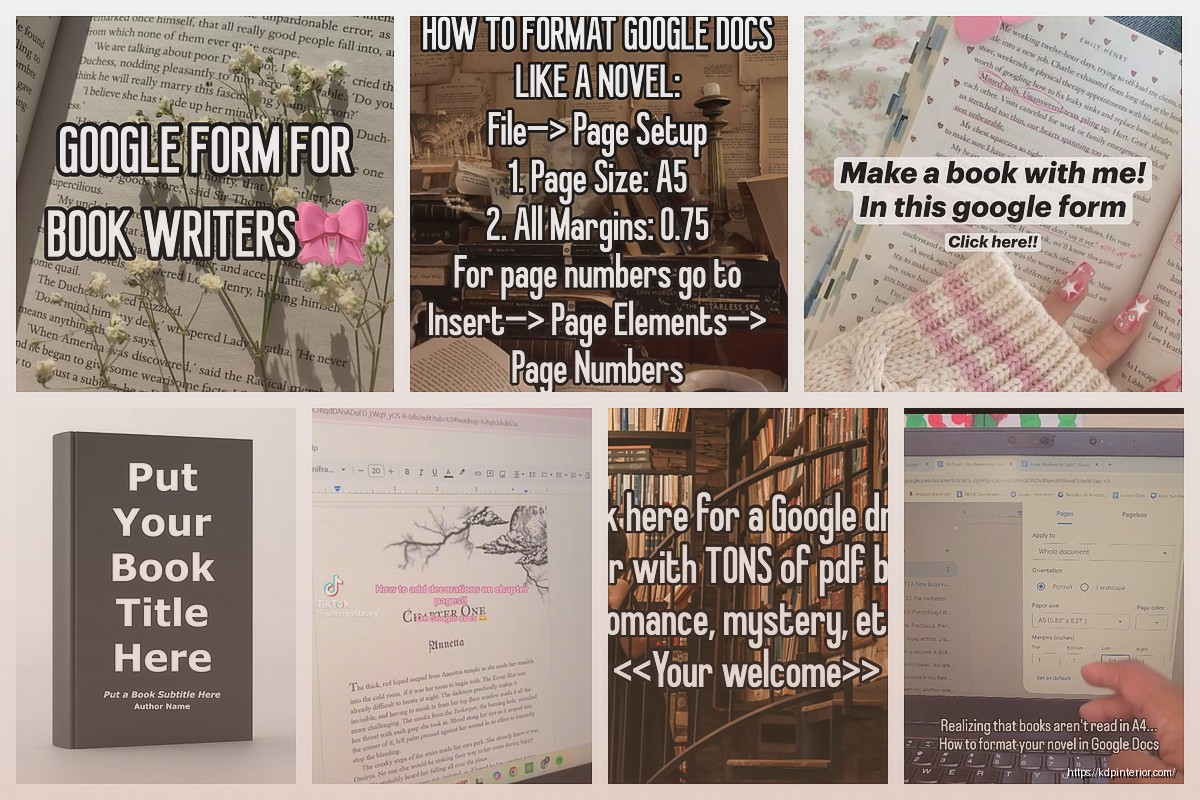
First thing – and I cannot stress this enough – you gotta set your page size BEFORE you start formatting anything. Go to File > Page Setup and here’s where people get confused. If you’re doing a physical book, you need to match your trim size exactly. So like 6×9 inches is super common for nonfiction, 5×8 for novels. Don’t just leave it at the default Letter size because then all your formatting is gonna be wrong when you export.
Custom page size option is your friend here. Type in your exact dimensions. I usually do 6×9 for most of my books because it’s the sweet spot – not too big, not too small, keeps printing costs reasonable on KDP.
Margins matter too. For a 6×9 book I do 0.75 inches on top and bottom, but here’s the thing about left and right margins – you need a gutter. That’s the extra space for binding. So I’ll do like 0.85 inches on the inside margin (that’s the side that gets bound) and 0.65 on the outside. Google Docs doesn’t have a specific “gutter” setting like Word does which is annoying but whatever, you just manually make one margin bigger.
Oh and another thing – headers and page numbers need to be set up properly or your book looks amateurish. Double-click up in the header area. You want “Different first page” checked because your title page shouldn’t have a page number or header showing.
For page numbers, Insert > Page Numbers > choose the position. I like bottom center for most books, keeps it clean. But here’s what took me forever to figure out – if you want your numbering to start on page 1 AFTER your front matter (title page, copyright, table of contents), you need to use section breaks.
Put your cursor at the end of your last front matter page, then Insert > Break > Section Break (next page). Now your actual content starts in a new section. Go into the header of that new section and unlink it from the previous section – there’s a little checkbox that says “Link to previous” that you need to UNCHECK. Then you can format page numbers to start at 1 for your actual chapter one.
This is gonna sound weird but I always test this by adding like 50 pages of lorem ipsum text just to see if the headers and page numbers flow correctly through the whole document. Saved me so many times from catching errors after I’d already uploaded.
Alright so fonts. Everyone wants to use something fancy and unique but honestly the classics work for a reason. For print books I stick with:
Size should be 11pt or 12pt for body text. Anything smaller is hard to read, anything bigger wastes space and makes your book unnecessarily thick which increases printing costs. Chapter titles I usually do 18pt or 20pt, maybe bold them.
Line spacing is where people really mess up. Single spacing looks cramped in a book. Double spacing is too much. I use 1.15 or 1.3 line spacing – gives the text room to breathe without looking like a high school essay. You set this by selecting all your text (Ctrl+A) then Format > Line spacing > Custom spacing.
Okay so paragraph formatting – this is huge. Books don’t typically have extra space between paragraphs like blog posts do. Instead you indent the first line of each paragraph. Select your body text, then Format > Align & indent > Indentation options. Set “Special indent” to “First line” and make it 0.3 or 0.4 inches.
But wait – the FIRST paragraph of each chapter shouldn’t be indented. That’s the style convention. So you’ll manually remove the indent for those opening paragraphs. Just a little thing that makes your book look professionally typeset.
No indent after headings either. Chapter titles, subheadings – the paragraph right after those starts flush left, then every paragraph after that gets indented. My cat just knocked over my coffee while I was typing this but anyway…
For chapter breaks, always start a new chapter on a new page. Ctrl+Enter gives you a page break. Don’t just hit Enter a bunch of times because if you edit anything above it, all that spacing shifts and your chapters end up in weird places.
Some people like to add a little visual element between chapters or scene breaks. You can do this with special characters – Insert > Special characters, then search for things like ornaments or dingbats. I use these sparingly, like maybe a simple * * * for scene breaks within chapters.
Images are tricky in Google Docs for book formatting. If you’re doing a text-only book, don’t worry about it. But if you need images, make sure they’re high resolution (300 DPI minimum for print) and use “In line” wrapping so they stay put. Break on text or wrap text options will cause chaos when you export.
Here’s where it gets interesting because Google Docs needs to export differently depending on where you’re publishing.
For Amazon KDP print books – File > Download > PDF. Make sure your PDF settings are correct. You want it to maintain your page size and margins exactly. Upload this PDF directly to KDP. I’ve done this for probably 150+ books and it works perfectly as long as your initial setup was right.
For ebooks (Kindle) it’s different. You want to download as EPUB or DOCX, not PDF. PDFs don’t reflow well on e-readers. Download as DOCX, then upload that to KDP for Kindle. Amazon’s converter handles DOCX files pretty well. Just make sure you’re using styles consistently – like actually using the “Heading 1” style for chapter titles instead of just making text big and bold manually.
The reason styles matter is they create the table of contents automatically in ebooks. If you just manually format text to LOOK like a heading without using the heading style, it won’t show up in the TOC navigation.
Speaking of TOC – Insert > Table of contents in Google Docs. It’ll only work if you’ve used heading styles throughout your document. This is mostly for ebooks. For print books I usually create a manual TOC on a separate page just because I want more control over the formatting.
For the manual version, just type out your chapter names and page numbers. Use tab stops to get those dots between the chapter name and page number. Click on the ruler at the top, add a right-aligned tab stop at like 5.5 inches, and set it to “dotted line” as the leader. Then when you hit tab, you get those professional-looking dots.
Oh wait I forgot to mention – front matter order matters. Standard order is:
Then your actual content starts. Back matter comes at the end – about the author, other books by you, maybe a call to action to leave a review.
Okay so funny story, someone sent me their “finished” book file last month and they’d used different fonts throughout the entire book without realizing it. Copy-pasting from different sources had brought in different formatting. The fix is to paste everything as plain text first (Ctrl+Shift+V) then reformat it consistently.
Other mistakes:
This is non-negotiable – order a proof copy before you publish. I don’t care how perfect it looks on screen. Paper is different. I’ve caught formatting issues, weird page breaks, margins that looked fine digitally but felt off in physical form. Amazon lets you order author copies cheap, do it.
When you get your proof, read through the whole thing. Check margins with a ruler if you’re paranoid like me. Make sure page numbers are correct, headers look right, no weird spacing issues. I usually find 2-3 things I want to adjust even when I thought it was perfect.
Nonfiction with lots of subheadings – use Heading 2 and Heading 3 styles consistently. Makes it scannable and creates structure. I format these as bold, maybe slightly larger than body text, with a bit of space before them.
Fiction – keep it simple. Chapter numbers or titles, body text, that’s basically it. Don’t over-design fiction books. Readers want clean, readable text that disappears so they can focus on the story.
Workbooks or journals – these need more space. Wider margins, more space between elements. Sometimes you want less text per page intentionally. I increase line spacing to 1.5 or even 2.0 for these.
One advantage of Google Docs is multiple people can edit. Get beta readers or editors to comment directly in the doc before you do final formatting. Use the suggestion mode so you can accept or reject changes. Way easier than emailing Word docs back and forth.
Just make sure you resolve all comments and accept/reject all suggestions before you start the final formatting process. Nothing worse than formatting everything perfectly then realizing you need to add three paragraphs someone suggested.
Make copies of your formatted document. I keep a “master” version that’s fully formatted, then make a copy before making any changes. Google Docs has version history which is great, but I’m paranoid so I literally duplicate the entire file.
Also download a backup to your computer as DOCX and PDF. Cloud services are reliable until they’re not, and I’ve heard horror stories of people losing access to their Google accounts and losing all their work.
The whole process from blank document to formatted book-ready file takes me maybe 2-3 hours now for a standard 200-page book. First time doing it might take longer, but once you’ve got your settings dialed in, you can reuse the same template structure for future books. Just save a blank formatted template with all your margins, fonts, and spacing already set up, then start each new book from that.

DISCOVER OUR FREE BEST SELLING PRODUCTS
Editable Canva Lined Journal: Express Your Thoughts – KDP Template
Lined Pages Journal 120 pages Ready to Upload PDF Commercial Use KDP Template 6×9 8.5×11 5×8 for Notebooks, Diaries, Low Content
Lined Pages Journal 120 pages Ready to Upload PDF Commercial Use KDP Template 6×9 8.5×11 5×8 for Notebooks, Diaries, Low Content
Cute Dogs Coloring Book for Kids | Activity Book | KDP Ready-To-Upload
Daily Planner Diary : Diary Planners for Everyday Productivity, 120 pages, 6×9 Size | Amazon KDP Interior
Wolf Coloring KDP interior For Adults, Used as Low Content Book, PDF Template Ready To Upload COMMERCIAL Use 8.5×11"
Coloring Animals Head Book for Kids, Perfect for ages 2-4, 4-8 | 8.5×11 PDF
Printable Blank Comic Book Pages PDF : Create Your Own Comics – 3 Available Sizes
Notes KDP interior Ready To Upload, Sizes 8.5×11 6×9 5×8 inch PDF FILE Used as Amazon KDP Paperback Low Content Book, journal, Notebook, Planner, COMMERCIAL Use
Black Lined Journal: 120 Pages of Black Lined Paper Perfect for Journaling, KDP Notebook Template – 6×9
Student Planner Journal 120 pages Ready to Upload PDF Commercial Use KDP Template 6×9" 8.5×11" for Low Content book
Recipe Journal Template – Editable Recipe Book Template, 120 Pages – Amazon KDP Interior