-
×
 Recipe Journal Template - Editable Recipe Book Template, 120 Pages - Amazon KDP Interior
1 × $0.00
Recipe Journal Template - Editable Recipe Book Template, 120 Pages - Amazon KDP Interior
1 × $0.00
Subtotal: $0.00
Recipe Journal Template - Editable Recipe Book Template, 120 Pages - Amazon KDP Interior
1 × $0.00 Subtotal: $0.00
Okay so I just spent like three hours last night setting up a book format in Word for a client and honestly the whole process is way easier than people make it sound but there are some weird quirks you gotta know about.
First thing – and I know everyone says this but seriously – you need to set up your page size BEFORE you start formatting anything. I made this mistake maybe two years ago with a journal project and had to redo like 80 pages because I tried to change the size after. Go to Layout tab, click Size, and here’s where it gets annoying because Amazon’s trim sizes aren’t in the default dropdown most of the time.
For KDP the most common sizes are 6×9 for books, 8.5×11 for workbooks or planners, and 5×8 for smaller novels. You’ll click “More Paper Sizes” at the bottom of that Size menu. Then in the dialog box put your width and height. So for a 6×9 book that’s 6 inches wide by 9 inches tall. Sounds obvious but I’ve seen people flip these dimensions and wonder why their book looks weird.
Oh and another thing – make sure you set “Apply to: Whole Document” in that same dialog. Otherwise Word does this annoying thing where it only applies to one section and you’re gonna have a bad time.
This is gonna sound weird but margins are probably the #1 thing that gets books rejected or makes them look unprofessional. Amazon needs what they call “gutter” margins which is basically extra space on the inside where the binding is. If you don’t account for this your text disappears into the spine and readers get annoyed.
Go back to Layout, click Margins, then Custom Margins at the bottom. Here’s what I typically use for a 6×9 book:
– Top: 0.75 inches
– Bottom: 0.75 inches
– Inside: 0.875 inches (this is your gutter)
– Outside: 0.625 inches
Wait I forgot to mention – under that same Margins dialog you need to change “Multiple pages” dropdown to “Mirror margins” because otherwise Word treats every page the same. Mirror margins makes your inside/outside margins flip on alternating pages which is what you want for a printed book.
The gutter size changes based on page count by the way. If you’ve got like a 500 page monster book you might need 1 inch or more on that inside margin. Amazon has a calculator somewhere but honestly I just add an extra 0.125 inches for every 100 pages over 200. Not scientific but it works.
Okay so funny story – I was watching The Bear the other night while formatting a cookbook and realized I’d been using page breaks instead of section breaks for like three different projects. Section breaks let you have different headers, footers, and page numbering in different parts of your book.
You want section breaks between your front matter (title page, copyright, table of contents) and your main content. Also between main content and back matter if you’ve got like an about the author page or whatever.
To insert one: Layout tab, Breaks dropdown, then under Section Breaks choose “Next Page” – this starts your new section on a new page. There’s also “Continuous” but that’s for like columns and weird formatting stuff you probably don’t need.
This part trips people up because Word’s interface is kinda clunky here. Double-click in the top margin area to open header editing. You’ll see a new “Header & Footer” tab appear in the ribbon.
First thing – check the box that says “Different First Page” because your title page and copyright page shouldn’t have headers usually. Then check “Different Odd & Even Pages” if you want different headers on left and right pages like traditional books have.
For page numbers I usually put them in the footer, centered or on the outside edge. To add them click “Page Number” in that Header & Footer tab, choose your position, then format them. Here’s the important part – you don’t want page numbers starting on your title page. You want them starting on like page 1 of Chapter 1.
Go to the first page of your actual content (after front matter), double-click in the footer, and you should see “Link to Previous” button in the ribbon. Click that to UNLINK from the previous section. Then click Page Number, Format Page Numbers, and choose “Start at: 1” – this resets numbering for just this section.
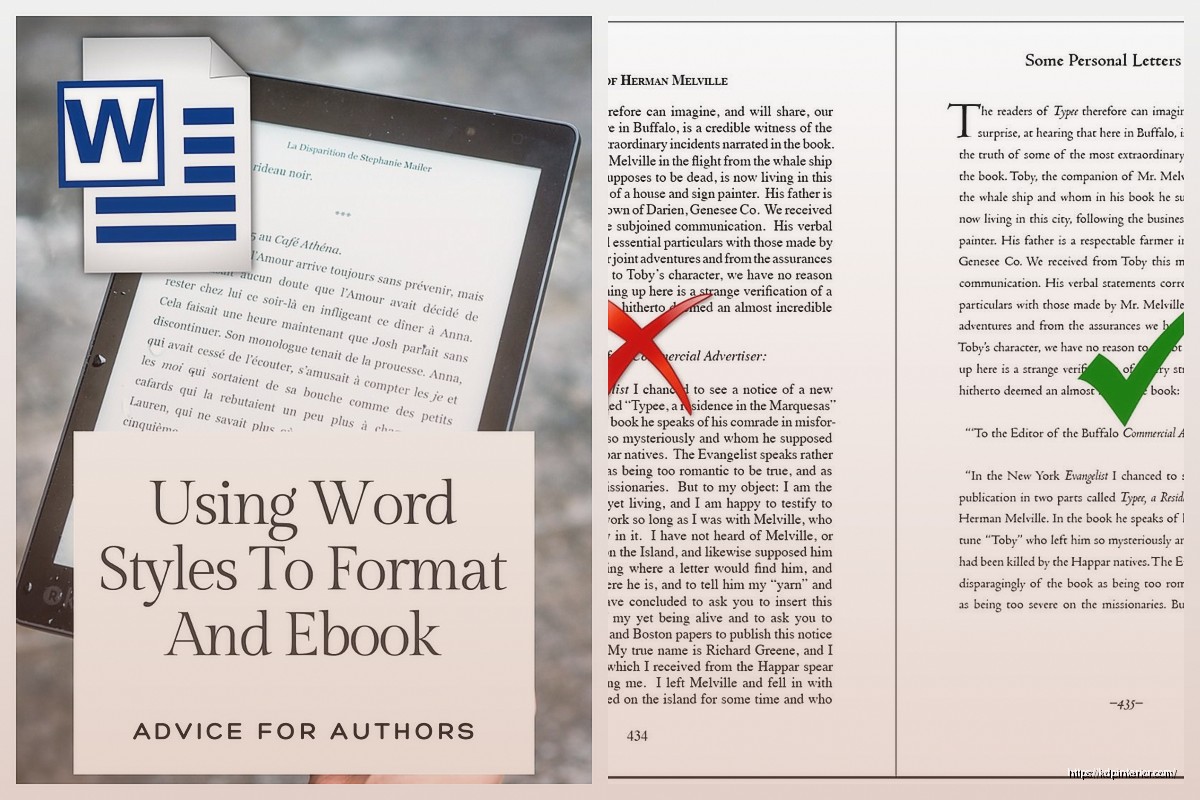
Okay I’m gonna be real with you – if you’re not using Styles in Word you’re making your life harder. Styles are those things in the Home tab that say “Normal” “Heading 1” “Heading 2” etc.
For a basic book you need:
– Normal (for body text)
– Heading 1 (for chapter titles)
– Maybe Heading 2 if you have subsections
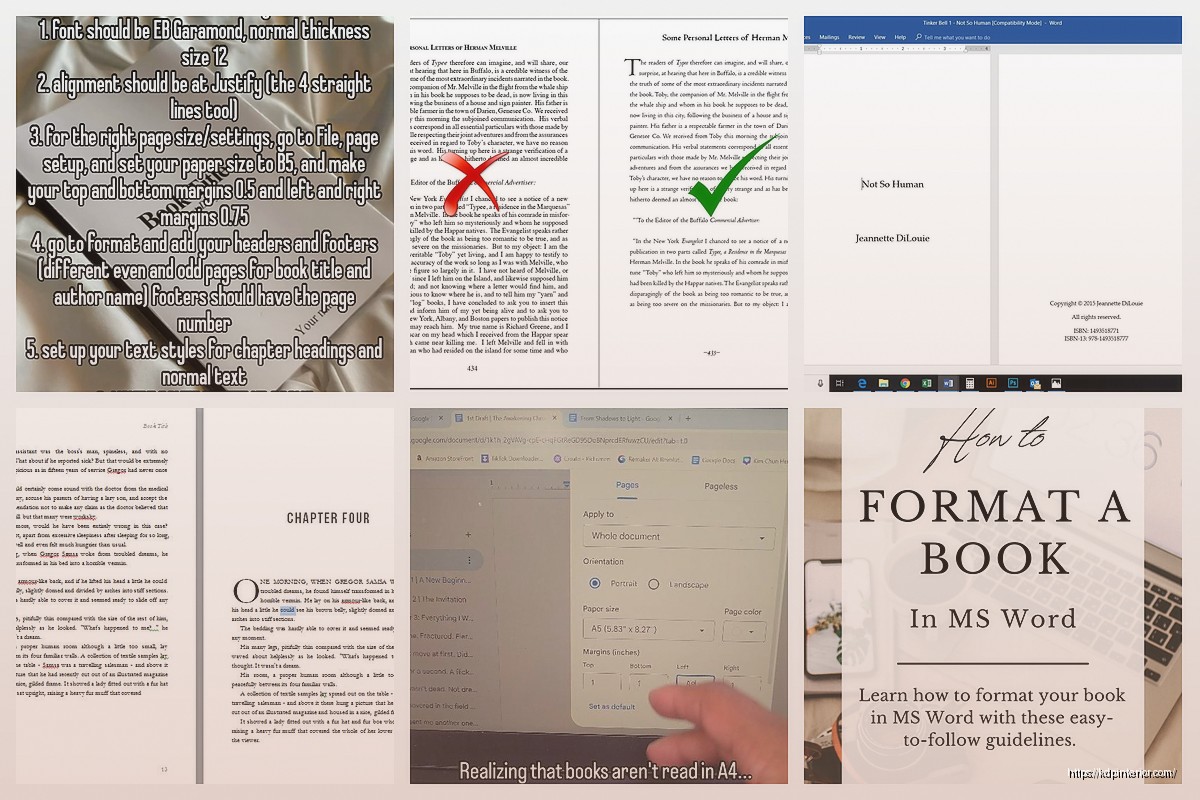
Right-click on “Normal” and choose “Modify” – this is where you set your actual body text font and size. For print books I use:
– Font: Garamond, Georgia, or Times New Roman (easier to read in print)
– Size: 11pt or 12pt depending on the font
– Line spacing: 1.15 or 1.5 (not double, that’s too much)
– Alignment: Justified (makes edges line up on both sides)
One thing that annoys me is Word’s default spacing adds extra space between paragraphs. In the Modify Style dialog go to Format button, then Paragraph, and set “Spacing After” to 0. Then set “First line indent” to 0.3 inches under Indentation. This gives you traditional book formatting where paragraphs are indented instead of having space between them.
For chapter titles use Heading 1 style. Modify it to be bigger (16pt or 18pt), bold, maybe centered. I usually add spacing before the chapter title – like 0.5 inches or so – to push it down from the top of the page.
To force each chapter to start on a new page put your cursor at the end of the previous chapter and insert a section break (Next Page) or just a regular page break if you don’t need different headers per chapter.
Okay so there are some random things that’ll mess up your upload to KDP if you don’t fix them. My cat just jumped on my keyboard but anyway…
Embedded fonts: When you save your final file go to File, Options, Save, and check “Embed fonts in the file” – this ensures Amazon sees the fonts you chose.
Save as PDF properly: Don’t just File > Save As > PDF. That can cause issues. Instead use File > Export > Create PDF/XPS. In the options make sure “ISO 19005-1 compliant (PDF/A)” is NOT checked because KDP doesn’t like that format.
Bleeds: If your book has images or colored backgrounds that go to the edge of the page you need bleeds. This means your page size needs to be 0.125 inches larger on all sides. So a 6×9 with bleeds becomes 6.25×9.25 inches. The image extends into that extra space.
Hyperlinks: If you’re making an ebook version too, add hyperlinks to your table of contents. Select the chapter title in your TOC, right-click, choose “Link” and link it to the heading bookmark. This makes it clickable in the ebook.
Before you upload to KDP use Print Preview (File > Print but don’t actually print) to scroll through and check:
– Are margins consistent and not too tight?
– Do chapters start on the right pages?
– Are page numbers working correctly?
– Any weird spacing or widows/orphans (single lines at top or bottom of pages)?
Amazon also has a previewer tool after you upload that shows you what the printed book will look like. Use it. I’ve caught so many issues there that I missed in Word.
Oh wait I forgot to mention – if you have images make sure they’re at least 300 DPI for print. Lower resolution looks pixelated. You can check this by right-clicking the image in Word, Format Picture, and looking at the size settings. If it’s showing like 96 or 72 DPI you need a higher quality source image.
This is what I do now after formatting like 200+ books:
1. Set page size and margins first thing
2. Set up styles for Normal and Heading 1
3. Paste in or write content using those styles only
4. Add section breaks between major sections
5. Set up headers/footers with page numbering
6. Do a full read-through checking formatting
7. Export as PDF
8. Check PDF before uploading
The whole process takes me maybe 30 minutes now for a straightforward book. When I started it was like hours of frustration because I’d do things in the wrong order and have to backtrack.
One more thing – save your Word file as a template once you’ve got everything set up how you like it. File > Save As > Word Template (.dotx). Then for your next book you just open that template and you’ve got all your margins, styles, and settings already done. Saves so much time.
And honestly if you’re doing anything super complex with multiple columns, lots of images, or fancy layouts, maybe consider InDesign instead. Word is great for straightforward text-heavy books but it fights you on complicated stuff. I still use Word for probably 80% of my projects though because it’s fast and clients usually already have their content in Word anyway.
DISCOVER OUR FREE BEST SELLING PRODUCTS
Editable Canva Lined Journal: Express Your Thoughts – KDP Template
Lined Pages Journal 120 pages Ready to Upload PDF Commercial Use KDP Template 6×9 8.5×11 5×8 for Notebooks, Diaries, Low Content
Lined Pages Journal 120 pages Ready to Upload PDF Commercial Use KDP Template 6×9 8.5×11 5×8 for Notebooks, Diaries, Low Content
Cute Dogs Coloring Book for Kids | Activity Book | KDP Ready-To-Upload
Daily Planner Diary : Diary Planners for Everyday Productivity, 120 pages, 6×9 Size | Amazon KDP Interior
Wolf Coloring KDP interior For Adults, Used as Low Content Book, PDF Template Ready To Upload COMMERCIAL Use 8.5×11"
Coloring Animals Head Book for Kids, Perfect for ages 2-4, 4-8 | 8.5×11 PDF
Printable Blank Comic Book Pages PDF : Create Your Own Comics – 3 Available Sizes
Notes KDP interior Ready To Upload, Sizes 8.5×11 6×9 5×8 inch PDF FILE Used as Amazon KDP Paperback Low Content Book, journal, Notebook, Planner, COMMERCIAL Use
Black Lined Journal: 120 Pages of Black Lined Paper Perfect for Journaling, KDP Notebook Template – 6×9
Student Planner Journal 120 pages Ready to Upload PDF Commercial Use KDP Template 6×9" 8.5×11" for Low Content book
Recipe Journal Template – Editable Recipe Book Template, 120 Pages – Amazon KDP Interior