Amazon KDP guide, KDP book publishing
Book Manuscript Template Word: Microsoft Format
Apr
Okay so I just spent like three hours last week rebuilding my manuscript template in Word because my old one got corrupted and honestly? It’s not as complicated as people make it seem but there ARE specific things you gotta get right or Amazon’s gonna reject your file.
Setting Up Your Page Size First Thing
First thing – and I mess this up way too often – you need to set your trim size BEFORE you start formatting anything. Most people just open a blank Word doc and start typing and then wonder why everything looks weird when they export to PDF.
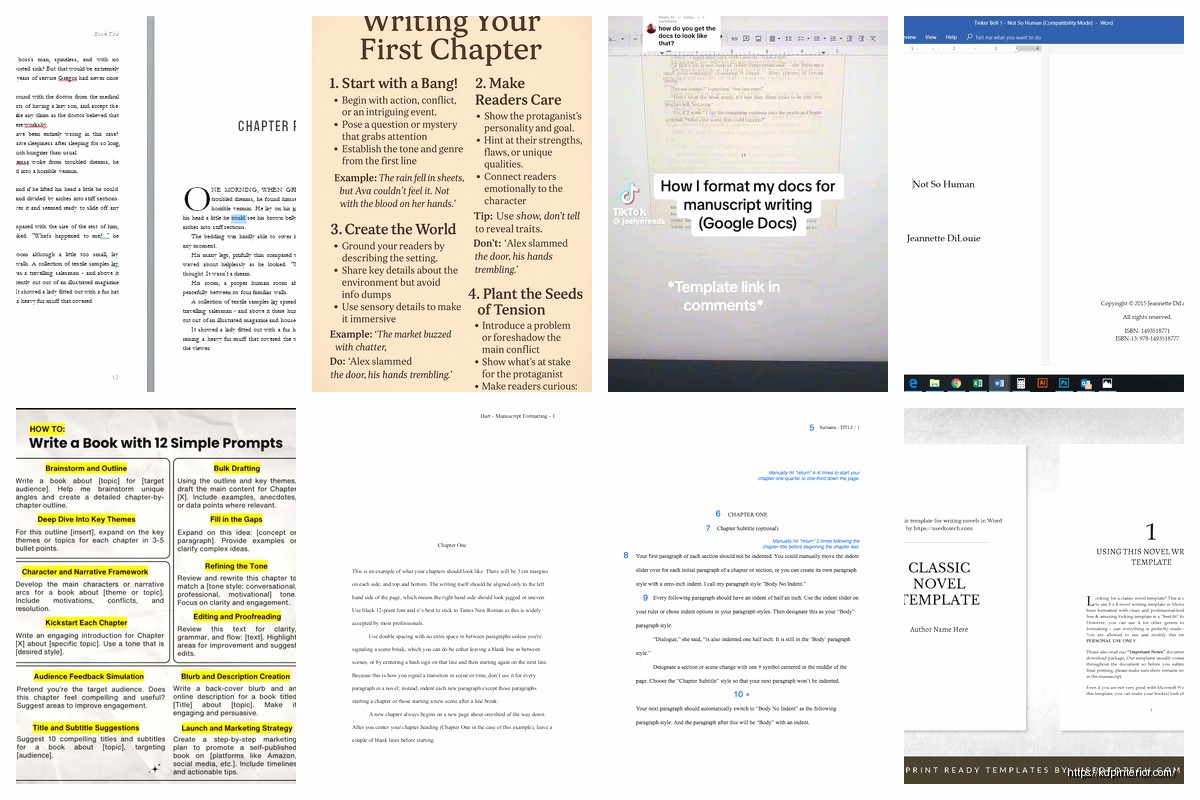
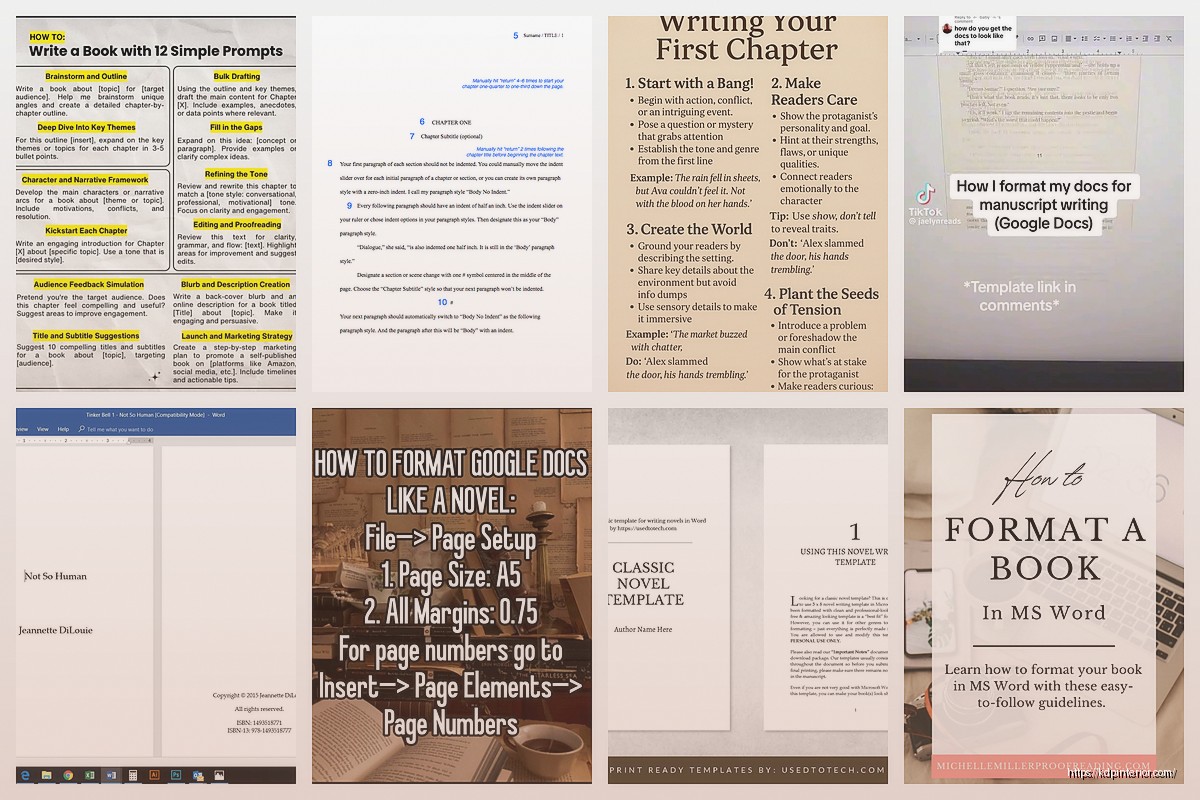
Go to Layout > Size > More Paper Sizes. For most books I’m doing 6×9 inches because that’s like the standard trade paperback size. If you’re doing a novel, 5×8 works too. For workbooks or journals I go bigger, maybe 8×10 or 8.5×11. The key thing is you set this NOW not later.
Under the same Layout tab, set your margins. I typically do 0.75 inches on the top and bottom, but here’s where it gets specific – your inside margin (the gutter) needs to be bigger than your outside margin. I usually do 0.875 inches for the gutter and 0.625 inches for the outside. This accounts for the binding so text doesn’t disappear into the spine.
Dealing With Sections and Headers
This part trips up SO many people. You need section breaks, not just page breaks. The difference is huge for formatting.
Your book structure should look like this: front matter (title page, copyright, table of contents), then your actual content chapters, then back matter (about the author, other books, etc). Each of these needs to be its own section.
Insert section breaks by going to Layout > Breaks > Next Page (under Section Breaks, not Page Breaks). I put one after the title page, one after all the front matter, and one before back matter starts.
Why does this matter? Because you want different headers/footers in different sections. Like your front matter shouldn’t have page numbers usually, or they should be Roman numerals (i, ii, iii). Your main content gets regular numbers (1, 2, 3).
To set this up – and this is gonna sound tedious but trust me – double-click in the header area of your first content page. You’ll see “Header & Footer Tools” appear. Click “Link to Previous” to UNLINK it from the previous section. Now you can have different headers in each section.
The Style Thing Everyone Ignores
Okay so here’s something I ignored for like my first 30 books until I realized I was wasting hours… Use Word’s built-in styles. I know, I know, they look ugly by default but you can modify them.
Create styles for:
– Chapter Titles (I call mine “Chapter Heading”)
– Main body text (modify “Normal” style)
– Subheadings if you use them
– Block quotes or special text
Why? Because if you decide to change your font or spacing later, you just update the style once instead of manually changing 200 instances. Also helps with generating a table of contents automatically.
To modify a style, right-click on it in the Styles pane (Home > Styles) and choose “Modify.” I set my body text to 11pt or 12pt, usually Times New Roman or Garamond because they’re readable and professional. Line spacing I do 1.15 or 1.5 depending on the book type.
Chapter headings I make 18pt or 20pt, bold, with 24pt spacing before so there’s breathing room.
Fonts That Actually Work
Real talk – stick with serif fonts for body text. Times New Roman, Garamond, Georgia, Book Antiqua. Sans-serif fonts like Arial or Calibri look weird in print books unless you’re doing something very specific like a modern design book.
I usually avoid anything too decorative. Your readers need to actually READ the thing for hours, not squint at fancy script fonts.
Oh and another thing – make sure you have the rights to use the font commercially. Most system fonts are fine but if you download something custom, check the license. I learned this the hard way when a font company sent me a nastygram about a workbook I published.
Page Numbers and Headers Setup
This is where the section breaks pay off. In your main content section (after front matter), insert page numbers. Go to Insert > Page Number > Bottom of Page > Plain Number 3 (centered) or choose outside alignment if you want different left/right pages.
For the page number formatting, click on the number, then go to Page Number > Format Page Numbers. Set it to start at 1 (or whatever number follows your front matter).
Headers are optional but I like them for non-fiction. Typically you put the book title on even pages (left side) and chapter title on odd pages (right side). To do this you need to check “Different Odd & Even Pages” in the Header & Footer Tools.
Then manually type your book title in the even page header and chapter titles in odd page headers. Yeah it’s manual work for each chapter which is annoying but it looks professional.
Chapter Starts and Page Breaks
Every chapter should start on a right-hand page (odd number). Insert a section break (Next Page) at the end of each chapter. If your chapter ends on an odd page, add one more section break so the next chapter starts odd.
For the chapter title page itself, I usually add extra spacing above the chapter title – like 2-3 inches of blank space. This is called a “chapter drop.” Makes it look more professional than just smashing the title at the top of the page.
You can do this by setting “Spacing Before” in your Chapter Heading style to like 144pt (2 inches) or just hitting Enter a bunch of times before the chapter title. The style method is cleaner though.
Front Matter Basics
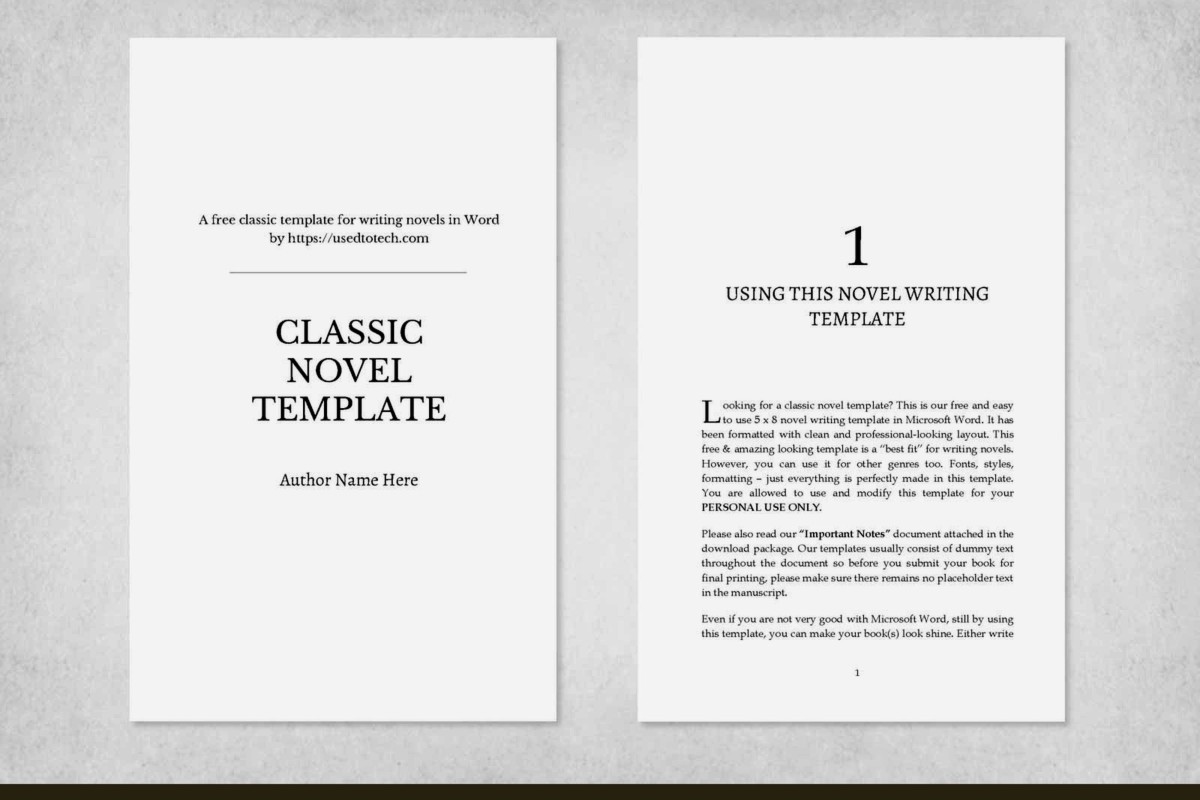
Your front matter order should be:
– Title page (book title, subtitle if any, author name)
– Copyright page (copyright notice, ISBN, disclaimer stuff)
– Table of contents (optional but nice for non-fiction)
– Foreword or introduction if you have one
Title page should be centered and pretty simple. I see people get too fancy here with graphics and weird fonts. Just make it clean.
Copyright page – you can find templates online but basically include: Copyright © [year] by [your name], “All rights reserved” statement, and any disclaimers you need. I also put “First Edition” or whatever printing it is.
Table of Contents Automation
If you used styles for your chapter headings, you can auto-generate a TOC. Go to References > Table of Contents > Custom Table of Contents.
Make sure only your chapter heading style is included (uncheck other heading levels if needed). Set it to show page numbers and right-align them.
The cool thing is if you add chapters or page numbers change, you can just right-click the TOC and hit “Update Field” > “Update entire table” and it refreshes automatically. Saves so much time.
Exporting to PDF The Right Way
When you’re done formatting – and I mean REALLY done, proofread everything twice – export to PDF. Don’t use “Save As” PDF, use “Export” > “Create PDF/XPS.”
Click “Options” and make sure “ISO 19005-1 compliant (PDF/A)” is UNCHECKED. Amazon specifically says not to use PDF/A format. Also uncheck “Document structure tags for accessibility” because it can cause issues with KDP uploads.
Save it somewhere you’ll remember. I have a folder system that’s like Books > [Book Title] > Final Files because I’ve lost manuscripts in random folders before and it’s the worst.
Common Mistakes I See All The Time
Using page breaks instead of section breaks – this screws up your headers and footers completely.
Not setting margins correctly so text gets cut off in the gutter. I’ve had books printed where you literally can’t read the inside edge of pages because I rushed this step.
Forgetting to embed fonts – if you use a custom font, go to File > Options > Save and check “Embed fonts in the file.” Otherwise the PDF might substitute a different font.
Having headers or footers on chapter title pages. Looks unprofessional. To fix this, when you’re on a chapter start page, go to Header & Footer Tools and check “Different First Page” for that section.
Not checking the actual PDF before uploading. Open that PDF and scroll through EVERY page. I’ve caught so many weird formatting glitches this way – random extra spaces, page numbers in wrong places, headers that didn’t unlink properly.
Template Maintenance
Once you get a template working perfectly, save it as a Word template file (.dotx). File > Save As > choose “Word Template” from the dropdown. Now you can reuse it for every book by opening the template instead of a regular doc.
I actually have like 5 different templates – one for 6×9 novels, one for 8×10 workbooks, one for 5×8 pocket guides, etc. Saves me probably an hour per book not having to redo all the formatting settings.
Wait I forgot to mention – if you’re doing a book with images, you gotta be careful with image placement. Use “In Line with Text” wrapping for most cases, not the fancy text wrapping options. Those can shift around when you export to PDF and suddenly your image is on the wrong page.
Also compress your images before putting them in Word. Like if you have a 5MB photo, resize it to the actual size it’ll appear in the book (maybe 4 inches wide) and compress it to 300dpi for print. This keeps your Word file from becoming massive and slow.
Testing Your Template
Before I use a template for a real book, I always do a test. I’ll create a fake 50-page book with the template, export it to PDF, and order a proof copy from KDP. Costs like $5 but it’s worth it to see if your margins are right and the formatting looks good in actual print.
I learned this after publishing a book where the gutter margin was too small and text disappeared into the binding on like every page. Had to unpublish it, fix the whole thing, and reupload. Such a pain.
Oh and funny story – my cat walked across my keyboard once while I was setting up a template and somehow changed all my margins to zero. Didn’t notice until I exported and every page was edge-to-edge text with no margins at all. Always double-check your settings even if you think you didn’t touch anything.
The whole template setup process takes maybe 2-3 hours the first time you do it properly, but then you’re set for dozens of books. Totally worth the upfront time investment instead of fighting with formatting on every single book.
DISCOVER OUR FREE BEST SELLING PRODUCTS
Editable Canva Lined Journal: Express Your Thoughts – KDP Template
Lined Pages Journal 120 pages Ready to Upload PDF Commercial Use KDP Template 6×9 8.5×11 5×8 for Notebooks, Diaries, Low Content
Lined Pages Journal 120 pages Ready to Upload PDF Commercial Use KDP Template 6×9 8.5×11 5×8 for Notebooks, Diaries, Low Content
Cute Dogs Coloring Book for Kids | Activity Book | KDP Ready-To-Upload
Daily Planner Diary : Diary Planners for Everyday Productivity, 120 pages, 6×9 Size | Amazon KDP Interior
Wolf Coloring KDP interior For Adults, Used as Low Content Book, PDF Template Ready To Upload COMMERCIAL Use 8.5×11"
Coloring Animals Head Book for Kids, Perfect for ages 2-4, 4-8 | 8.5×11 PDF
Printable Blank Comic Book Pages PDF : Create Your Own Comics – 3 Available Sizes
Notes KDP interior Ready To Upload, Sizes 8.5×11 6×9 5×8 inch PDF FILE Used as Amazon KDP Paperback Low Content Book, journal, Notebook, Planner, COMMERCIAL Use
Black Lined Journal: 120 Pages of Black Lined Paper Perfect for Journaling, KDP Notebook Template – 6×9
Student Planner Journal 120 pages Ready to Upload PDF Commercial Use KDP Template 6×9" 8.5×11" for Low Content book
Recipe Journal Template – Editable Recipe Book Template, 120 Pages – Amazon KDP Interior