Okay so I’ve been working on story outlines all week because I had three clients ask about structure samples and honestly, most writers overthink this part so much they never actually start writing.
The Three-Act Structure Nobody Tells You About Properly
Look, the basic three-act thing is everywhere but here’s what actually matters when you’re outlining. Act One is like 25% of your story, Act Two is about 50%, and Act Three wraps up the final 25%. But the percentages aren’t the important part—it’s what goes where.
For a 60,000-word novel, you’re looking at roughly 15k words for setup, 30k for all the complications and rising action, then 15k to bring it home. I just used this exact breakdown last month for a thriller outline and it worked perfectly because you can see immediately if you’re spending too much time on setup.
Here’s What Goes In Each Act
Act One needs your ordinary world, the inciting incident (around 10-12% in), and the first plot point that launches your character into the main story. Like if you’re writing a romance, Act One shows them in their normal life, they meet the love interest or get the setup for meeting them, then something forces them together properly.
Act Two is where people get lost. You need a midpoint—this is huge and most beginner outlines skip it. The midpoint flips something. Maybe your detective realizes they’ve been chasing the wrong suspect, or your romance characters finally kiss but then everything falls apart. Around the 75% mark you hit the low point, the “all is lost” moment.
Act Three is the climax and resolution. The final confrontation, the big revelation, whatever your genre calls for.
The Save the Cat Beat Sheet
Oh and another thing—the Save the Cat method is honestly one of the best for actually filling in your outline with scenes. Blake Snyder designed this for screenplays but it works great for novels too.
There’s 15 beats total and yeah that sounds like a lot but once you map them out it’s pretty straightforward:
- Opening Image – snapshot of the “before” world
- Theme Stated – someone says what the book is really about
- Setup – introduce your character’s world and problems
- Catalyst – the inciting incident hits
- Debate – character wrestles with whether to go forward
- Break into Two – they commit to the journey
- B Story – subplot begins, usually the relationship thread
- Fun and Games – the “promise of the premise” stuff
- Midpoint – false victory or false defeat
- Bad Guys Close In – external or internal pressure builds
- All Is Lost – the low point
- Dark Night of the Soul – emotional reaction to the loss
- Break into Three – they find the solution
- Finale – climax and resolution
- Final Image – opposite of opening image showing change
I literally keep this list on a sticky note on my desk because I reference it constantly. When a client sends me their outline and says “something feels off,” 90% of the time they’re missing the midpoint or the all-is-lost moment.
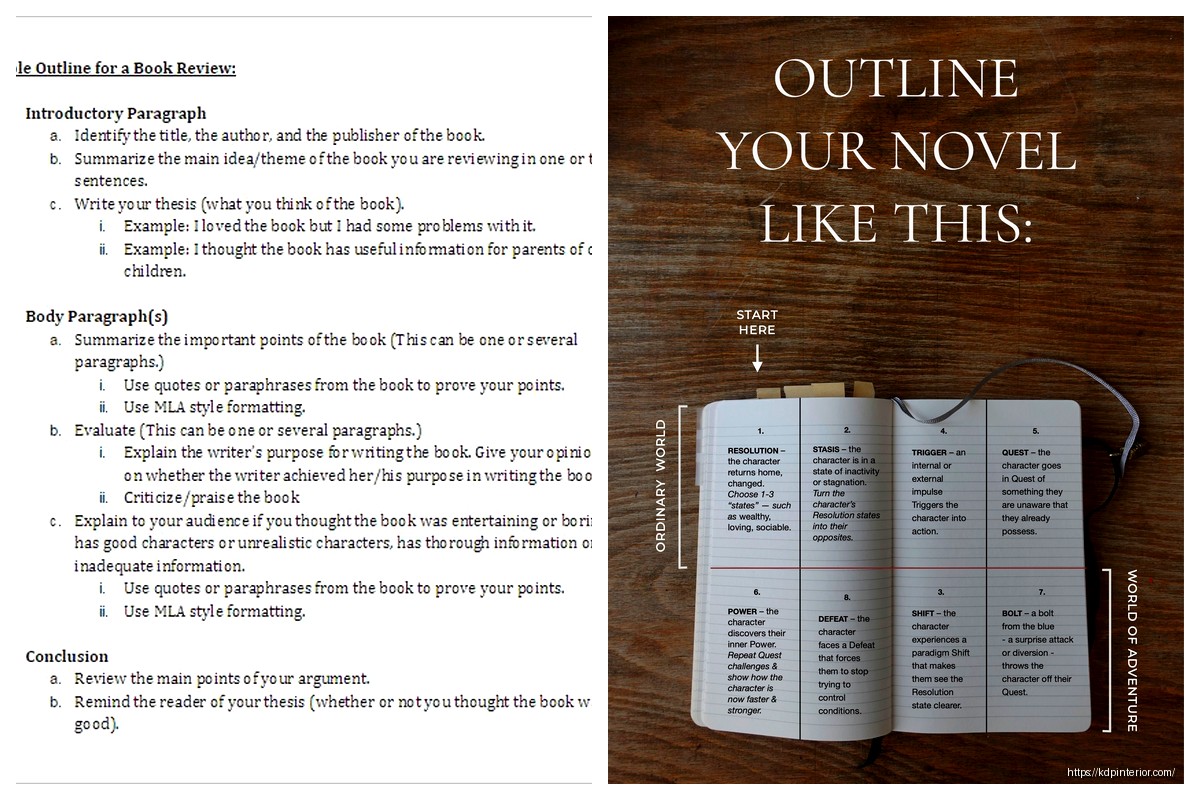
The Hero’s Journey for Fantasy and Adventure
Wait I forgot to mention—if you’re doing fantasy or any kind of adventure story, the Hero’s Journey structure is gonna be your best friend. It’s got 12 stages and yeah it’s based on Joseph Campbell’s work but don’t let that intimidate you.
Ordinary World – Frodo in the Shire, Harry with the Dursleys, whatever normal looks like
Call to Adventure – Gandalf shows up, Hagrid arrives, the letter comes
Refusal of the Call – “I’m just a hobbit” or “I’m nobody special”
Meeting the Mentor – Gandalf, Dumbledore, Obi-Wan, you get it
Crossing the Threshold – leaving the ordinary world behind
Tests, Allies, Enemies – figuring out this new world
Approach to the Inmost Cave – preparing for the major challenge
Ordeal – the big crisis, often near the midpoint
Reward – they survive and gain something
The Road Back – heading toward the final confrontation
Resurrection – the climax, final test
Return with the Elixir – back home but changed, with knowledge or power
My dog just knocked over my coffee so gimme a sec… okay back.
The thing about the Hero’s Journey is you don’t have to use every single stage. I’ve seen great outlines that skip the refusal of the call entirely because the character is eager to go. It’s a template, not a rulebook.
The Fichtean Curve for Thriller Writers
This is gonna sound weird but I learned about this structure from a client who wrote military thrillers and it completely changed how I outline suspense. Instead of the traditional rising action, you create a series of crises that escalate.
You basically throw your character into crisis right away—no long setup. Then you hit them with mini-crises throughout the story, each one worse than the last, building to the climax. Think of it like:
Crisis 1 at 10% → Crisis 2 at 25% → Crisis 3 at 40% → Crisis 4 at 60% → Crisis 5 at 75% → Climax at 90%

Between each crisis you get brief moments of relief where you develop character or relationships, but the tension never fully releases. Jack Reacher novels use this structure like crazy.
The Seven-Point Story Structure
Dan Wells teaches this and honestly it’s one of the simplest for outlining because you only need to figure out seven things:
- Hook – starting situation
- Plot Turn 1 – call to adventure
- Pinch Point 1 – bad guys show their power
- Midpoint – shift from reaction to action
- Pinch Point 2 – bad guys show even more power
- Plot Turn 2 – final piece of puzzle falls into place
- Resolution – ending situation
The cool trick with this method is you actually outline it backwards. Start with your resolution—where does your character end up? Then figure out your hook—where did they start? That contrast tells you what the character arc needs to be. Then you fill in the middle five points.
I used this for a client’s mystery novel last year and we outlined the whole thing in like two hours because starting with the ending made all the middle decisions obvious.
Actual Example Using Seven-Point Structure
Let’s say you’re writing a romance:
Resolution: They’re married and running the bakery together
Hook: She’s a corporate lawyer who hates her job, he’s a baker struggling to save his shop
Plot Turn 1: She’s forced to handle his eviction case
Pinch Point 1: The corporation she works for is the one evicting him
Midpoint: She quits her job to help him fight
Pinch Point 2: They lose the case and the shop anyway
Plot Turn 2: He realizes she’s the one who leaked documents to save him
See how knowing the ending makes the rest fall into place? You know she needs to go from corporate lawyer to bakery owner, so the midpoint has to be about her choosing him over her career.
The Snowflake Method for Detail-Oriented Writers
Okay so funny story—I thought this method was totally overrated until I tried it myself for a sci-fi project. It’s called the Snowflake because you start with one sentence and expand it like a snowflake pattern.
Step 1: One sentence describing your entire novel
Step 2: Expand that to a paragraph with setup, disasters, and ending
Step 3: Create one-page character sketches for main characters
Step 4: Expand each sentence from step 2 into a paragraph
Step 5: One-page character sketches for other characters
And it keeps going… you get the idea. Each step adds more detail.
The outline I create for clients usually stops around step 4 or 5 because by then you’ve got a solid chapter-by-chapter breakdown. Going further starts bleeding into actual writing.
Scene-by-Scene Outlining
Wait I gotta mention this because it’s what I actually use most often for KDP projects. Forget the fancy structure names—sometimes you just need to list out your scenes.
I use a spreadsheet with columns for:
- Scene number
- POV character
- Setting
- What happens (plot)
- Character development
- Goal of scene
- Conflict in scene
- Outcome
Every scene needs a goal, conflict, and outcome. If you can’t fill in those three columns, cut the scene or combine it with another one.
This is super practical for novels you’re publishing on Amazon because you can see at a glance if you’re spending too many scenes in one location or with one character. I had a client who realized she had 12 scenes in a row from the same POV and it was bogging down the middle of her book.
The Index Card Method
Some writers swear by this—write each scene on an index card, then arrange them on a wall or table. You can physically move scenes around to test different orders.
I don’t personally do this because I’m disorganized and would lose the cards, but I’ve seen it work great for visual thinkers. My friend uses different colored cards for different plot threads so she can see if the romance subplot disappears for too long.
The Synopsis as Outline
This is gonna sound backwards but sometimes I just write a detailed synopsis first. Like 2000-3000 words telling the whole story start to finish. Then I go back and mark where chapter breaks should go and which scenes need expanding.
It’s less structured than the other methods but it lets you discover the story more organically. Good for pantsers who need some planning but hate rigid outlines.
Quick Tips That Actually Matter
Your outline can change while you write—seriously, don’t treat it like it’s carved in stone. I change outlines all the time when I’m drafting and realize something better.
Make sure you know your ending before you start. Even pantsers should know roughly where they’re headed.
Test your structure by checking: Does something significant happen by 25%? Is there a major shift at 50%? Does everything feel lost around 75%? If you hit those marks you’re probably fine.
Genre matters for structure. Romance readers expect certain beats at certain times. Mystery needs clues planted systematically. Thriller needs constant escalation. Don’t fight your genre’s expectations in your outline.
Oh and another thing—your B-plot (usually the romance or relationship thread) should have its own mini-structure that mirrors the main plot. When the main plot hits the midpoint, the relationship should shift too.
The outline I use most for my own KDP books is honestly a hybrid—I use the three-act structure as my framework, plug in the Save the Cat beats, then do scene-by-scene breakdowns in a spreadsheet. Takes me maybe 4-5 hours to outline a 50k word book but then the actual writing goes way faster because I know exactly what I’m doing.
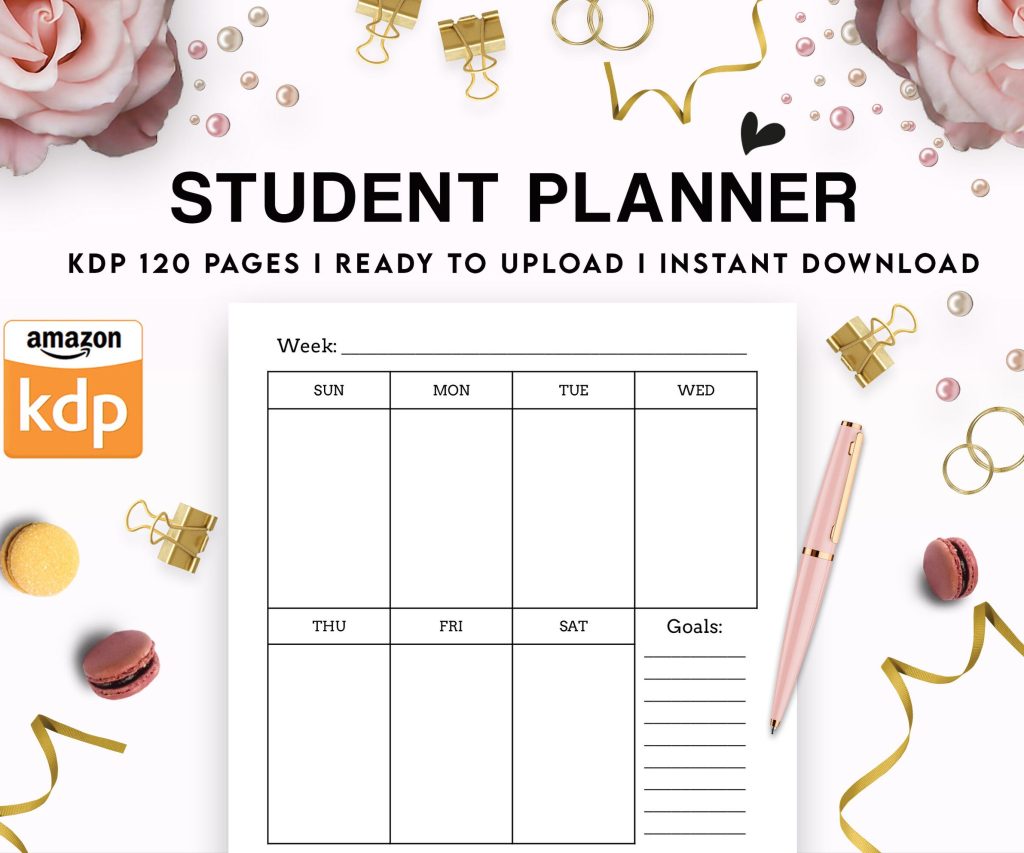 Student Planner Journal 120 pages Ready to Upload PDF Commercial Use KDP Template 6x9" 8.5x11" for Low Content book
1 × $0.00
Student Planner Journal 120 pages Ready to Upload PDF Commercial Use KDP Template 6x9" 8.5x11" for Low Content book
1 × $0.00 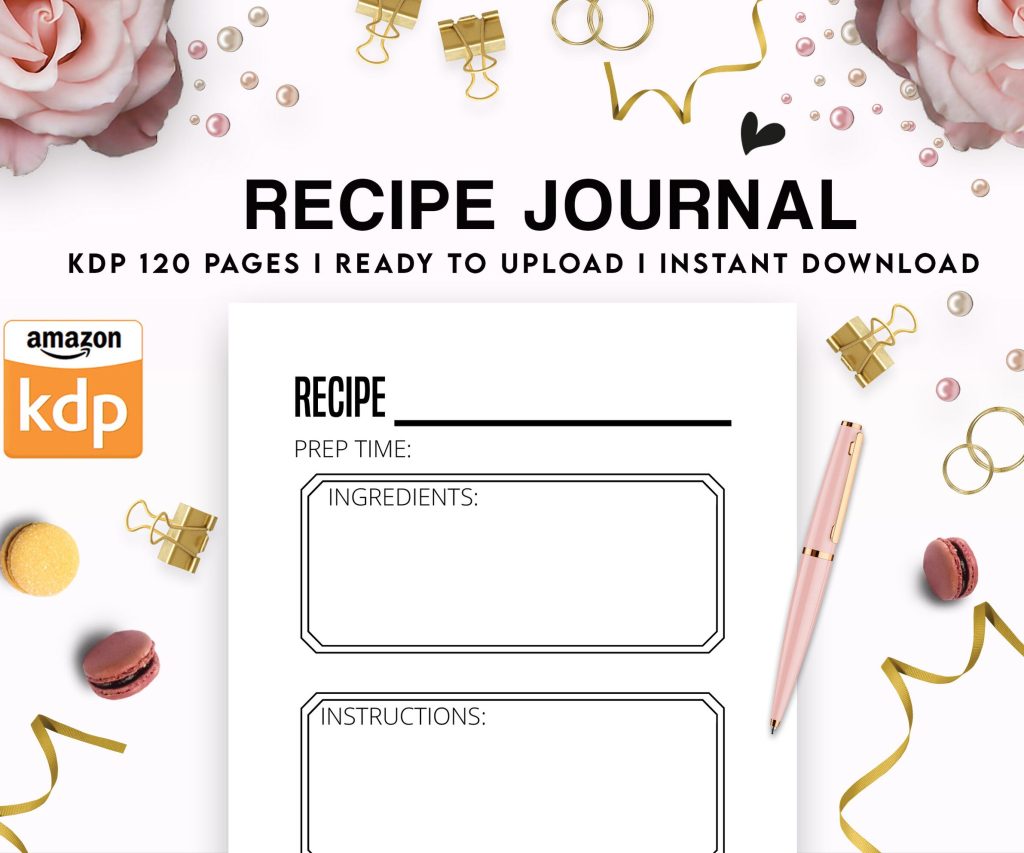 Recipe Journal Template - Editable Recipe Book Template, 120 Pages - Amazon KDP Interior
1 × $0.00
Recipe Journal Template - Editable Recipe Book Template, 120 Pages - Amazon KDP Interior
1 × $0.00 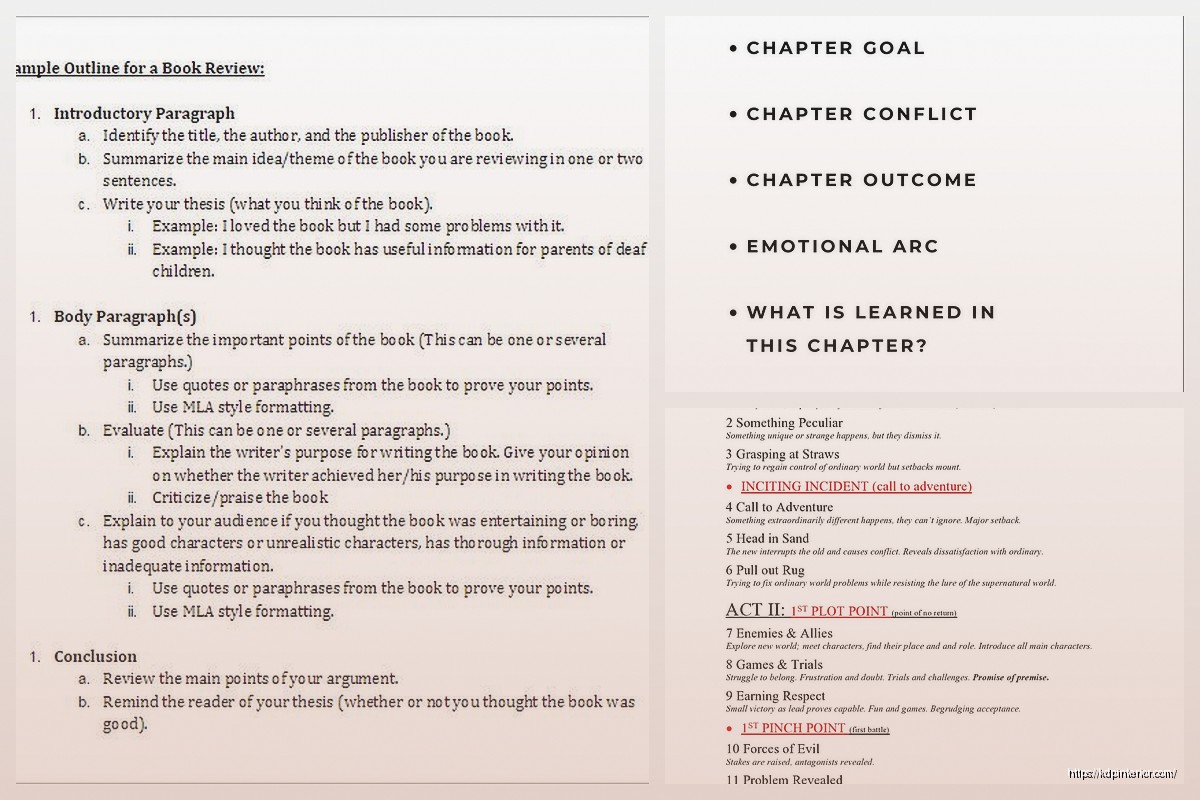
DISCOVER OUR FREE BEST SELLING PRODUCTS
Editable Canva Lined Journal: Express Your Thoughts – KDP Template
Lined Pages Journal 120 pages Ready to Upload PDF Commercial Use KDP Template 6×9 8.5×11 5×8 for Notebooks, Diaries, Low Content
Lined Pages Journal 120 pages Ready to Upload PDF Commercial Use KDP Template 6×9 8.5×11 5×8 for Notebooks, Diaries, Low Content
Cute Dogs Coloring Book for Kids | Activity Book | KDP Ready-To-Upload
Daily Planner Diary : Diary Planners for Everyday Productivity, 120 pages, 6×9 Size | Amazon KDP Interior
Wolf Coloring KDP interior For Adults, Used as Low Content Book, PDF Template Ready To Upload COMMERCIAL Use 8.5×11"
Coloring Animals Head Book for Kids, Perfect for ages 2-4, 4-8 | 8.5×11 PDF
Printable Blank Comic Book Pages PDF : Create Your Own Comics – 3 Available Sizes
Notes KDP interior Ready To Upload, Sizes 8.5×11 6×9 5×8 inch PDF FILE Used as Amazon KDP Paperback Low Content Book, journal, Notebook, Planner, COMMERCIAL Use
Black Lined Journal: 120 Pages of Black Lined Paper Perfect for Journaling, KDP Notebook Template – 6×9
Student Planner Journal 120 pages Ready to Upload PDF Commercial Use KDP Template 6×9" 8.5×11" for Low Content book
Recipe Journal Template – Editable Recipe Book Template, 120 Pages – Amazon KDP Interior