Okay so I was literally working on a book sleeve template last Tuesday while my cat kept walking across my keyboard and here’s what you actually need to know about making these things work.
The Basic Setup Nobody Tells You Right
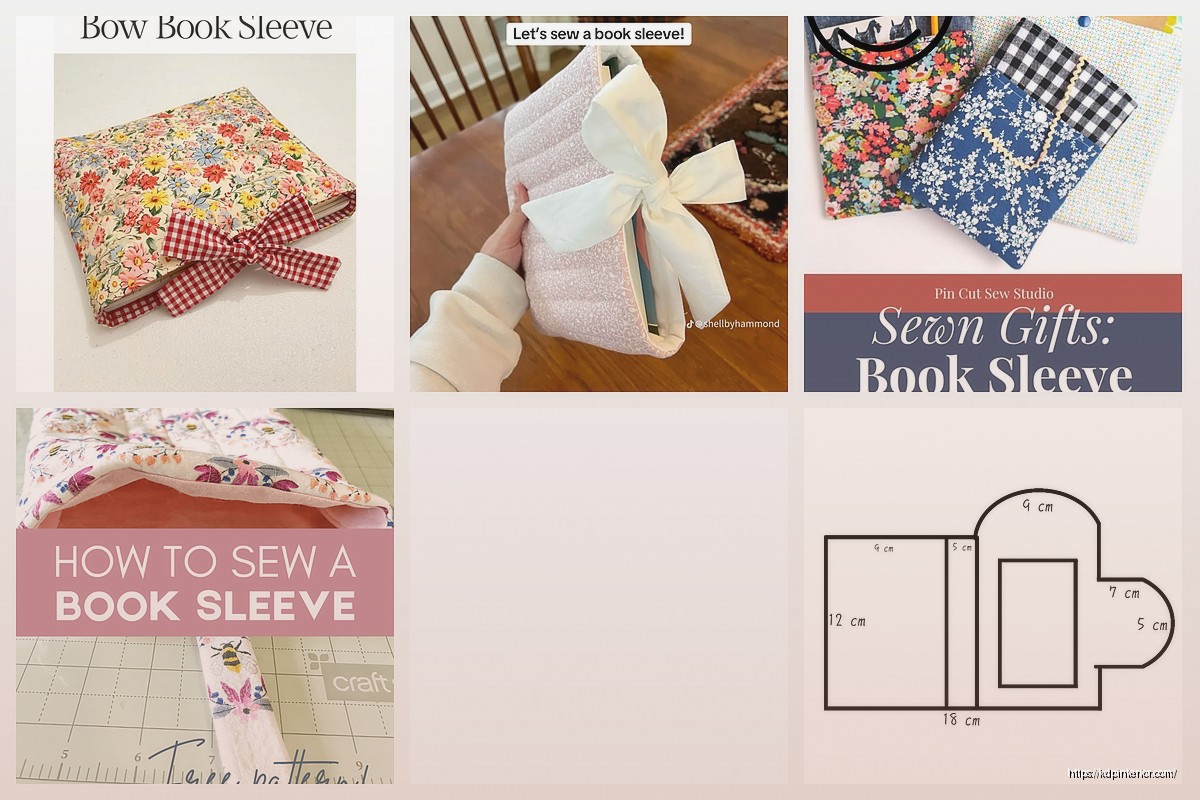
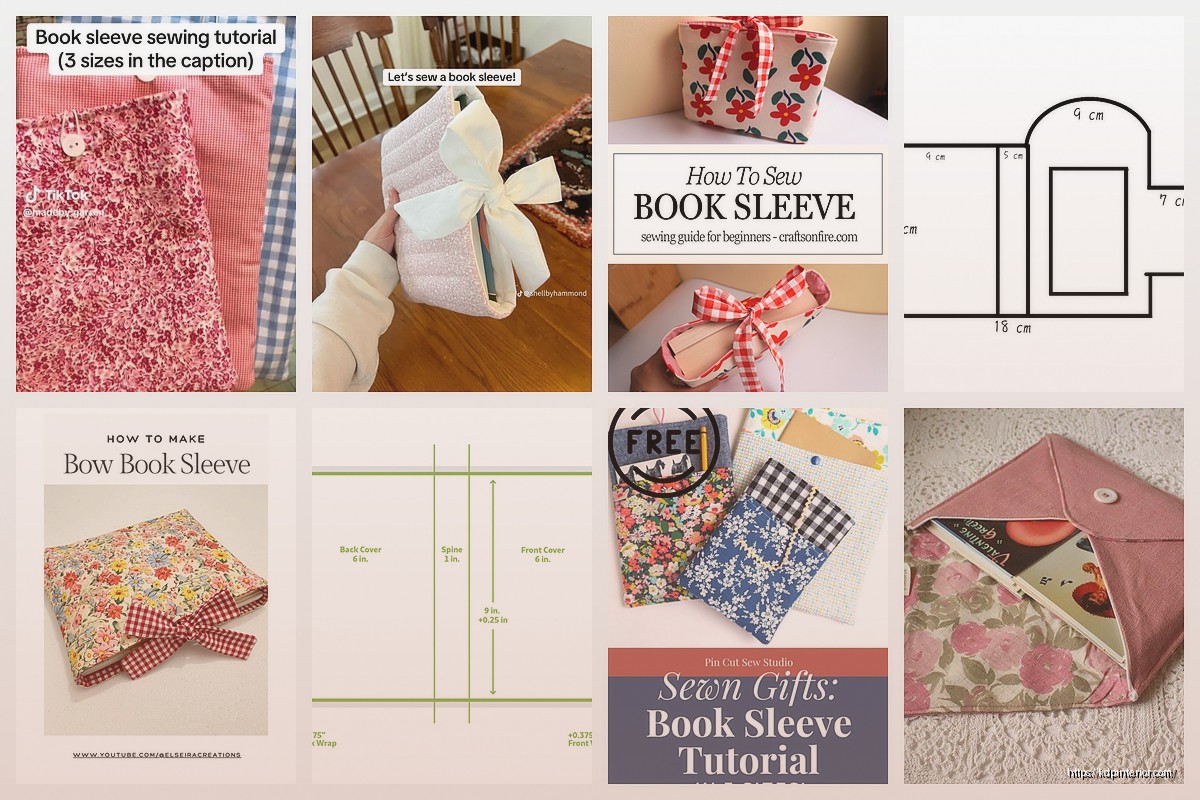
First thing – book sleeves are NOT the same as book covers. I see people mess this up constantly. A sleeve is like… think of it as a protective jacket that slides over your actual book. Most people making these for Etsy or selling them as products, but you can also create templates that customers download and make themselves, which is honestly where I’ve had the most luck with KDP-adjacent products.
The standard paperback sizes you’re gonna deal with are 6×9, 5×8, and 8.5×11. Those are your bread and butter. I made the mistake early on of creating templates for weird sizes like 7×10 thinking I was being clever and literally nobody bought them for like eight months.
Material Considerations That Actually Matter
So for the template itself, you need to account for what material someone’s using. If you’re designing for fabric (cotton, felt, canvas), you gotta add seam allowances. Usually 0.5 inches on all sides but I go with 0.75 because people suck at cutting straight lines. Trust me on this.
For leather or faux leather, different story. Less stretch, more structure. Your template needs to be more precise because there’s no forgiveness in the material.
Neoprene is having this weird moment right now – everyone wants neoprene sleeves because they’re padded and look modern. The template for neoprene is actually easier because you don’t need seam allowances, just clean edges and maybe 0.25 inch extra for the binding if they’re using a serger or zigzag stitch.
The Math Part That’s Annoying But Essential
Here’s the formula I use every single time:
Width = (book width x 2) + book spine thickness + seam allowances + ease
Length = book height + seam allowances + ease
The “ease” is what trips people up. Ease is the extra space you add so the book actually slides in and out without tearing the sleeve or getting stuck. For fabric, I add 0.5 inches to width and 0.25 inches to length. For stiffer materials, sometimes you need a full inch of ease on the width.
Oh and another thing – spine thickness is where everyone screws up their measurements. A 200-page paperback with 60lb paper is roughly 0.4 inches thick. But a 200-page book with 70lb cream paper? That’s closer to 0.5 or 0.6 inches. You gotta account for this in your template or create multiple versions.
Creating the Actual Template File
I use Adobe Illustrator but honestly Canva works fine for simpler designs. Inkscape is free and does the job if you’re not trying to do anything fancy with gradients or complex patterns.
Set up your artboard with these layers:
– Cutting line layer (usually red, 0.5pt stroke)
– Fold line layer (dashed, different color like blue)
– Seam allowance guides (gray, lighter)
– Design elements layer
– Notes/instructions layer
The cutting line is your outer perimeter. This is where scissors or a rotary cutter goes. Make it BOLD and obvious because people printing at home on regular printers need to see it clearly.
Fold lines show where to fold the material. For a basic sleeve, you’ve got one main fold at the bottom and maybe side folds if you’re doing a more structured design with flaps.
Design Elements People Actually Want
Wait I forgot to mention – when you’re adding design elements to your template, keep them at least 0.5 inches away from seam lines. Nothing worse than sewing up a sleeve and cutting off half your cute little book icon or whatever.
Popular design elements right now:
– Minimalist line art (books, reading glasses, coffee cups)
– Motivational reading quotes but honestly these are getting oversaturated
– Geometric patterns
– Floral borders but make them modern not grandma-cozy
– Abstract shapes and color blocks
I was watching The Bear the other night and noticed how they use negative space in the intro graphics and that’s kinda the vibe people want right now. Clean, lots of breathing room, not cluttered.
The Closure Situation
Your template needs to account for how the sleeve closes. Options:
**Elastic band** – Add a small rectangle or circle on your template showing where to attach the elastic. Usually centered on the back panel, about 1 inch from the top edge. Mark the corresponding button or snap position on the front.
**Magnetic snap** – Mark positions clearly, usually 1.5 inches from the top center. Note: magnets need interfacing behind them or they’ll rip through fabric. Your template should include a note about this.
**Velcro strips** – Show placement areas, typically 1-inch strips positioned 0.5 inches from edges.
**Open sleeve** – Easiest option, no closure needed, but add a note that the sleeve should fit snug enough to hold the book without it sliding out.
File Formats and Delivery
Okay so funny story – I once delivered a template as a JPEG and the customer printed it and everything came out pixelated and wrong. Now I only provide:
– PDF (print-ready, with crop marks and bleed)
– SVG (for people using cutting machines like Cricut)
– AI or EPS (for designers who want to customize)
– PNG (high-res, 300 DPI minimum, just as a backup)
Always include a separate instruction file. Don’t cram instructions onto the template itself because it makes printing weird. Create a simple PDF with:
– Material recommendations
– Cutting instructions
– Assembly steps with diagrams
– Suggested dimensions for different book sizes
The Variations You Should Offer
Basic sleeve templates are fine but nobody’s gonna pay much for them. Where I make actual money is offering variation packs:
Standard sleeve + padded version + version with pocket + version with pen holder = template bundle people will pay $15-20 for instead of $3 for a single template.
The pocket variation is literally just adding a smaller rectangle to the front panel. Mark fold lines, add seam allowances, done. But people LOVE having a pocket for bookmarks or their phone or whatever.
Pen holder is even easier – add parallel vertical lines on the front panel, usually 0.75 inches apart, with a note to sew channels. Boom, instant upgrade.
Testing Your Template Before Release
This is gonna sound obvious but I’ve skipped this step before and regretted it every time. Print your template actual size and test it with a real book. I use cheap fabric from Walmart, doesn’t matter if it’s pretty, just gotta check if the measurements work.
Cut it out, pin it together (don’t even bother sewing), slide a book in. Does it fit? Too tight? Too loose? Adjust your template accordingly.
I usually test with three books in the same size category – a thin one (100 pages), medium (200 pages), and thick one (400 pages). If your template works for the medium book, you can create size variations for thin and thick as separate listings.
Common Mistakes I See Constantly
Not accounting for fabric grain direction. Your template should include an arrow showing which direction is the grain line, especially for woven fabrics. The grain should run parallel to the book’s spine for stability.
Forgetting to mark the right side vs wrong side of fabric. Add notes about which side should be facing up when cutting.
Making corners too sharp. Book corners are slightly rounded on most paperbacks, so your template corners should have a tiny radius, maybe 0.125 inches. Makes sewing easier too.
Not including a materials list with yardage calculations. If your template is for a 6×9 book, tell people they need approximately 0.5 yards of fabric. Save them the math.
Pricing and Positioning Your Templates
Single templates: $3-5
Template packs (3-5 variations): $12-18
Commercial license templates: $25-40
The commercial license thing is huge. Lots of Etsy sellers want to make sleeves to sell, so they need templates with commercial use rights. Charge extra for this and make it super clear in your listing what they can and cannot do.
Where to Sell These Things
Etsy is obvious but saturated. I’ve had better luck with:
– Your own website if you’ve got traffic
– Creative Market (higher quality buyers, less competition)
– Gumroad (super easy setup, decent traffic)
– Teachable or similar platforms bundled with a mini course
Oh and another thing – consider offering customization services. Someone buys your template, pays extra $10-15, you add their logo or custom text. Easy money and people love personalized stuff.
Advanced Features Worth Adding
If you wanna stand out from the basic template crowd:
**Lining template** – A second piece that shows how to add a fabric lining. Just mirror your main template but reduce dimensions by seam allowance. Mark clearly which piece is outer and which is lining.
**Reinforcement panels** – Small rectangles showing where to add interfacing or batting for extra protection. Usually at corners and along the spine area.
**Adjustable strap system** – Add markings for D-rings or buckles so the sleeve can work for multiple book sizes. This is more complex but you can charge more.
**Zipper installation guides** – Mark zipper placement, stop points, and include seam allowance adjustments for zipper tape thickness.
I’m working on a template right now that includes a built-in bookmark that tucks into a sleeve pocket and it’s… well it’s complicated but if I can get it right, that’s a $30 template easy.
The key with all this stuff is making your templates idiot-proof. Assume people have never sewn anything before. More instructions, more markings, more clarity = fewer refund requests and better reviews.
Also keep all your template files organized with clear version numbers because you WILL need to update them when you realize you messed up a measurement or someone requests a modification that makes sense to add. Trust me, trying to find “book_sleeve_final_FINAL_v3_actually_final.ai” at 11pm is not fun.
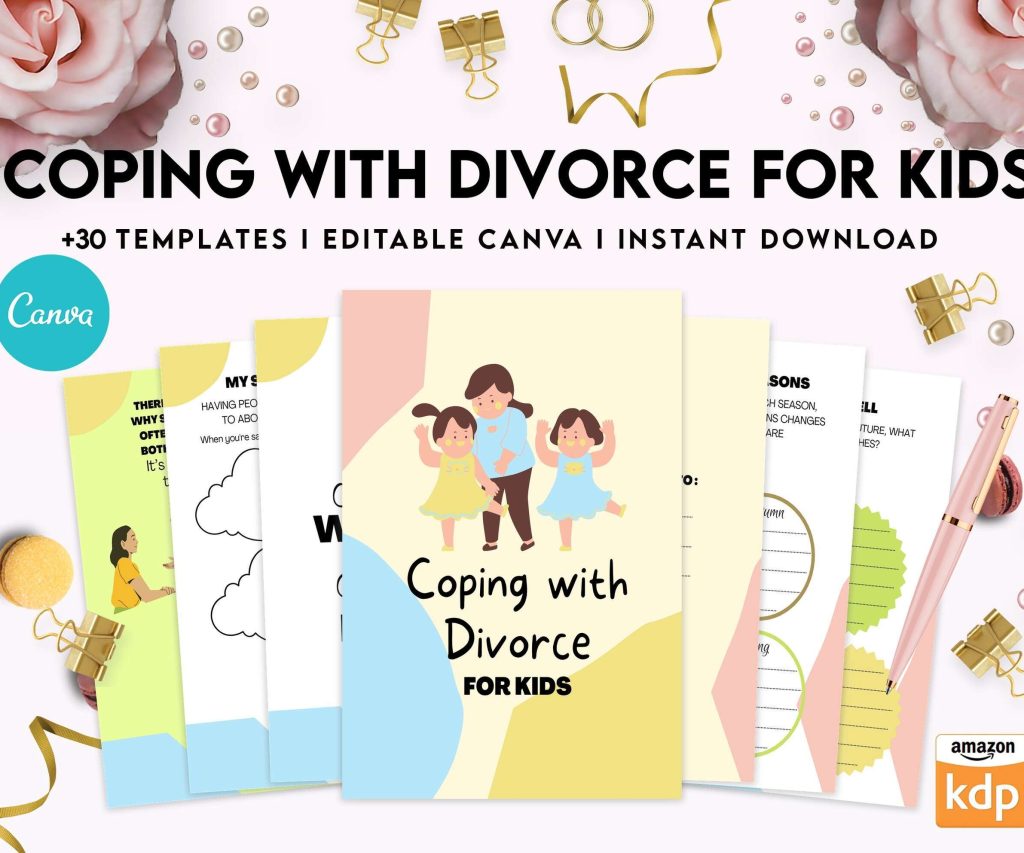 Coping With Divorce Books for Kids- 30 Pages Planner| KDP Canva Editable Templates
1 × $14.99
Coping With Divorce Books for Kids- 30 Pages Planner| KDP Canva Editable Templates
1 × $14.99 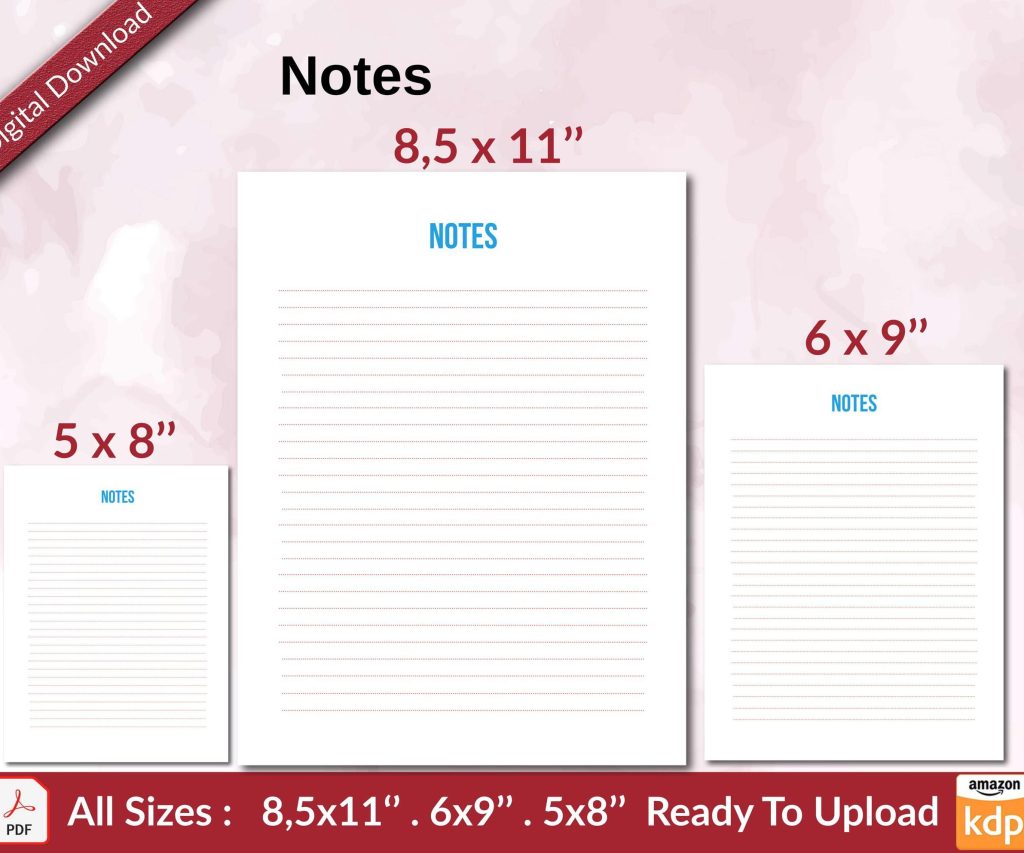 Notes KDP interior Ready To Upload, Sizes 8.5x11 6x9 5x8 inch PDF FILE Used as Amazon KDP Paperback Low Content Book, journal, Notebook, Planner, COMMERCIAL Use
1 × $0.00
Notes KDP interior Ready To Upload, Sizes 8.5x11 6x9 5x8 inch PDF FILE Used as Amazon KDP Paperback Low Content Book, journal, Notebook, Planner, COMMERCIAL Use
1 × $0.00 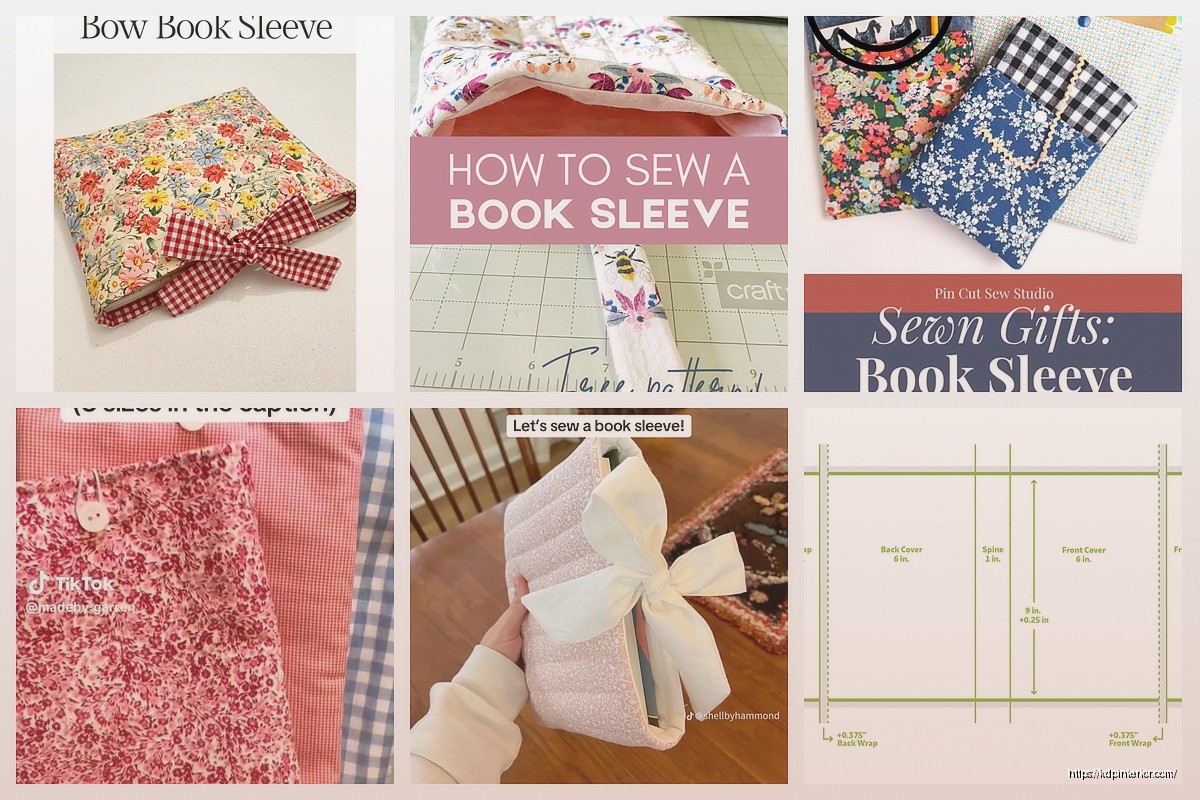
DISCOVER OUR FREE BEST SELLING PRODUCTS
Editable Canva Lined Journal: Express Your Thoughts – KDP Template
Lined Pages Journal 120 pages Ready to Upload PDF Commercial Use KDP Template 6×9 8.5×11 5×8 for Notebooks, Diaries, Low Content
Lined Pages Journal 120 pages Ready to Upload PDF Commercial Use KDP Template 6×9 8.5×11 5×8 for Notebooks, Diaries, Low Content
Cute Dogs Coloring Book for Kids | Activity Book | KDP Ready-To-Upload
Daily Planner Diary : Diary Planners for Everyday Productivity, 120 pages, 6×9 Size | Amazon KDP Interior
Wolf Coloring KDP interior For Adults, Used as Low Content Book, PDF Template Ready To Upload COMMERCIAL Use 8.5×11"
Coloring Animals Head Book for Kids, Perfect for ages 2-4, 4-8 | 8.5×11 PDF
Printable Blank Comic Book Pages PDF : Create Your Own Comics – 3 Available Sizes
Notes KDP interior Ready To Upload, Sizes 8.5×11 6×9 5×8 inch PDF FILE Used as Amazon KDP Paperback Low Content Book, journal, Notebook, Planner, COMMERCIAL Use
Black Lined Journal: 120 Pages of Black Lined Paper Perfect for Journaling, KDP Notebook Template – 6×9
Student Planner Journal 120 pages Ready to Upload PDF Commercial Use KDP Template 6×9" 8.5×11" for Low Content book
Recipe Journal Template – Editable Recipe Book Template, 120 Pages – Amazon KDP Interior