Amazon KDP guide, KDP book publishing
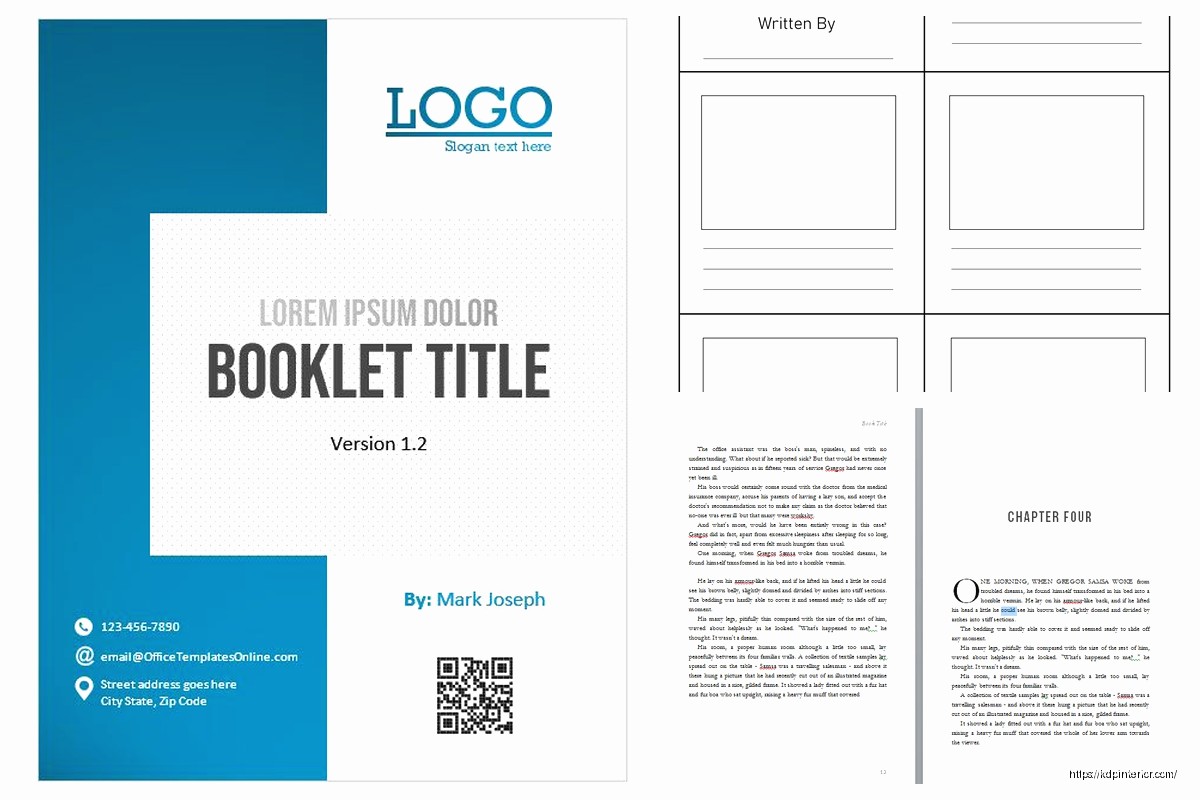
Book Template for Word: Microsoft Formatting
Apr
Okay so book templates in Word are honestly one of those things I wish someone had explained to me better when I started because I wasted like three weeks formatting my first manuscript manually and then it looked terrible on KDP anyway.
The Basic Setup Most People Get Wrong
First thing – you gotta start with page size before doing literally anything else. I see so many people write their entire book then try to change the size and everything breaks. Go to Layout > Size and pick your trim size. For most books I do 6×9 inches which is super standard, but if you’re doing like a journal or planner you might want 8.5×11. The custom size option is there too if you need something weird.
Here’s what I do – Layout tab, click that little arrow in the corner of Page Setup (bottom right of that section), then under Paper tab you can type exact dimensions. Amazon has this whole list of trim sizes they accept and honestly just pick one from their list because custom sizes cost more to print and nobody cares if your book is 5.8 inches instead of 6.
Margins Are Actually Important Unfortunately
Margins seem boring but KDP will reject your book if they’re wrong. You need different margins for the inside edge (gutter) versus outside because of how the book binds. My cat literally walked across my keyboard while I was setting these up last night so let me find my notes…
Okay so for a 6×9 book I use:
- Top: 0.75 inches
- Bottom: 0.75 inches
- Inside (gutter): 0.875 inches
- Outside: 0.625 inches
You set this in Page Setup dialog box, under Margins tab. The key thing is checking “Mirror margins” which changes Left/Right to Inside/Outside. This makes facing pages look correct when printed.
For thicker books over like 400 pages you need bigger gutters because more paper means the binding eats more space. KDP has a calculator somewhere but I usually just add 0.125 inches for every 200 pages or something.
The Gutter Thing Nobody Explains
The gutter is that inside margin where the pages bind together. Text too close to the gutter means readers gotta crack the spine to read it and that’s annoying. I learned this the hard way when my mom bought my first book and complained she couldn’t read the inside words without breaking the spine open.
Fonts and Typography Stuff
Don’t use Calibri. Just don’t. It screams “I didn’t know what I was doing.” For body text I pretty much always use:
- Garamond – looks professional, very readable
- Georgia – good for books that need bigger text
- Times New Roman – boring but works
- Palatino – underrated honestly
Size should be 10pt to 12pt depending on the font. Garamond at 11pt is my go-to. Line spacing at 1.15 or 1.2 looks way better than single spacing but don’t go full double space because that’s wasteful and increases page count which increases printing costs.
Oh and another thing – use styles instead of manually formatting everything. This was a game changer when I finally figured it out around book 15 or something. You set up your heading styles once and then just apply them. When you need to change something later you update the style and it changes everywhere automatically.
Setting Up Styles Properly
Go to Home tab, find the Styles section (might need to click that diagonal arrow to expand it). Right-click on “Normal” and modify it. This is your body text style. Set your font, size, spacing, everything here.
For chapter headings I create a custom style:
- Font: something bolder or different from body text
- Size: 16pt to 18pt
- Spacing: add space before (like 36pt) so it’s not crammed against previous chapter
- Page break before: this is crucial – makes each chapter start on new page
To add page break before, you go into the style modification dialog, click Format button at bottom, choose Paragraph, then under Line and Page Breaks tab check “Page break before.”
First Line Indents vs Tab Key
Never use the tab key for paragraph indents. Never. It breaks things when you convert to ebook format and it’s just wrong. Set up first line indent in your Normal style – I use 0.3 inches usually.
In the Paragraph settings (right-click your style, Modify, then Format > Paragraph) under Indentation, set “Special” to “First line” and put 0.3″. Done. Every paragraph now indents automatically.
Exception – first paragraph after chapter heading or scene break shouldn’t indent. I create a separate “First Paragraph” style with no indent for those.
Headers and Footers and Page Numbers
This gets annoying but it’s doable. Double-click in the top or bottom margin area to open header/footer editing mode.
Important: check “Different first page” in the Header & Footer Tools. Your title page shouldn’t have a header with the book title on it – that looks dumb. Also check “Different odd and even pages” if you want different headers on left/right pages.
For page numbers, I put them in the footer, centered usually. Insert > Page Number > Bottom of Page > Plain Number 2 (centered). But you don’t want page numbers on the title page or copyright page, so on those pages you delete the page number while in editing mode.
Starting Page Numbers Later
Your front matter (title page, copyright, dedication) shouldn’t have numbers usually, or should have roman numerals. This is kinda technical but here’s how:
Put your cursor at the end of your last front matter page. Go to Layout > Breaks > Next Page (under Section Breaks). This creates a new section. Now your front matter is section 1 and your main content is section 2.
Double-click in the footer of section 2. You’ll see “Link to Previous” is highlighted – click it to turn OFF linking. Now you can format section 2 page numbers differently. You might need to use Format Page Numbers and set it to “Start at 1” so chapter one is page 1.
I’m gonna be honest this part trips me up sometimes still and I have to google it.
Creating a Reusable Template
Once you’ve got everything set up perfectly, save it as a template so you don’t have to do this again. File > Save As, and in the “Save as type” dropdown pick “Word Template (.dotx)”.
Save it somewhere you’ll remember. I have a folder called “KDP Templates” with like fifteen different templates for different book sizes and genres.
When you start a new book, File > New and you should see your custom templates listed. Or just open the .dotx file directly and it creates a new document based on that template.
Wait I forgot to mention – before saving as template, I usually put in placeholder text for stuff that changes:
- [BOOK TITLE] in the header
- [AUTHOR NAME] on title page
- [COPYRIGHT YEAR] on copyright page
Then I can just find and replace those brackets when starting a new project.
The Copyright Page Thing
Your copyright page should be page 2 (back of title page). Just needs basic info:
Copyright © [YEAR] by [YOUR NAME] All rights reserved.
ISBN: [YOUR ISBN IF YOU HAVE ONE]
No part of this book may be reproduced… etc.
You can find copyright text templates online. I have one saved that I copy-paste. KDP doesn’t require specific wording, just needs to be there.
Section Breaks for Different Formatting
Sometimes you need different formatting in different parts – like maybe your appendix needs two columns or something. Section breaks let you do this.
Layout > Breaks > Section Breaks. I usually use “Next Page” section breaks. Then each section can have its own headers, page numbering, orientation, whatever.
This is useful if you have like a resources section with lists that would look better in columns, or if you have landscape pages for charts or tables.
Bleed Settings If You Have Images
If your book has images or you’re doing like a full-cover background color, you need bleed. KDP requires 0.125 inch bleed on all sides with images or color.
In Page Setup, under Paper tab, add 0.25 inches to both width and height (0.125 on each side). So a 6×9 book becomes 6.25×9.25 with bleed. Then make sure any images extend to the very edge of this larger size.
But honestly for text-only books you don’t need to worry about bleed at all.
Checking Your Formatting Before Upload
Before uploading to KDP, convert your Word doc to PDF and actually look at it. File > Save As > PDF. Look at every page. Check:
- Page numbers are where they should be
- Chapter headings start on new pages
- No weird spacing or widows/orphans (single lines alone at top or bottom of page)
- Margins look consistent
- Nothing is cut off at the edges
I usually print a few pages on my home printer too just to see how it physically looks. Caught so many issues this way.
The Weird Spacing Issue
Sometimes Word adds extra spacing between paragraphs even when you didn’t ask for it. This is usually because of the spacing after paragraphs setting. In your Normal style, make sure “Spacing After” is set to 0 pt. You want paragraph breaks to happen from hitting Enter twice, not from automatic spacing.
Table of Contents for Print Books
Print books don’t need clickable TOCs like ebooks but you should still have one. I just type it manually with tab leaders (those dots between chapter name and page number).
Type your chapter name, press Tab, type the page number. Then select that line and go to Home > Paragraph dialog (little arrow in bottom right). Click Tabs button at bottom left. Set a tab stop at like 5.5 inches (depends on your margins), choose Right alignment, and choose leader style 2 (the dots). Click OK.
Now when you press Tab it fills the space with dots leading to the right-aligned page number. Looks professional and takes like five minutes once you know how.
You’ll have to update page numbers manually if you change anything though, which is annoying. There’s ways to auto-generate TOCs but they’re complicated and for print books I just don’t bother.
The Actual Process I Use Now
After doing like 200+ books here’s my actual workflow:
Open my template for that trim size. Write or paste in my content. Apply styles as I go (Heading 1 for chapters, Normal for body text, First Paragraph for first paragraphs). Add front matter pages. Generate copyright page. Create TOC. Save as PDF and review. Upload to KDP.
The whole formatting process takes maybe 30 minutes now versus the days it used to take when I was manually formatting everything and using tabs and manual spacing.
Oh and one more thing – keep your Word file as your master copy. If you need to make changes later, make them in Word and re-export to PDF. Don’t try to edit the PDF directly unless you hate yourself.
That’s pretty much everything I wish someone had told me back in 2017 when I was staying up until 2am trying to figure out why my page numbers were showing up on my title page. Now my biggest problem is my dog barking during the day when I’m trying to work but that’s a different issue entirely.
DISCOVER OUR FREE BEST SELLING PRODUCTS
Editable Canva Lined Journal: Express Your Thoughts – KDP Template
Lined Pages Journal 120 pages Ready to Upload PDF Commercial Use KDP Template 6×9 8.5×11 5×8 for Notebooks, Diaries, Low Content
Lined Pages Journal 120 pages Ready to Upload PDF Commercial Use KDP Template 6×9 8.5×11 5×8 for Notebooks, Diaries, Low Content
Cute Dogs Coloring Book for Kids | Activity Book | KDP Ready-To-Upload
Daily Planner Diary : Diary Planners for Everyday Productivity, 120 pages, 6×9 Size | Amazon KDP Interior
Wolf Coloring KDP interior For Adults, Used as Low Content Book, PDF Template Ready To Upload COMMERCIAL Use 8.5×11"
Coloring Animals Head Book for Kids, Perfect for ages 2-4, 4-8 | 8.5×11 PDF
Printable Blank Comic Book Pages PDF : Create Your Own Comics – 3 Available Sizes
Notes KDP interior Ready To Upload, Sizes 8.5×11 6×9 5×8 inch PDF FILE Used as Amazon KDP Paperback Low Content Book, journal, Notebook, Planner, COMMERCIAL Use
Black Lined Journal: 120 Pages of Black Lined Paper Perfect for Journaling, KDP Notebook Template – 6×9
Student Planner Journal 120 pages Ready to Upload PDF Commercial Use KDP Template 6×9" 8.5×11" for Low Content book
Recipe Journal Template – Editable Recipe Book Template, 120 Pages – Amazon KDP Interior