-
×
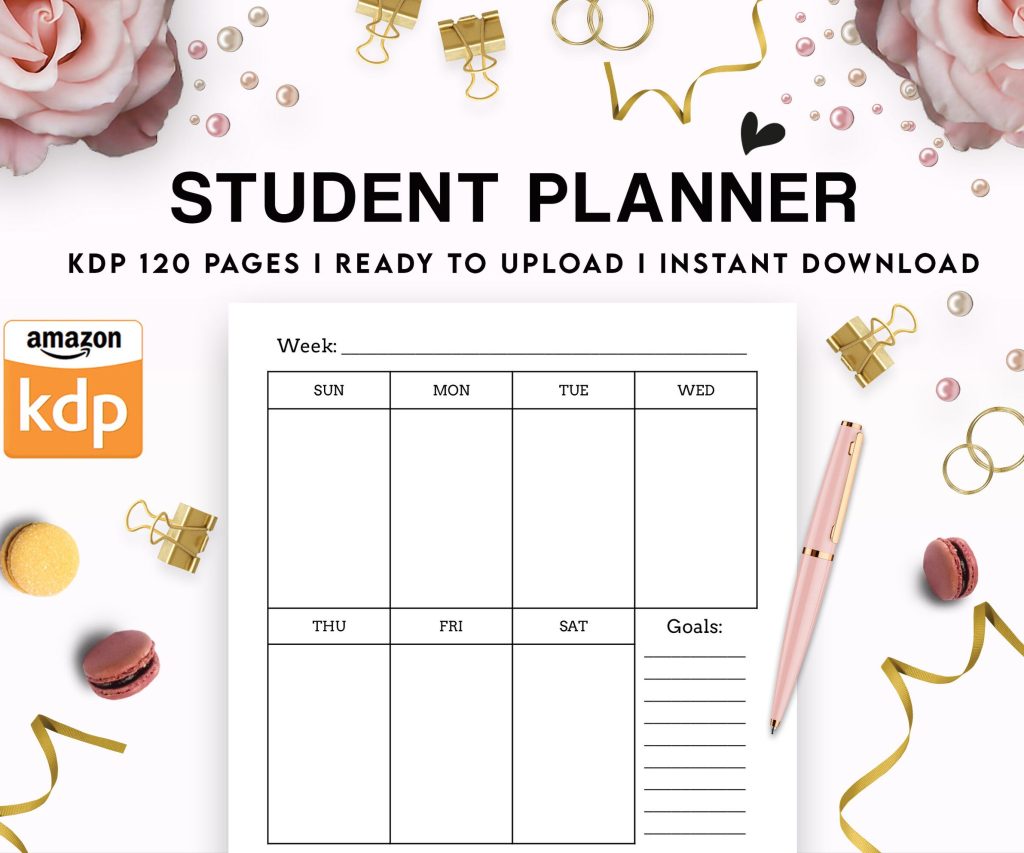 Student Planner Journal 120 pages Ready to Upload PDF Commercial Use KDP Template 6x9" 8.5x11" for Low Content book
1 × $0.00
Student Planner Journal 120 pages Ready to Upload PDF Commercial Use KDP Template 6x9" 8.5x11" for Low Content book
1 × $0.00
Subtotal: $0.00
Okay so I literally just set up three new book templates in Google Docs for a client last week and I’m gonna walk you through exactly how I do this because once you get the system down it’s honestly faster than messing with Word.
Look, I know everyone’s gonna tell you to use Scrivener or Vellum or whatever fancy software, but here’s the thing – Google Docs is free, it’s already in your browser, and you can access your manuscript from literally anywhere. I’ve edited book drafts from my phone while waiting at the dentist. Can’t do that with most desktop publishing software.
The cloud setup means you’re never gonna have that panic moment where your laptop dies and you realize your last backup was three weeks ago. Everything autosaves every few seconds. My dog knocked over my coffee onto my keyboard last month and I didn’t lose a single word because it was all already saved.
First thing – create a new Google Doc and immediately go to File > Make a copy before you do anything else. I keep one “master template” that I never write in, only copy from. This way you always have a clean version to start new projects.
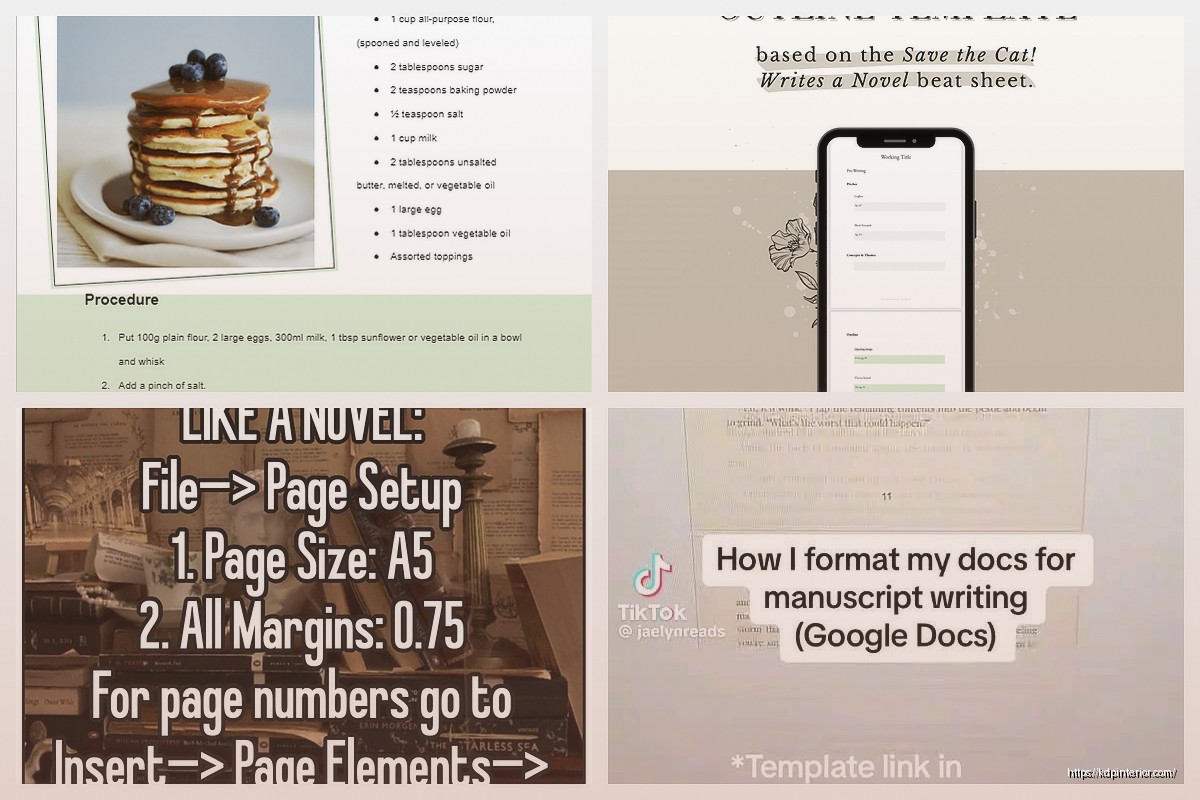
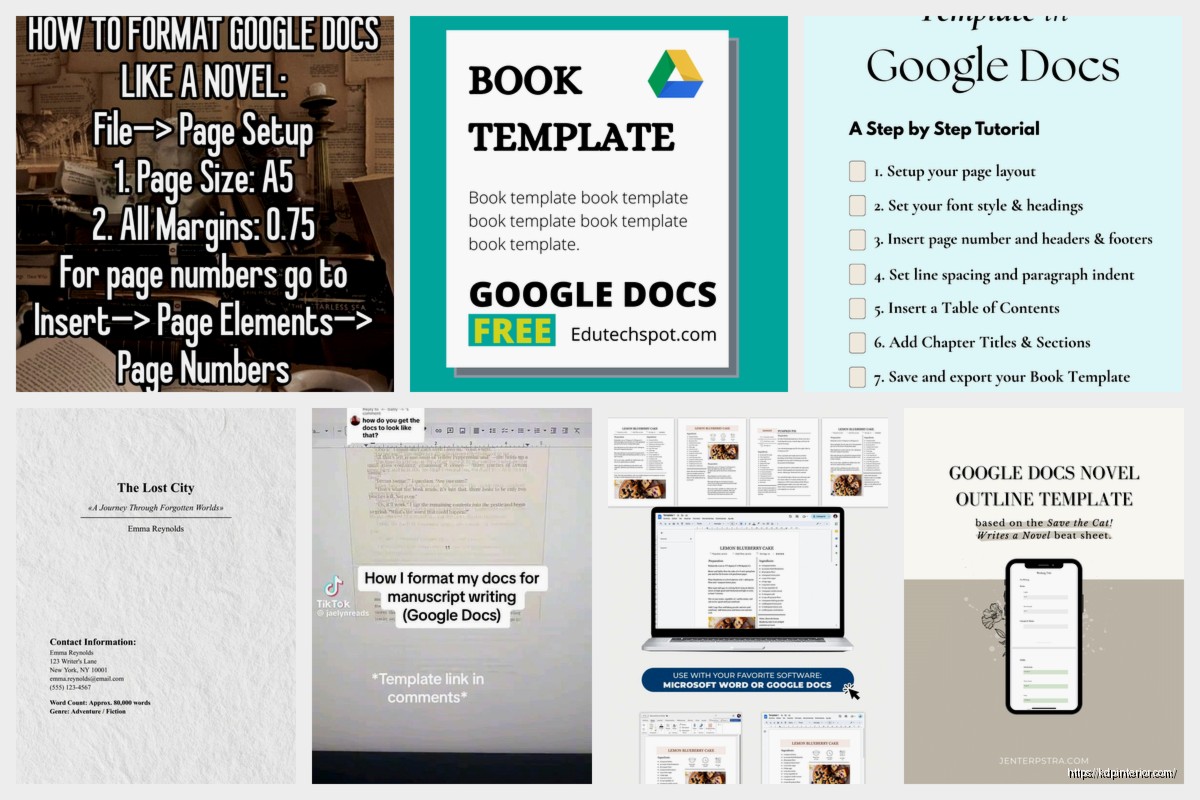
Now for the actual setup. Go to File > Page Setup and here’s where most people mess up right away. Amazon KDP is gonna want specific margins and you need to set these up front, not after you’ve written 50,000 words.
For a standard 6×9 inch book (which is like 90% of what I publish), set your page size to 6 inches wide by 9 inches tall. Your margins should be:
Wait I forgot to mention – Google Docs doesn’t have a 6×9 preset, so you gotta click “Custom” under paper size and type in the dimensions manually. It’s annoying but you only do it once per template.
Okay so this is gonna sound boring but setting up your text styles properly is literally the difference between a 2-hour formatting job and a 20-minute formatting job when you’re done writing.
Highlight some text and go to the styles dropdown (it says “Normal text” by default). You’re gonna create custom styles for:
For body text, I use Georgia or Garamond at 11pt with 1.15 line spacing. Some people swear by Times New Roman but honestly it looks dated to me. The font needs to be easy to read but also not scream “I made this in 1995.”
Chapter titles I usually do 18pt or 20pt, bold, centered. But here’s the trick – after you format your first chapter title exactly how you want it, highlight it, go to Format > Paragraph Styles > Heading 1 > Update ‘Heading 1’ to match. Now every time you use Heading 1 style, it’ll look exactly like that.
This is super important because later when you’re converting to different formats or making changes, you can update one style and it changes everywhere in the document. I had a client once who wanted to change the font for all 30 chapter titles… took me literally 15 seconds because I’d set up styles properly.
Most people just hit Enter a bunch of times to start a new chapter on a new page. Don’t do this. It’s gonna mess everything up when you export.
Instead, put your cursor at the end of a chapter and go to Insert > Break > Page break. Or just use Ctrl+Enter (Cmd+Enter on Mac). This forces the next content to start on a new page no matter what, and it won’t shift around if you edit previous sections.
Oh and another thing – if you’re writing fiction with different parts or sections, you might want section breaks instead. These are a bit more advanced but basically they let you have different headers and footers for different parts of your book.
This part trips up so many people. You want your book to look professional with page numbers and maybe your book title in the header, right?
Go to Insert > Headers & footers > Page number. I usually put page numbers in the footer, centered. But here’s what’s tricky – you probably don’t want page numbers on your title page or copyright page.
To fix this, go to Format > Headers & footers, and check “Different first page.” This makes your first page not show the header/footer. For the title page and front matter, you might need to do this for multiple pages, which means using section breaks (told you they’d come up).
For the actual header text (like putting your book title at the top of each page), insert a header and type your text. I usually do: Title on left pages, Author Name on right pages. But Google Docs doesn’t have “mirrored margins” for left/right pages like Word does, so this is one area where it’s a bit limited. Most of my books I just put the title centered in the header and call it good.
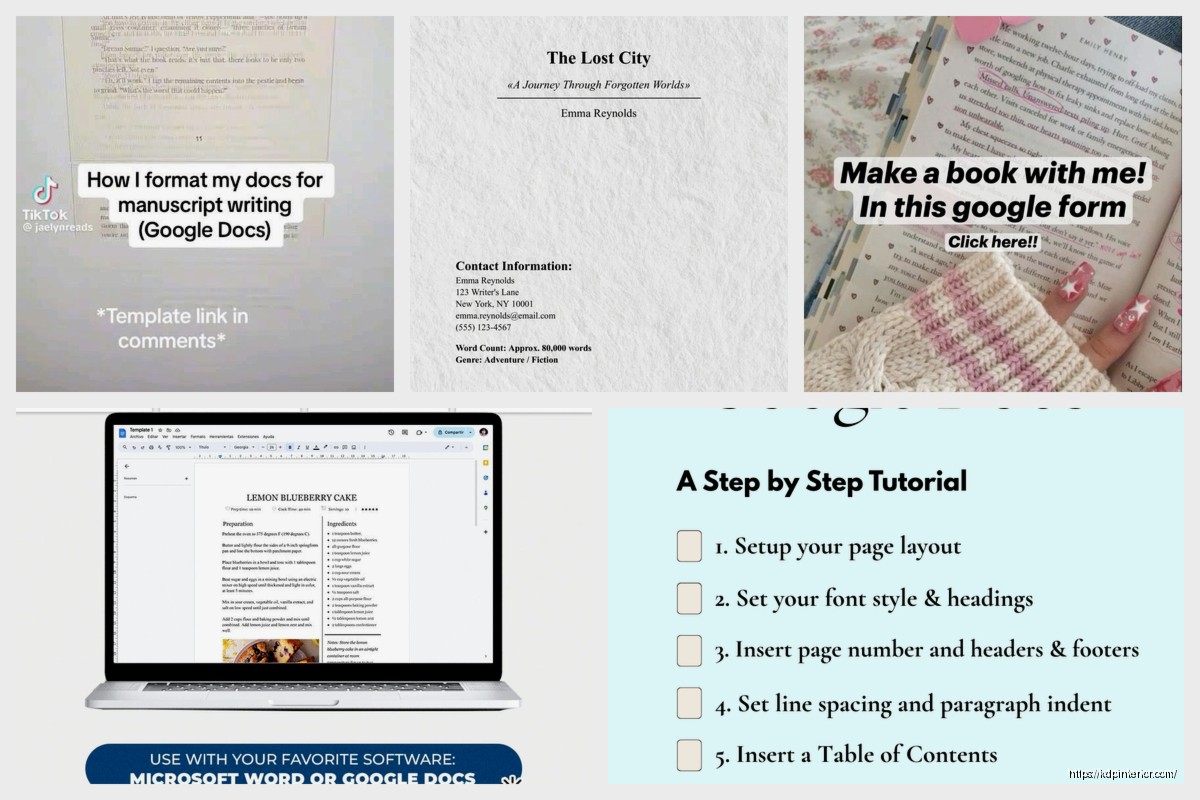
If you’re writing non-fiction or a longer book that needs a TOC, Google Docs can auto-generate this if you used those heading styles I mentioned earlier.
Put your cursor where you want the TOC (usually right after your title page and copyright page). Go to Insert > Table of contents. You’ll get two options – one with page numbers and one with blue links. For a print book, use the one with page numbers. For an ebook, the blue links version actually works better because they’re clickable.
The beauty here is if you add or remove chapters later, just click on the TOC and hit the refresh button that appears. It updates automatically with the new page numbers. This saved my butt so many times when clients make last-minute changes.
Okay so funny story – I once published a book and forgot to include a copyright page. Someone left a review saying it looked “unprofessional.” They weren’t wrong. Now I have all this stuff pre-built into my template.
Your front matter should include:
I create all these pages in my template with placeholder text. Like the copyright page says “[YOUR NAME]” and “[YEAR]” and “[BOOK TITLE]” so I remember to fill them in. Sounds simple but when you’re rushing to publish, these templates save you from forgetting stuff.
Each of these front matter sections should be separated by page breaks so they each start on their own page. The title page especially should be alone on page 1.
Don’t forget the back of your book. This is prime real estate for:
I have all this pre-formatted in my template too. The “Other Books” page is especially important if you’re building a series or publishing multiple books. It’s free advertising for your other work.
My author bio template has a placeholder for a photo (Insert > Image > Upload from computer) and a few paragraphs about me. I keep it casual and mention the dog because people like that stuff apparently.
If you’re writing a series, create a master template for that series specifically. Keep the same fonts, same styling, same header/footer format. Readers notice when Book 2 looks totally different from Book 1 and it bugs them.
I have a folder in Google Drive called “KDP Templates” and inside are subfolders for different genres and series. Each template is already formatted and ready to go. When I start a new project, I just make a copy and start writing. Takes maybe 30 seconds to get started instead of 30 minutes messing with formatting.
One huge advantage of Google Docs is real-time collaboration. If you work with an editor or beta readers, you can share the doc with them and they can leave comments right in the margin. Click the blue “Share” button, add their email, and set their permissions to “Commenter” (not “Editor” unless you want them to actually change your text).
The comment threads are way better than emailing Word docs back and forth. You can have conversations about specific paragraphs, mark comments as resolved when you fix stuff, and everything stays organized in one place.
I had a client cancel last minute a few months ago so I spent like three hours testing different collaboration setups with my wife as a test editor. The suggestion mode (where edits show up as suggestions you can accept or reject) works almost as good as Track Changes in Word.
Click File > Version history > See version history. This shows you every version of your document saved over time. You can name important versions (like “Final draft before editing” or “Version sent to proofreader”) so you can jump back to them if needed.
I’ve had multiple times where I deleted a whole chapter thinking I didn’t need it, then two weeks later wanted it back. Version history let me open an old version, copy the chapter, and paste it back into my current doc. Didn’t lose anything.
This is also useful if you’re experimenting with different chapter orders or trying out alternate endings. Make a version checkpoint, try the new thing, and if it doesn’t work you can revert back.
When your book is done and you’re ready to upload to KDP, you gotta export it properly. Go to File > Download and you have options:
For Print Books: Download as PDF. Make sure you check your page size is still set correctly before you do this. Amazon will tell you during upload if the PDF dimensions are wrong.
For Ebooks: This is where Google Docs gets a little wonky. You can download as EPUB directly, but honestly it often needs cleanup. I usually download as Microsoft Word (.docx) and then upload that to KDP. Amazon’s converter handles docx files pretty well.
Before you export, do a final check:
If you’re doing a book with images (like a cookbook or photo book), you can insert images directly into Google Docs but be careful with file sizes. Insert > Image > Upload from computer.
Once inserted, right-click the image and select “Image options.” Make sure you set it to “In line” positioning so it stays with your text. The wrap text options can cause weird formatting issues when you export.
For print books, your images need to be high resolution. Google Docs compresses images sometimes, which is annoying. If image quality is critical, you might need to use a different tool for final formatting. But for basic images and chapter decorations, it works fine.
I use simple decorative elements between sections sometimes – just little ornamental breaks. You can find free ornaments online, insert them as images, and include them in your template. Makes the book look more polished.
The Google Docs app for phones and tablets is actually pretty decent for light editing and writing. I wouldn’t wanna format a whole book on my phone, but for writing new content or fixing typos, it works.
I was watching The Last of Us last week and during commercials I’d pull out my phone and write a few paragraphs on a book project. It all syncs instantly to the main document. By the end of the episode I’d written like 800 words without even sitting at my computer.
The voice typing feature (Tools > Voice typing on desktop, or just the microphone button on mobile) is surprisingly good too. I know authors who draft entire chapters by dictating while walking around. Not my style, but the option’s there.
Google Docs has add-ons that extend functionality. Go to Extensions > Add-ons > Get add-ons to browse them.
Some useful ones for book writing:
Word Counter: Gives you detailed word count stats including per-chapter counts if you want.
Table Formatter: If your book has tables (like a workbook or technical guide), this makes them look better.
Doc Tools: Has a bunch of utilities like finding all links, managing bookmarks, etc.
I don’t use a ton of add-ons because each one you install slows down the document a bit. But for specific needs they can be helpful.
In Google Drive, create a clear folder structure. Mine looks like:
Inside each book folder, I keep the manuscript doc, cover files, marketing copy, keyword research – everything related to that project. Keeps me from losing track of stuff.
You can also color-code folders in Google Drive (right-click > Change color). I make active projects blue and published projects green so I can see at a glance what’s what.
Yeah I know it’s in the cloud and supposedly safe, but I still periodically download copies of important manuscripts. Google’s had outages before (rare but it happens). Once a month I download PDFs of all active projects and stick them in a Dropbox folder too.
Paranoid? Maybe. But when your income depends on these files, a little redundancy doesn’t hurt.
If you publish books in multiple sizes (like 5×8 and 6×9), create separate templates for each. Don’t try to reformat the same document for different sizes – you’ll mess something up.
The most common KDP trim sizes are:
I have templates saved for all three. When I start a new book, I pick the trim size first based on genre and reader expectations, then use the appropriate template.
If you need special characters (like accented letters or symbols), go to Insert > Special characters. You can search by drawing the character or by keyword.
For em dashes (the long dashes—like this), I just type two hyphens and Google Docs auto-converts them. Same with smart quotes (curly quotes instead of straight ones). These are enabled by default but you can check under Tools > Preferences.
If you’re writing something that needs special formatting like poetry or scripts, Google Docs can handle it but you’ll need to be more careful with spacing and indentation. Use the ruler at the top to set custom indents (if you don’t see the ruler, go to View > Show ruler).
Look, Google Docs isn’t perfect for book publishing. It doesn’t have all the fancy features of InDesign or even Scrivener. You can’t do mirrored margins for left/right pages. No built-in chapter templates. The export to EPUB is sometimes messy.
But for actually writing and basic formatting? It’s free, it’s accessible, it’s reliable, and it works. I’ve published over 200 books and probably half of them were written entirely in Google Docs.
If you’re doing something super complex with lots of images and intricate layouts, yeah you might need more advanced software. But for standard text-based books – novels, non-fiction, memoirs, how-to guides – Google Docs handles it just fine.
If you just want the fastest path to a working template, do this:
DISCOVER OUR FREE BEST SELLING PRODUCTS
Editable Canva Lined Journal: Express Your Thoughts – KDP Template
Lined Pages Journal 120 pages Ready to Upload PDF Commercial Use KDP Template 6×9 8.5×11 5×8 for Notebooks, Diaries, Low Content
Lined Pages Journal 120 pages Ready to Upload PDF Commercial Use KDP Template 6×9 8.5×11 5×8 for Notebooks, Diaries, Low Content
Cute Dogs Coloring Book for Kids | Activity Book | KDP Ready-To-Upload
Daily Planner Diary : Diary Planners for Everyday Productivity, 120 pages, 6×9 Size | Amazon KDP Interior
Wolf Coloring KDP interior For Adults, Used as Low Content Book, PDF Template Ready To Upload COMMERCIAL Use 8.5×11"
Coloring Animals Head Book for Kids, Perfect for ages 2-4, 4-8 | 8.5×11 PDF
Printable Blank Comic Book Pages PDF : Create Your Own Comics – 3 Available Sizes
Notes KDP interior Ready To Upload, Sizes 8.5×11 6×9 5×8 inch PDF FILE Used as Amazon KDP Paperback Low Content Book, journal, Notebook, Planner, COMMERCIAL Use
Black Lined Journal: 120 Pages of Black Lined Paper Perfect for Journaling, KDP Notebook Template – 6×9
Student Planner Journal 120 pages Ready to Upload PDF Commercial Use KDP Template 6×9" 8.5×11" for Low Content book
Recipe Journal Template – Editable Recipe Book Template, 120 Pages – Amazon KDP Interior