Okay so I just spent like three hours messing around with Canva’s booklet templates last week because I was creating this lead magnet for one of my niches and honestly the whole mini book thing in Canva is way easier than people make it sound but there’s definitely some stuff you gotta know upfront.
Setting Up Your Booklet Dimensions Right From The Start
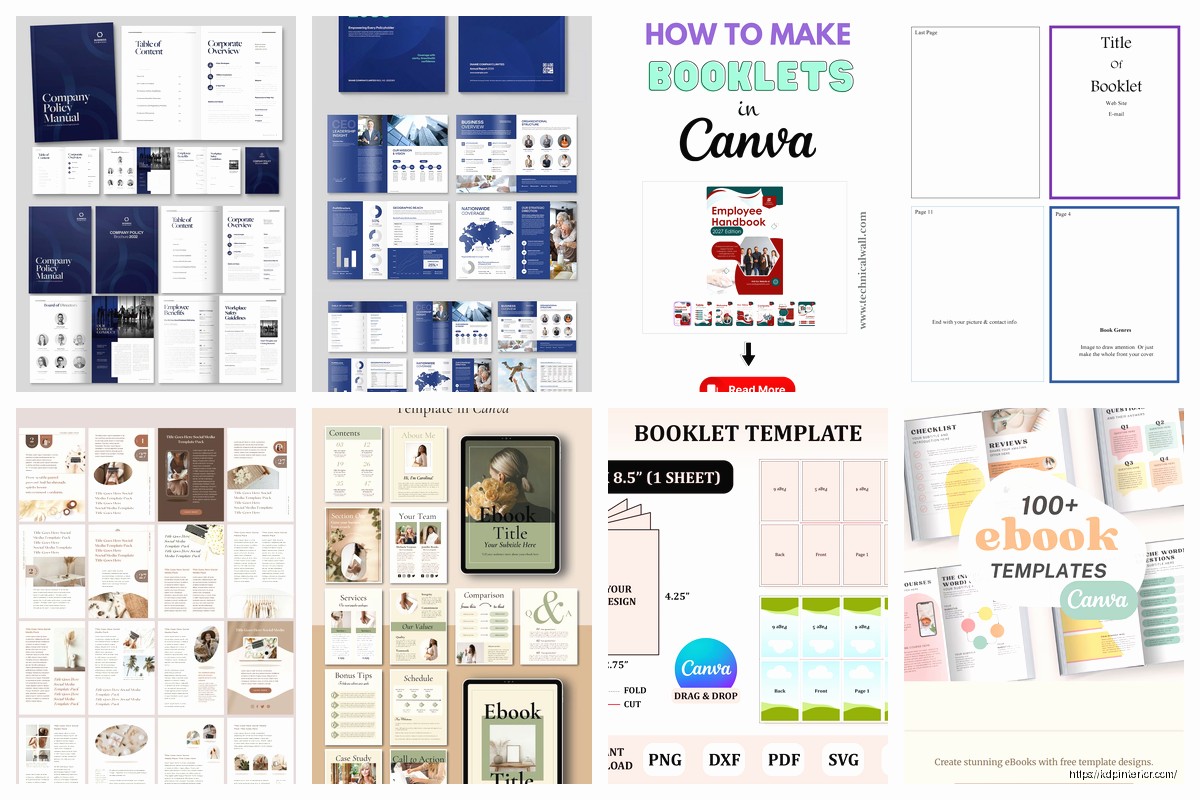
First thing – don’t just grab any random template. Like I see people doing this all the time and then they’re confused why their booklet looks weird when they try to print it. Go to Custom Size in Canva and you need to think about your final booklet size. Most mini books are either 5.5 x 8.5 inches or 8.5 x 5.5 inches depending on if you want portrait or landscape.
Here’s the thing though – if you’re planning to actually print these through KDP or IngramSpark or whatever, you need to account for bleed. So I usually set mine to 5.75 x 8.75 inches which gives you that 0.125 inch bleed on all sides. Canva Pro lets you add bleed marks which is super helpful but honestly even without Pro you can just design with extra space around the edges.
For digital-only booklets you don’t need to worry about bleed at all just go with the exact dimensions you want.
Portrait vs Landscape Decision
I usually go portrait for anything that’s gonna be like a workbook or recipe book or journal-style thing. Landscape works better for like kids’ books or photo-heavy stuff. Made a mistake once doing a landscape gratitude journal and people actually complained it was awkward to write in so yeah lesson learned there.
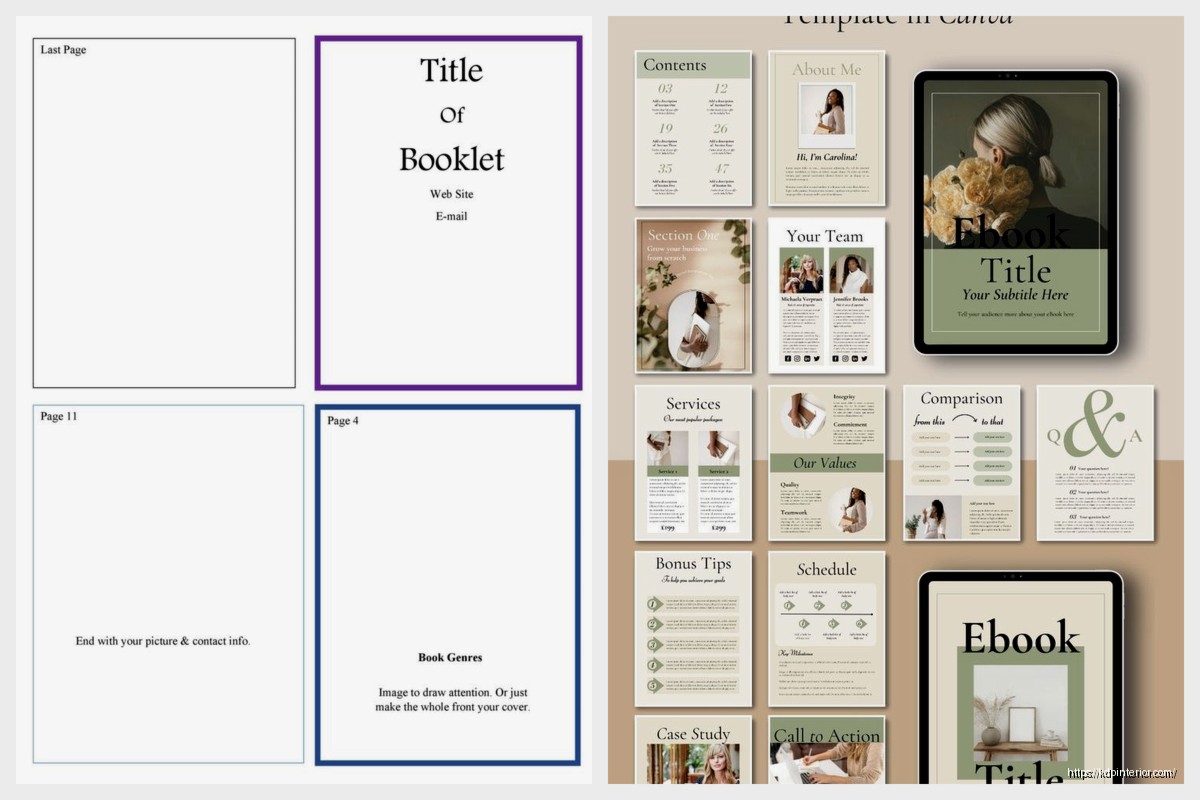
Finding The Right Template Starting Point
Okay so Canva has a bunch of booklet templates already but they call them different things which is annoying. Search for “booklet” but also try “magazine,” “catalog,” “brochure,” and “ebook” because their templates are kinda scattered across categories.
The magazine templates are actually perfect for mini books because they already have that multi-page layout thing going on. I usually start with one of those and then just delete like half the pages and simplify the design because magazine templates are way too busy for most low-content stuff.
Oh and another thing – the “planner” templates can work great if you’re doing any kind of workbook or journal booklet. They already have the dotted lines and spaces for writing which saves you so much time.
My Go-To Template Hack
This is gonna sound weird but I almost never use booklet templates anymore. I just create a custom document with the right dimensions and then I go steal elements from different templates. Like I’ll grab a cover design from one template, interior page layouts from another, and maybe some decorative elements from a third one.
You can do this by opening multiple Canva projects in different tabs and just copying elements between them. Way faster than trying to modify one template to do everything you want.
Cover Design That Actually Works
Your cover needs to be on its own separate page if you’re doing print. This confused me for like the first year I was doing this – I kept trying to make the cover part of the interior file and it just makes everything harder.
For the front cover you want your title big and readable even as a tiny thumbnail. I test this by zooming way out in Canva or literally looking at it on my phone from across the room. If you can’t read it from like 10 feet away it’s not gonna work on Amazon or wherever.
Back cover should have a quick description or benefits list and your author name or brand. Don’t overthink it. I spent two days once designing this elaborate back cover with graphics and testimonials and everything and honestly the simple text-only version sold just as well.
Spine Width Calculation
If your booklet is thick enough to need a spine (usually 80+ pages) you gotta calculate the spine width. KDP has a calculator for this but basically it depends on your page count and paper type. Cream paper makes a thicker spine than white paper.
In Canva I just add the spine width to my cover dimensions. So like if my booklet is 5.5 x 8.5 and the spine is 0.3 inches wide, my full cover is gonna be 11.3 x 8.5 inches (that’s 5.5 + 0.3 + 5.5 for front-spine-back).
Interior Page Layouts Without Going Crazy
Okay this is where people either make it too complicated or too boring. You want consistency but not like every single page looking identical because that’s just lazy.
I usually create 3-4 master page layouts and then rotate through them. Like maybe one layout with text on the left and an image placeholder on the right. Another with text centered and a decorative header. A third that’s full-page image with minimal text overlay.
Wait I forgot to mention – always design in spreads if you’re doing print. That means you’re looking at two pages side-by-side like an open book. Canva doesn’t do this automatically which is annoying but you can kinda fake it by putting two pages next to each other on your screen.
Margins And Gutters
This is super important for print booklets. You need bigger margins on the inside edge (that’s called the gutter) because part of it disappears into the binding. I usually do 0.5 inches on the gutter side and 0.375 inches on the outside edge.
Top and bottom margins can be 0.5 inches each. Some people go smaller but I like having breathing room especially if someone’s actually gonna write in the booklet.
Canva lets you set up guides which is perfect for this. Just drag them from the rulers and they’ll snap to your measurements.
Typography That Doesn’t Look Amateur
Font choice matters way more in booklets than in like social media graphics or whatever. You’re gonna have multiple pages of text so it needs to be readable not just pretty.
For body text I stick with serif fonts like Libre Baskerville, Crimson Text, or even just Georgia. Sans-serif can work too – Montserrat and Open Sans are solid choices. But avoid anything too decorative or condensed for body text.
Headings can be more fun. I usually pair a decorative or bold font for headings with a simple font for body text. Canva has font pairing suggestions which are actually pretty good.
Size-wise I go 10-12pt for body text and 18-24pt for main headings. Subheadings are usually 14-16pt. This seems to work well for most booklet sizes.
Line Spacing Matters
Default line spacing in Canva is usually too tight for booklets. I bump it up to 1.3 or 1.5 for body text. Makes it way more readable especially if your audience is over 40 (which mine often is in certain niches).
Adding Interactive Elements For Digital Booklets
If your booklet is digital-only you can do cool stuff that print obviously can’t. Hyperlinks are the big one – link to your website, other products, video content, whatever.
In Canva you just select the text or element and click the link icon. Make sure you test these links work after you download the PDF though because sometimes they get weird.
You can also embed video if you’re publishing through certain platforms but honestly I rarely do this. Most people just want a PDF they can save and read later.
Oh and fillable form fields – Canva doesn’t do these natively but you can create spaces for people to type in Adobe Acrobat after you export. I do this for workbooks sometimes.
Color Schemes That Print Well
This is something I learned the hard way after getting my first proof copy back and everything looked washed out. What looks good on screen doesn’t always print well.
For print booklets I stick with CMYK-friendly colors. Bright blues and purples especially can look totally different when printed. I usually test by printing a page on my home printer first even though it’s not perfect it gives you an idea.
If you’re doing grayscale interiors (which is cheaper on KDP) make sure your design still looks good in black and white. Sometimes I create the whole thing in color in Canva and then test how it looks by converting to grayscale before finalizing.
My cat just knocked over my coffee but it missed the keyboard thank god.
Image Quality And Placement
Images need to be at least 300 DPI for print. Canva’s stock photos are usually good quality but if you’re uploading your own make sure they’re high-res. Blurry images in a printed booklet look so bad.
I usually keep images to like 30% of the page or less unless it’s specifically a photo book type thing. Too many images makes the booklet feel less professional and also drives up printing costs.
For placement I try to balance images throughout the booklet rather than clustering them all at the beginning or end. And always have images relate to the text on that page or spread – random decorative images are just distracting.
Page Numbers And Headers
Don’t forget page numbers seriously. I published a workbook once without them and got complaints from people trying to reference specific pages.
In Canva you gotta add these manually which is tedious but whatever. I put them in the footer usually centered or on the outside corner. Start numbering after the title page and copyright page.
Headers are optional but nice for longer booklets. Usually just the booklet title or section name in small text at the top of each page. Keeps people oriented especially in reference-type booklets.
Copyright And Legal Pages
Yeah you need these. Second or third page should have your copyright notice, publication date, disclaimer if needed, and your contact info or website.
Canva has templates for copyright pages but honestly I just made my own years ago and copy it into every new project. Takes two seconds.
Exporting Your Booklet Correctly
This is where people mess up constantly. For print you want PDF Print not PDF Standard. The Print option gives you better quality and handles bleed correctly.
Download with crop marks and bleed if you’re printing through a service. Without them if it’s print-on-demand through KDP.
For digital booklets PDF Standard is fine and creates smaller file sizes which is better for downloads.
Make sure you flatten transparent elements before exporting or sometimes they print weird. Canva usually does this automatically but double-check.
Testing Before Publishing
Always order a proof copy if you’re doing print. Always. I don’t care how good it looks on screen. I’ve had spacing issues, color issues, margin issues that I never would’ve caught without seeing the physical book.
For digital test it on multiple devices. Phone, tablet, computer, different PDF readers. Sometimes formatting looks different across platforms.
I also send it to like two friends or family members to flip through and tell me if they spot any typos or weird formatting. Fresh eyes catch stuff you’re blind to after staring at it for hours.
Canva Pro vs Free For Booklets
Okay so you can totally create booklets with free Canva but Pro makes it easier. The main things you get with Pro are more templates, background remover tool which is super useful, brand kit to keep fonts and colors consistent across projects, and resize function.
That resize function alone is worth it if you’re creating multiple booklets in different sizes. You can design once and then resize for different formats instead of starting from scratch.
I’ve had Pro for like five years now and it pays for itself easily but when I was starting out I used free Canva for probably my first 20 products and it was fine.
The template selection in free is more limited but honestly you can work around that by getting creative with combining elements from different free templates.
One thing free Canva doesn’t let you do is set up folders to organize your projects which becomes a nightmare when you have 50+ booklet files. But that’s more of an organizational annoyance than a design limitation.
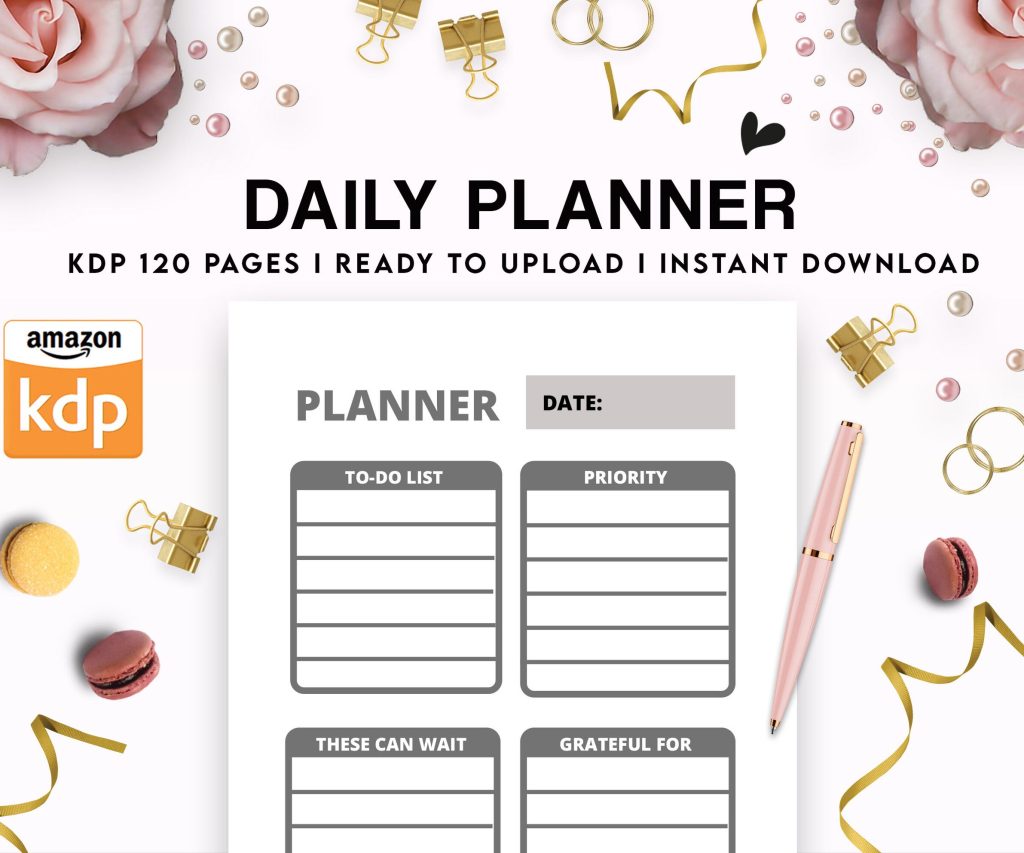 Daily Planner Diary : Diary Planners for Everyday Productivity, 120 pages, 6×9 Size | Amazon KDP Interior
1 × $0.00
Daily Planner Diary : Diary Planners for Everyday Productivity, 120 pages, 6×9 Size | Amazon KDP Interior
1 × $0.00  Lined Pages Journal 120 pages Ready to Upload PDF Commercial Use KDP Template 6x9 8.5x11 5x8 for Notebooks, Diaries, Low Content
1 × $0.00
Lined Pages Journal 120 pages Ready to Upload PDF Commercial Use KDP Template 6x9 8.5x11 5x8 for Notebooks, Diaries, Low Content
1 × $0.00 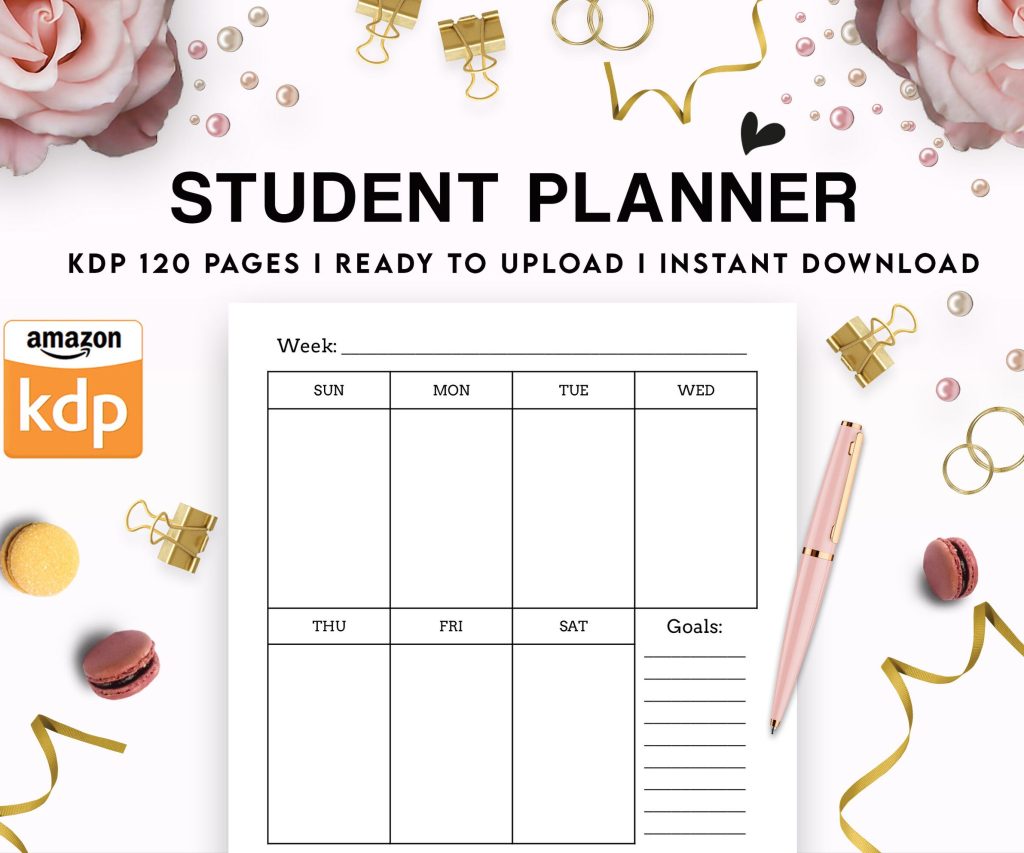 Student Planner Journal 120 pages Ready to Upload PDF Commercial Use KDP Template 6x9" 8.5x11" for Low Content book
1 × $0.00
Student Planner Journal 120 pages Ready to Upload PDF Commercial Use KDP Template 6x9" 8.5x11" for Low Content book
1 × $0.00 
DISCOVER OUR FREE BEST SELLING PRODUCTS
Editable Canva Lined Journal: Express Your Thoughts – KDP Template
Lined Pages Journal 120 pages Ready to Upload PDF Commercial Use KDP Template 6×9 8.5×11 5×8 for Notebooks, Diaries, Low Content
Lined Pages Journal 120 pages Ready to Upload PDF Commercial Use KDP Template 6×9 8.5×11 5×8 for Notebooks, Diaries, Low Content
Cute Dogs Coloring Book for Kids | Activity Book | KDP Ready-To-Upload
Daily Planner Diary : Diary Planners for Everyday Productivity, 120 pages, 6×9 Size | Amazon KDP Interior
Wolf Coloring KDP interior For Adults, Used as Low Content Book, PDF Template Ready To Upload COMMERCIAL Use 8.5×11"
Coloring Animals Head Book for Kids, Perfect for ages 2-4, 4-8 | 8.5×11 PDF
Printable Blank Comic Book Pages PDF : Create Your Own Comics – 3 Available Sizes
Notes KDP interior Ready To Upload, Sizes 8.5×11 6×9 5×8 inch PDF FILE Used as Amazon KDP Paperback Low Content Book, journal, Notebook, Planner, COMMERCIAL Use
Black Lined Journal: 120 Pages of Black Lined Paper Perfect for Journaling, KDP Notebook Template – 6×9
Student Planner Journal 120 pages Ready to Upload PDF Commercial Use KDP Template 6×9" 8.5×11" for Low Content book
Recipe Journal Template – Editable Recipe Book Template, 120 Pages – Amazon KDP Interior