Amazon KDP guide, KDP book publishing
Books on Google Docs: Complete Writing Guide

Mar
Okay so I’ve been writing books in Google Docs for like the past 4 years and honestly it’s kinda the best setup once you figure out the quirks. Let me walk you through exactly how I do it because I literally just finished formatting a 25k word ebook yesterday and everything’s still fresh.
Setting Up Your Document Right From the Start
First thing – don’t just open a blank doc and start typing like some kind of maniac. You’re gonna regret that later when you’re 30k words in and realize your formatting is a disaster.
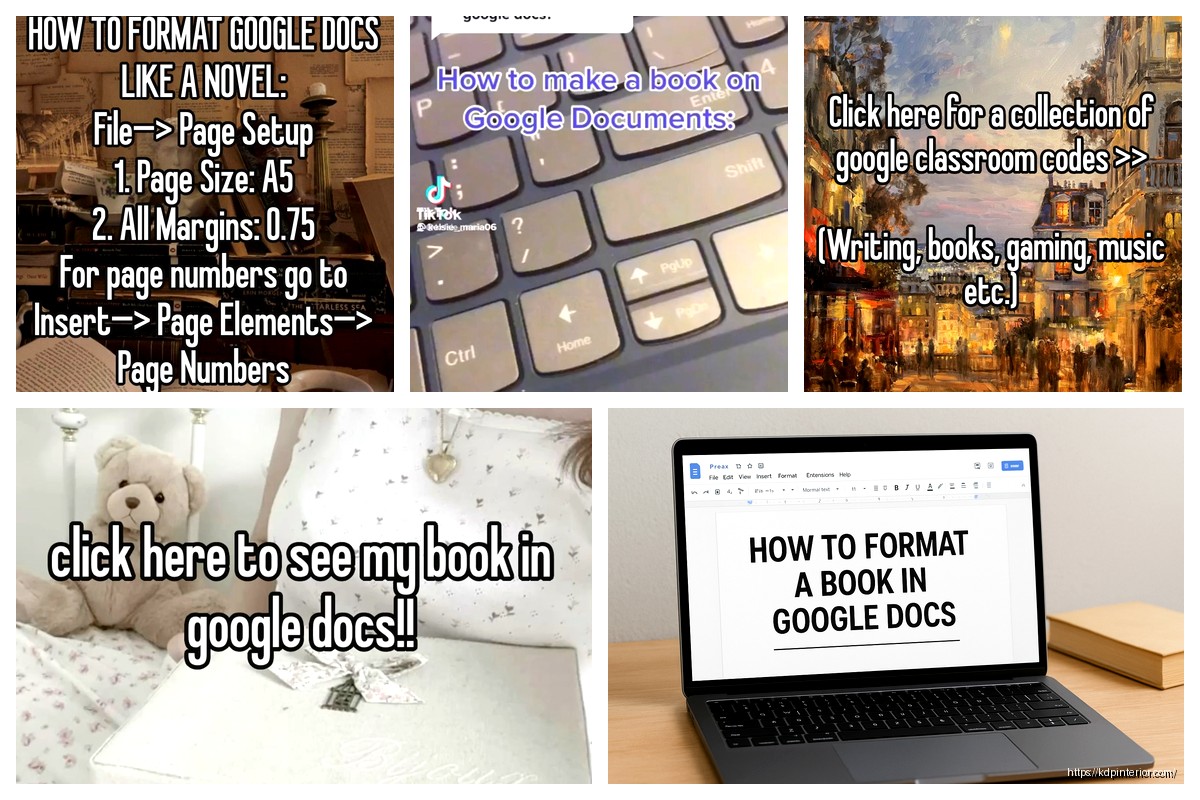
Create a new doc and immediately go to File > Page Setup. Change your margins to 1 inch all around. I know Google Docs defaults to something weird, but trust me on this. Also set your page size to 8.5 x 11 even if you’re planning a different trim size for your final book. You’ll convert later and this just makes everything easier to read while you’re writing.
Next – and this is gonna sound weird but – set your default font RIGHT NOW. I use Times New Roman 12pt for fiction, Arial 11pt for non-fiction. Go to Format > Paragraph styles > Normal text > Update ‘Normal text’ to match. This saves you from that thing where you paste something in and suddenly half your doc is in Calibri or whatever.
The Heading Structure Thing That Nobody Talks About
Okay so this is huge. Use proper heading styles for your chapters. Like actually use the Heading 1, Heading 2 styles from the toolbar. Don’t just make text bigger and bold. I made this mistake on my first three books and wanted to die when I tried to create a table of contents.
Here’s my structure:
- Heading 1 for chapter titles
- Heading 2 for major sections within chapters
- Heading 3 for subsections if you need them
- Normal text for everything else
You can customize how these look by clicking on the style dropdown, then hovering over the heading, clicking the arrow, and choosing “Update Heading to Match.” Do this once and every chapter title will look consistent. Game changer.
Actually Creating That Table of Contents
Once you’ve got your headings set up, go to Insert > Table of Contents. Google Docs will auto-generate one based on your heading structure. It’s interactive too, which is kinda cool for sharing drafts with beta readers or whatever.
The page numbers won’t be perfect for your final book but you can use this to navigate while writing. I keep mine at the top of my doc and just scroll past it when I’m working.
Writing Mode and Distraction-Free Setup
Wait I forgot to mention – if you’re easily distracted like me (I had to pause writing this because my cat knocked over a plant), you want to set up distraction-free mode. It’s not built into Google Docs which is annoying, but here’s what I do.
Press F11 for fullscreen in Chrome. Then zoom in to like 125% or 150% so the text fills your screen. Click View > Full Screen to hide the menus. Now you’ve basically got a writing-focused interface. Press Escape to get your menus back when you need them.
Oh and another thing – turn off those suggestion notifications. Tools > Notification Settings > uncheck everything. Nothing kills writing flow like getting a popup that someone commented on your doc while you’re mid-sentence.
Version Control Because You Will Mess Up
Google Docs auto-saves which is great, but you need to understand version history or you’re gonna have a bad time at some point. File > Version History > See Version History shows you every auto-save.
But here’s what I actually do – I manually name important versions. Like when I finish a complete draft, I go to File > Version History > Name Current Version and call it “Draft 1 Complete” or whatever. Then when I inevitably delete a scene I actually needed, I can find it easily.
Also? Make a copy of your doc before doing major revisions. Just duplicate the whole thing, add “v2” to the filename. Storage is basically unlimited and I’ve saved myself so many times by having that backup.
The Collaboration Features for Beta Readers
Okay so this part is actually sick if you work with editors or beta readers. Click the Share button, set it to “Anyone with the link can comment” (not edit, just comment). Send that link to your beta readers.
They can highlight text and leave comments without changing your actual document. You can reply to comments, mark them as resolved, whatever. Way better than emailing Word docs back and forth like it’s 2005.
For actual editors, you might give them edit access but turn on Suggesting mode. They click the pencil icon and switch to “Suggesting” – now their edits show up as suggestions you can accept or reject. Super clean workflow.
The Comment Organization Hack
This is gonna sound random but use the comment feature for yourself too. Like if I’m writing and realize I need to research something later, I just highlight a word, add a comment that says “RESEARCH THIS” or whatever. It shows up in the comments sidebar and I can tackle them all at once later.
You can also assign comments to people if you’re co-writing. Just type +their email in the comment and it notifies them. I use this with my cover designer sometimes.
Formatting Your Actual Book Content
Alright so you’re writing chapters. Here’s the format I use that makes conversion to ebook or print super smooth.
Start each chapter on a new page. Insert > Break > Page Break. Don’t just hit Enter a bunch of times because that’ll mess up when you format for different trim sizes.
For scene breaks within chapters, I use three asterisks centered:
***
Just center align, type the asterisks, done. Some people use # or fancy symbols but asterisks convert cleanly to any format.
Dialogue formatting – this trips people up but it’s simple. New paragraph for each speaker. Indent your paragraphs using Format > Align & Indent > Indentation Options > Special Indent > First Line > 0.5 inches. Do NOT use the tab key. Seriously don’t. Tab key is the devil in ebook formatting.
Research and Notes Without Cluttering Your Doc
I keep a separate Google Doc for research notes and link it in the main doc. But wait there’s actually a better way – use the Explore tool. Click Tools > Explore (or Ctrl+Alt+Shift+I which I can never remember).
This opens a sidebar where you can search the web, search your Drive, whatever. You can drag images or text right into your doc from there. Super handy for non-fiction when you need to reference stuff.
For fiction worldbuilding notes, I honestly just create a folder in Drive with separate docs for character sheets, timelines, location notes. Then I can pull them up in separate tabs while writing.
Word Count Tracking and Goals
Tools > Word Count (or Ctrl+Shift+C) shows your current count. But Google Docs doesn’t have a built-in daily goal tracker which sucks.
What I do is keep a simple tracking sheet in Google Sheets. Date, starting word count, ending word count, words written. Takes 10 seconds to update and I can see my progress over time. You could get fancy with graphs or whatever but I keep it simple.
Oh and if you select text before checking word count, it only counts the selection. Useful if you wanna know how long a specific chapter is.
Converting to Final Format
Okay so you’ve written your whole book in Google Docs. Now what? You gotta get it into a format Amazon or wherever can actually use.
For ebooks, download as EPUB (File > Download > EPUB). This works okay but honestly I usually download as DOCX and run it through Calibre or Vellum to clean it up. Google Docs EPUB export is… fine. Not great, just fine.
For print books through KDP, download as PDF. But here’s the thing – you probably need to reformat for your specific trim size first. Make a copy of your doc, change the page setup to match your trim size (like 6×9 for a typical paperback), adjust margins, fix any page breaks that look weird. Then download as PDF.
The PDF export from Google Docs is actually pretty solid. I’ve uploaded them straight to KDP and they’ve passed review no problem.
The Font Embedding Issue
One weird thing – if you use custom fonts, they might not embed properly in the PDF. Stick with standard fonts like Times New Roman, Arial, Georgia, etc. for the actual book content. You can get fancy with fonts in your cover design but not in the manuscript.
Add-Ons That Actually Help
Extensions > Add-ons > Get Add-ons. There’s a bunch of writing tools available.
ProWritingAid has a Google Docs add-on that’s decent for editing. Not as good as the desktop app but works in a pinch.
PageProof is cool if you’re working with a team and need more robust review features than comments provide.
Honestly though? I don’t use many add-ons. Google Docs is already kinda slow when your manuscript gets long, and add-ons make it worse.
The Performance Problem With Long Documents
Okay real talk – Google Docs starts lagging around 30k-40k words. It just does. If you’re writing a full novel, you might wanna split it into multiple docs. Like one doc per act or every 5 chapters or whatever.
I usually keep it as one doc until I hit about 50k words, then I split it up. You can always merge them later by copying and pasting into a master doc when you’re done writing and ready to format.
The lag isn’t terrible but it’s annoying when you’re trying to write and there’s that half-second delay after typing. Super frustrating during flow state.
Mobile Writing Setup
The Google Docs app is actually pretty solid for writing on your phone or tablet. I do a lot of writing on my iPad during lunch breaks or whatever.
Enable offline mode in the app so you can write without wifi. Settings > Make available offline. Your changes sync automatically when you’re back online.
The app has voice typing too which is surprisingly accurate. I’ve dictated whole chapters while walking my dog. Feels weird at first but you get used to it.
Keyboard Shortcuts That’ll Save Your Life
Learn these, seriously:
- Ctrl+Alt+M for adding comments
- Ctrl+K to insert links
- Ctrl+Shift+F for find and replace (you’ll use this SO much during editing)
- Ctrl+Shift+C for word count
- Ctrl+Alt+1/2/3 to apply heading styles
Find and replace is massive for fixing repeated mistakes. Like if you spelled a character’s name wrong for 20 chapters, you can fix it in 5 seconds instead of manually searching.
The Offline Mode Thing
You can enable offline access for any doc. Just click the cloud icon in your Drive and toggle “Available Offline.” Then you can write without internet and it syncs later.
This is clutch for writing on planes or at coffee shops with sketchy wifi. I’ve lost work before when my internet cut out and I didn’t have offline mode enabled. Not fun.
Alright I think that covers most of the important stuff. Google Docs isn’t perfect for book writing but it’s free, it’s accessible anywhere, and once you get your workflow dialed in it’s honestly pretty great. Just remember to backup your work somewhere else periodically – I export to DOCX and save to Dropbox every week or so just in case Google decides to have a weird day.
DISCOVER OUR FREE BEST SELLING PRODUCTS
Editable Canva Lined Journal: Express Your Thoughts – KDP Template
Lined Pages Journal 120 pages Ready to Upload PDF Commercial Use KDP Template 6×9 8.5×11 5×8 for Notebooks, Diaries, Low Content
Lined Pages Journal 120 pages Ready to Upload PDF Commercial Use KDP Template 6×9 8.5×11 5×8 for Notebooks, Diaries, Low Content
Cute Dogs Coloring Book for Kids | Activity Book | KDP Ready-To-Upload
Daily Planner Diary : Diary Planners for Everyday Productivity, 120 pages, 6×9 Size | Amazon KDP Interior
Wolf Coloring KDP interior For Adults, Used as Low Content Book, PDF Template Ready To Upload COMMERCIAL Use 8.5×11"
Coloring Animals Head Book for Kids, Perfect for ages 2-4, 4-8 | 8.5×11 PDF
Printable Blank Comic Book Pages PDF : Create Your Own Comics – 3 Available Sizes
Notes KDP interior Ready To Upload, Sizes 8.5×11 6×9 5×8 inch PDF FILE Used as Amazon KDP Paperback Low Content Book, journal, Notebook, Planner, COMMERCIAL Use
Black Lined Journal: 120 Pages of Black Lined Paper Perfect for Journaling, KDP Notebook Template – 6×9
Student Planner Journal 120 pages Ready to Upload PDF Commercial Use KDP Template 6×9" 8.5×11" for Low Content book
Recipe Journal Template – Editable Recipe Book Template, 120 Pages – Amazon KDP Interior