-
×
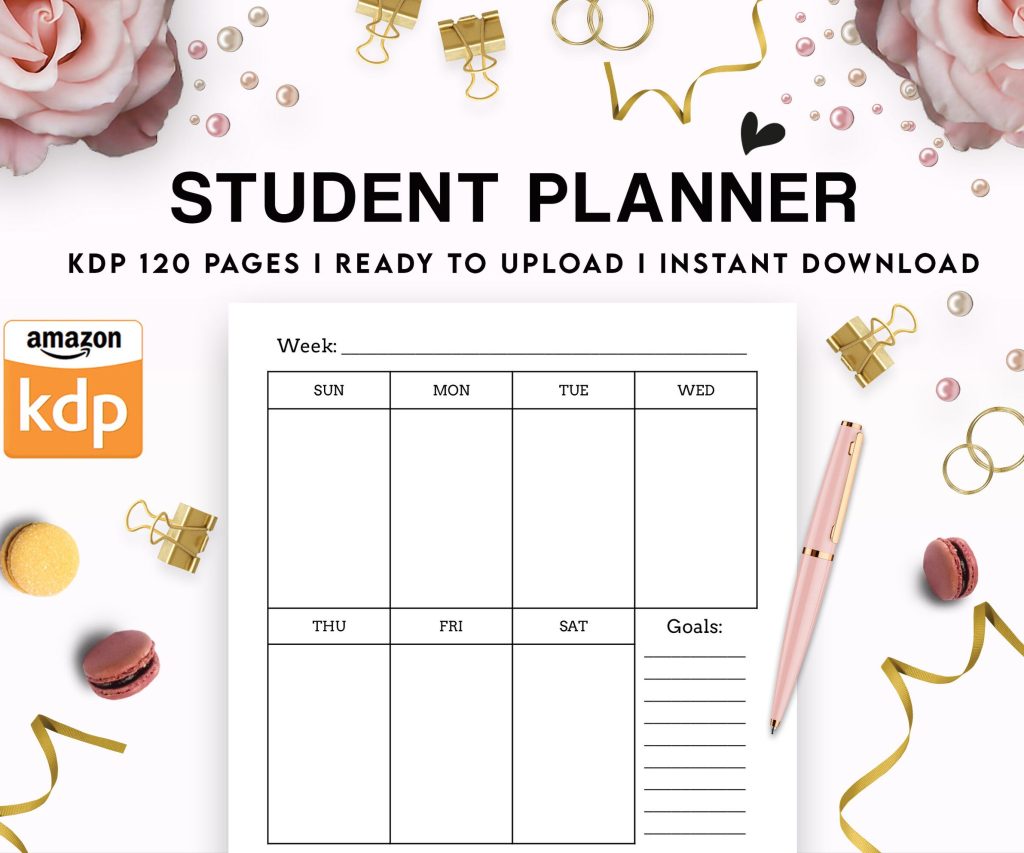 Student Planner Journal 120 pages Ready to Upload PDF Commercial Use KDP Template 6x9" 8.5x11" for Low Content book
1 × $0.00
Student Planner Journal 120 pages Ready to Upload PDF Commercial Use KDP Template 6x9" 8.5x11" for Low Content book
1 × $0.00
Subtotal: $0.00
Okay so I’ve been using Canva for book mockups for like three years now and honestly it’s probably saved me thousands of dollars I would’ve spent on Fiverr or hiring designers. Let me just walk you through exactly how I do this because it’s way easier than people think.
First thing – you need a Canva account obviously. The free version works fine for basic stuff but I’m gonna be real with you, Canva Pro is worth it if you’re serious about KDP. It’s like $13/month or something and you get way more mockup templates and the background remover tool which is clutch. I resisted paying for it for like six months being cheap and then finally caved and immediately regretted not doing it sooner.
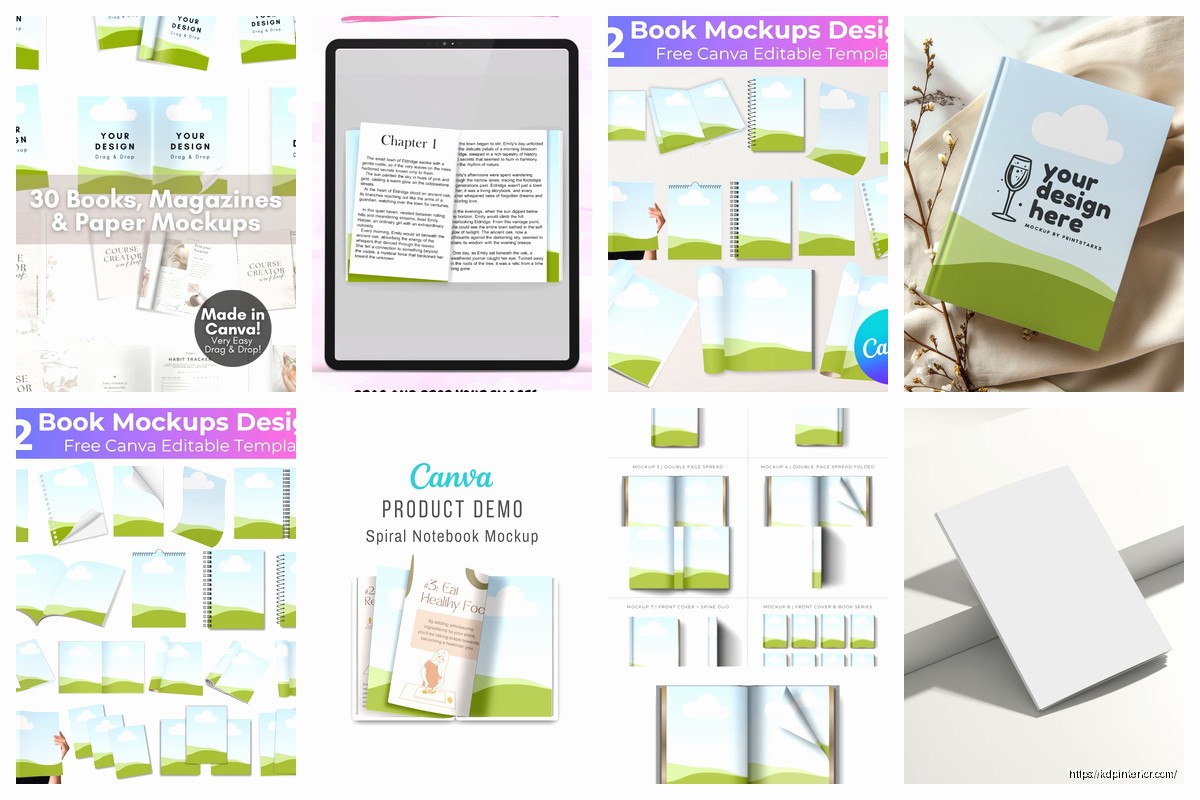
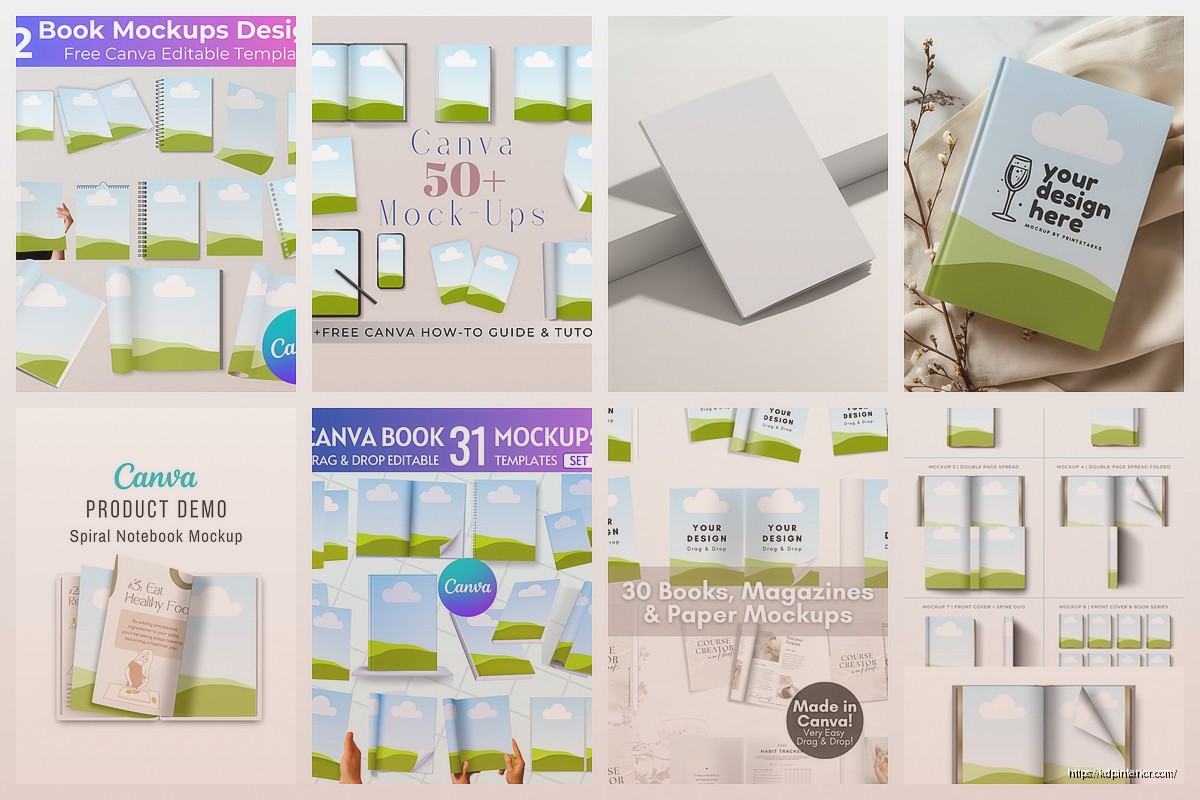
So once you’re logged in, don’t just search “book mockup” right away. That’s what I did at first and got overwhelmed because there’s literally thousands of results. Instead go to the Apps section on the left sidebar – there’s this thing called Smartmockups built right into Canva now. Game changer. You can also use the regular templates but Smartmockups gives you more control over angles and lighting.
Click on Apps, search for Smartmockups. It’ll open up and show you categories. Click on “Books” and you’ll see options for hardcovers, paperbacks, ebooks on devices, all that stuff. I usually start with a simple standing paperback mockup because that’s what most of my books are anyway.
Here’s the thing nobody tells you – you gotta have your book cover ready as a PNG or JPG before you start. Like the actual cover file you uploaded to KDP or whatever. I keep all mine in a Google Drive folder organized by ASIN which sounds nerdy but trust me when you have 200+ books it matters.
Select the mockup style you want. Let’s say you pick a paperback lying flat on a desk. Click it and Smartmockups will ask you to upload your cover image. Drag and drop that file. Wait I forgot to mention – make sure your cover dimensions are correct because if you upload like a square image to a vertical book mockup it’s gonna look stretched and weird.
The app automatically maps your cover onto the book template. Pretty slick. Then you can adjust things like:
My cat just jumped on my keyboard sorry. Anyway yeah so the background is super important. Plain white works for Amazon listings but if you’re making graphics for like Instagram or Facebook ads you want something more interesting.
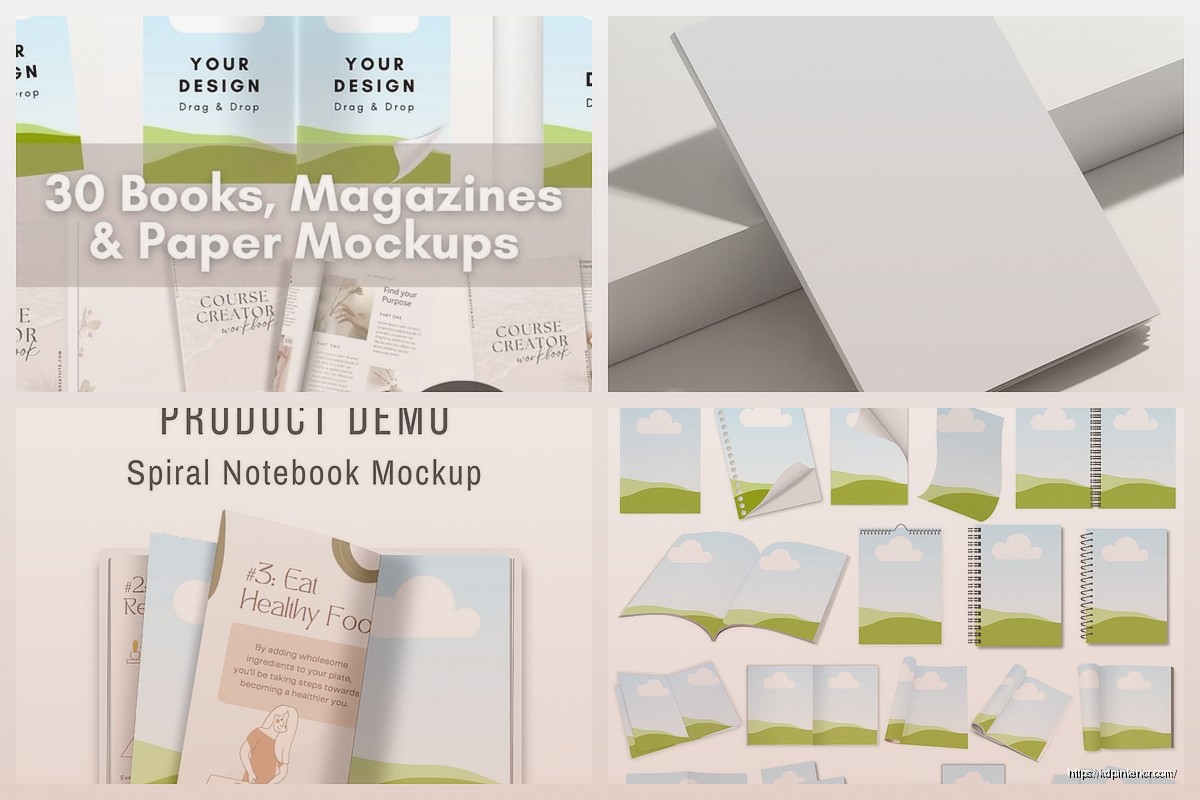
Okay so funny story – I spent two hours once trying to photograph my actual books on my desk with my phone and they all looked terrible. Lighting was bad, shadows everywhere, my coffee mug accidentally in frame. Just use Canva’s backgrounds. They have these texture options like wood grain, marble, fabric that look professional.
You can also upload your own background images. I sometimes grab free stock photos from Unsplash or Pexels – like if I have a gardening book I’ll put it on a background with plants or dirt or whatever. Makes it feel more themed. Just make sure the background doesn’t overpower the book itself because the book is the star here not the fancy backdrop.
If you don’t wanna mess with Smartmockups or you want more creative control, just search “book mockup” in the main Canva templates. You’ll see designed templates where the book is already positioned with text and graphics around it.
These are great for social media posts. Like I’ll grab one that says “New Release” or has space for a tagline. Then I replace the placeholder book cover with mine. To do this you usually click on the book image in the template and it’ll say “replace image” – upload your cover there.
The annoying part is sometimes the template locks certain elements if you’re on the free plan. You’ll click something and it says “Pro only” which is whatever. You can still customize text colors, move things around, add shapes.
Here’s where I started getting fancy – you can layer multiple books in one mockup. So like if you have a series, create a design with three or four books standing together. This takes more time but looks really professional for ads.
Create a blank canvas first – I use 1080×1080 for Instagram or 1200×628 for Facebook ads. Then add your book mockups one at a time using either Smartmockups or by uploading PNG files of books you already created. Position them so they overlap slightly, adjust the sizing so the front book is bigger than the ones behind it for that depth effect.
I learned this from watching some YouTube video at like 2am when I couldn’t sleep and it totally leveled up my marketing graphics. Also you can add elements like:
Wait I should mention the difference between a flat cover image and a 3D mockup because people get confused. Your KDP cover file is flat – it’s just the front, spine, and back laid out in one image. A 3D mockup makes it look like an actual physical book with depth and shadows.
For this you only need the front cover usually. Crop your full KDP cover file to just the front panel. The easiest way is to use Canva’s crop tool – upload your cover, double-click it, then drag the crop corners until you’ve got just the front. Download that as a separate file.
Then use that front-only cover in your mockups. It wraps better around the 3D templates and doesn’t look stretched. I didn’t figure this out for like six months and kept wondering why my mockups looked off. Turns out I was using the full wraparound cover on templates designed for front-only.
Okay so once you’ve got the basics down you can start experimenting with effects. Canva lets you add shadows, adjust brightness, change opacity. I like adding a subtle drop shadow to my book mockups to make them pop off the background more.
Go to Effects when you have the book selected – there’s options for shadows, glow, blur. Don’t go crazy here because it’s easy to make it look overdone. I usually just do a soft shadow with medium distance and medium blur. Keeps it realistic.
Oh and another thing – you can animate these if you have Pro. There’s this “animate” button at the top and you can make your book like fade in or pan across the screen. Super useful for video ads or Instagram reels. I made a reel once with five of my books appearing one by one with a fade effect and it got way more engagement than my regular posts.
If you’re creating multiple mockups for the same marketing campaign you want them to feel cohesive. I create a brand kit in Canva with my author colors – like I use this specific blue and cream combo for all my stuff. Then when I’m making mockups I pull from those brand colors for backgrounds and text.
To set this up go to Brand Kit in the sidebar. Add your brand colors as hex codes. You can also upload your author logo if you have one. Then when you’re designing anything you just click on your brand colors instead of searching for the right shade every time. Saves so much time.
This is gonna sound obvious but make sure you download in the right format. For most uses PNG with transparent background is best – especially if you’re gonna layer the mockup onto something else later. But PNG files are bigger so if you’re just posting to social media and file size matters, JPG works fine.
Click Share then Download. Select your file type. If you want transparent background make sure you check that box – it’s only available with Pro though. The free version gives you white backgrounds which is usually fine honestly.
Resolution matters too. Canva defaults to standard quality but you can bump it up to high quality for print or professional use. I always do high quality because why not, file sizes aren’t that huge and it looks crisper.
Here’s a workflow tip that’s saved me hours – if you need mockups for multiple books, create one design you like then duplicate it. Change out the book cover but keep everything else the same. Your mockups will have consistent styling which looks more professional.
I do this when I’m running a series promotion. I’ll create the perfect mockup layout with text placement and background and all that, then duplicate the page five times in Canva and swap in each book cover from the series. Takes like ten minutes instead of designing from scratch each time.
You can also use Canva’s bulk create feature if you have a ton of books but honestly I’ve never gotten that organized. It involves uploading a spreadsheet with all your data and… yeah I should probably learn that actually.
Using low resolution cover images – if your original cover file is small or blurry, the mockup will look terrible. Make sure you’re working with at least 300 DPI images. I’ve seen people try to use their Amazon listing thumbnail in a mockup and it’s just pixelated mess.
Making the book too big in the frame. Your mockup should have some breathing room. Don’t make the book take up the entire canvas because it feels cramped. Leave space around the edges, especially if you’re adding text.
Over-designing. I’m guilty of this too – you get excited and add like ten different elements and fonts and colors and suddenly it looks like a ransom note. Keep it simple. Book, clean background, maybe one text element. That’s it.
Using mockups that don’t match your actual book format. If you published a 6×9 paperback don’t use a square book mockup. Readers notice this stuff and it looks unprofessional. Match the dimensions and format to what you actually published.
While we’re talking about this – Canva isn’t the only option. There’s Book Brush which is specifically for authors and has some features Canva doesn’t. It’s like $10/month I think. I used it for a while but eventually just stuck with Canva because I was already paying for Pro and using it for other graphics.
Placeit is another one, same concept as Smartmockups but standalone. They have more mockup options including like books in people’s hands, books on shelves, really specific scenarios. It’s subscription based too though.
For free options there’s DIY Book Covers mockup generator which is super basic but works if you’re on a budget. You just upload your cover and it spits out a 3D mockup. No customization really but it’s free so whatever.
Okay so you’ve created this beautiful mockup now what. I use mine everywhere – Amazon A+ content if you have brand registry, social media posts, Facebook ads, my author website, email newsletters. Anywhere I need to showcase the book visually.
For Amazon ads specifically I’ll create mockups with text like “New Release” or “Bestseller” because plain covers can get lost in the feed. The text draws attention. Just make sure it doesn’t violate Amazon’s ad policies about claims and stuff.
Instagram is where mockups really shine because it’s so visual. I’ll post mockups with quotes from the book or testimonials. Way more engaging than just posting the flat cover over and over.
Oh wait I should mention – some authors create lifestyle mockups where the book is like sitting next to a coffee cup or on a beach towel or whatever. These do really well on Pinterest. I haven’t gotten super into Pinterest marketing yet but it’s on my list for this year.
The main thing is consistency. If you’re gonna use mockups in your branding, use them everywhere. Don’t post flat covers sometimes and mockups other times because it looks disjointed. Pick a style and stick with it for at least a few months.
Just keep practicing and trying different styles until you find what works for your genre and audience. My thriller mockups look totally different from my romance ones because the vibe is different. You’ll figure out your style as you go.
DISCOVER OUR FREE BEST SELLING PRODUCTS
Editable Canva Lined Journal: Express Your Thoughts – KDP Template
Lined Pages Journal 120 pages Ready to Upload PDF Commercial Use KDP Template 6×9 8.5×11 5×8 for Notebooks, Diaries, Low Content
Lined Pages Journal 120 pages Ready to Upload PDF Commercial Use KDP Template 6×9 8.5×11 5×8 for Notebooks, Diaries, Low Content
Cute Dogs Coloring Book for Kids | Activity Book | KDP Ready-To-Upload
Daily Planner Diary : Diary Planners for Everyday Productivity, 120 pages, 6×9 Size | Amazon KDP Interior
Wolf Coloring KDP interior For Adults, Used as Low Content Book, PDF Template Ready To Upload COMMERCIAL Use 8.5×11"
Coloring Animals Head Book for Kids, Perfect for ages 2-4, 4-8 | 8.5×11 PDF
Printable Blank Comic Book Pages PDF : Create Your Own Comics – 3 Available Sizes
Notes KDP interior Ready To Upload, Sizes 8.5×11 6×9 5×8 inch PDF FILE Used as Amazon KDP Paperback Low Content Book, journal, Notebook, Planner, COMMERCIAL Use
Black Lined Journal: 120 Pages of Black Lined Paper Perfect for Journaling, KDP Notebook Template – 6×9
Student Planner Journal 120 pages Ready to Upload PDF Commercial Use KDP Template 6×9" 8.5×11" for Low Content book
Recipe Journal Template – Editable Recipe Book Template, 120 Pages – Amazon KDP Interior