okay so I just spent like three weeks testing different comic strip templates and honestly the whole character thing is way more important than people realize when they’re trying to publish on Amazon
The Basic Template Setup Nobody Talks About
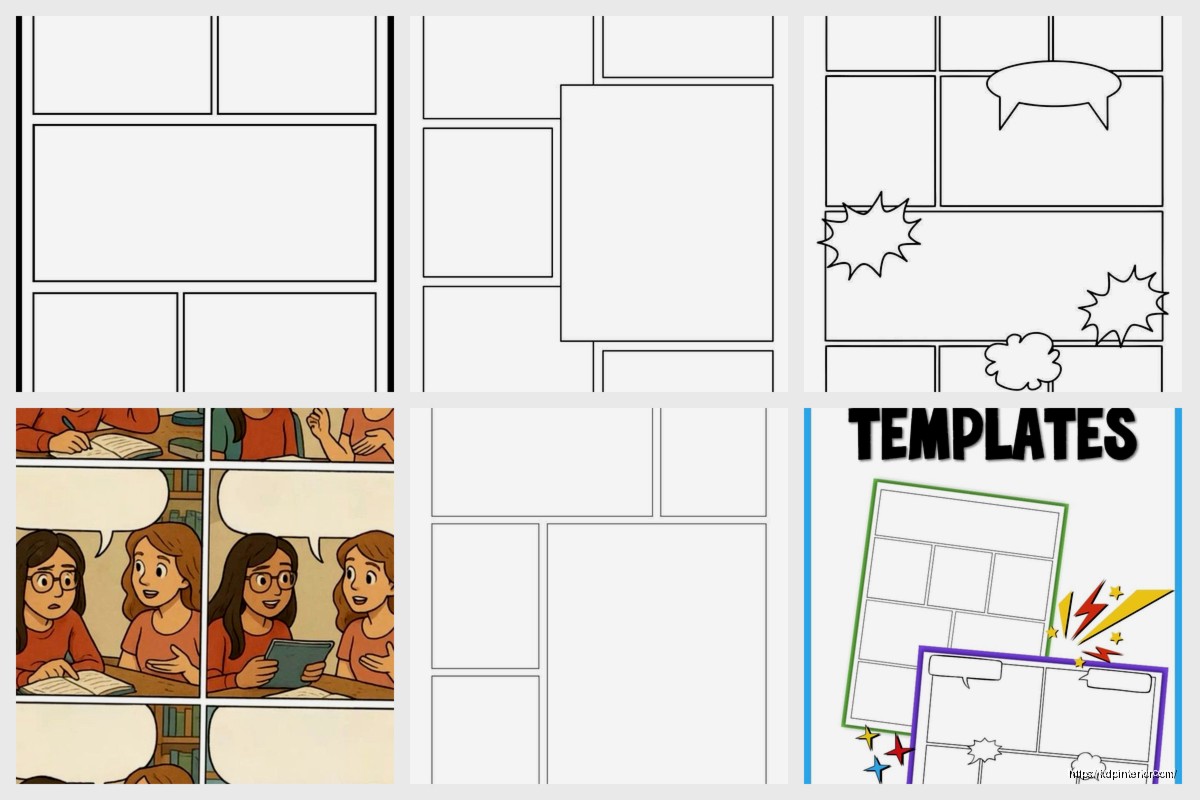
So first thing – you need to decide on your panel structure before you even think about characters. I usually go with the classic 3-panel horizontal strip because it’s what newspapers used forever and people’s brains just… get it, you know? But I’ve also done 4-panel, 6-panel grid layouts, and even some weird vertical ones that sold surprisingly well in 2022.
The dimensions matter more than you’d think. For KDP, I always work with 8.5 x 11 inches at 300 DPI minimum. Your panels inside that need gutters – that’s the space between panels – and I usually do about 0.25 inches. Less than that and it feels cramped when printed, more and you’re wasting valuable real estate.
Panel Border Weights
Keep your panel borders at 3-4 pt stroke weight. I learned this the hard way when my first comic book had 1 pt borders and they basically disappeared in print. Amazon’s POD process already reduces contrast a bit, so you gotta compensate.
Character Design for Templates
Here’s where it gets interesting – when you’re creating a template with characters, you’re essentially building a system. The characters need to be simple enough that you (or whoever buys your template) can redraw them consistently across multiple strips.
I use what I call the “shape method” which sounds fancy but it’s just breaking down characters into basic geometric shapes. Circle head, rectangle body, stick arms. You’d be surprised how much personality you can get from just changing eye shapes and mouth positions.
Character Sheets Are Your Friend
Make a character sheet showing your character from front, side, and three-quarter view. Include different expressions – happy, sad, angry, surprised, confused. I usually do like 8-10 expressions minimum. This way when you’re creating multiple strips, the character stays consistent.
oh and another thing – keep a color palette document. I use a simple spreadsheet with hex codes for each character’s colors. Skin tone, hair, clothing. Nothing’s worse than having your main character’s shirt change from blue to teal across different strips because you forgot the exact shade.
Sequential Art Flow
The reading flow in Western markets goes left to right, top to bottom. Sounds obvious but I’ve seen so many templates mess this up. Your character placement needs to guide the eye naturally through the panels.
In panel 1, if your character is on the left side, the reader’s eye moves from them toward the right where panel 2 begins. It’s this subtle thing that professional comic artists do instinctively but when you’re making templates you gotta be intentional about it.
The Establishing Shot Problem
Every strip needs context. I usually dedicate the first panel to establishing the scene – where are we, who’s here, what’s the situation. Then panels 2-3 deliver the action and punchline if it’s a humor strip.
But here’s something I discovered last month while watching The Office for the millionth time – you can actually cheat the establishing shot by using consistent backgrounds. If every strip takes place in the same living room or office, readers learn the space and you can skip right to the action sometimes.
Speech Bubble Placement
This is gonna sound weird but speech bubbles are like 40% of making a comic strip template work. You need to leave space for them in your character poses.
I create my templates with light blue guidelines showing where speech bubbles should go. These get deleted before export but during the design phase they’re crucial. The bubble should be close to the character speaking but not overlapping important visual elements.
Tail Direction Matters
The tail of the speech bubble points to the speaker’s mouth, obviously, but the angle matters for reading order. If two characters are talking, the first speaker’s bubble should be higher and to the left of the second speaker’s bubble. Readers automatically read top-to-bottom, left-to-right even within a single panel.
Character Consistency Hacks
So I use Adobe Illustrator for my templates because vector graphics scale infinitely, but you can do this in Photoshop or even Canva if you’re clever about it. The key is creating character assets as separate elements.
Build your character in pieces – head, body, arms, legs all on separate layers. Then you can mix and match poses without redrawing everything. It’s like paper dolls but digital.
wait I forgot to mention – keep a swipe file of poses. I have folders organized by action: walking, sitting, pointing, thinking, running. When I need a character doing something I just reference my swipe file instead of starting from scratch.
Typography in Comic Strips
Don’t use Comic Sans. Just… don’t. I use a font called Komika Axis or sometimes Bangers for more energetic strips. The font needs to be bold enough to read at small sizes because Amazon’s preview thumbnails are tiny.
All caps is traditional for comics but I’ve had success with sentence case too, especially for more sophisticated humor. Font size should be at least 10 pt but I usually go 12-14 pt to be safe.
Letter Spacing and Readability
Increase your letter spacing (tracking) by about 5-10% in speech bubbles. Gives the text room to breathe. My cat just jumped on my keyboard but yeah – the readability thing is crucial because people browse KDP books on their phones a lot now.
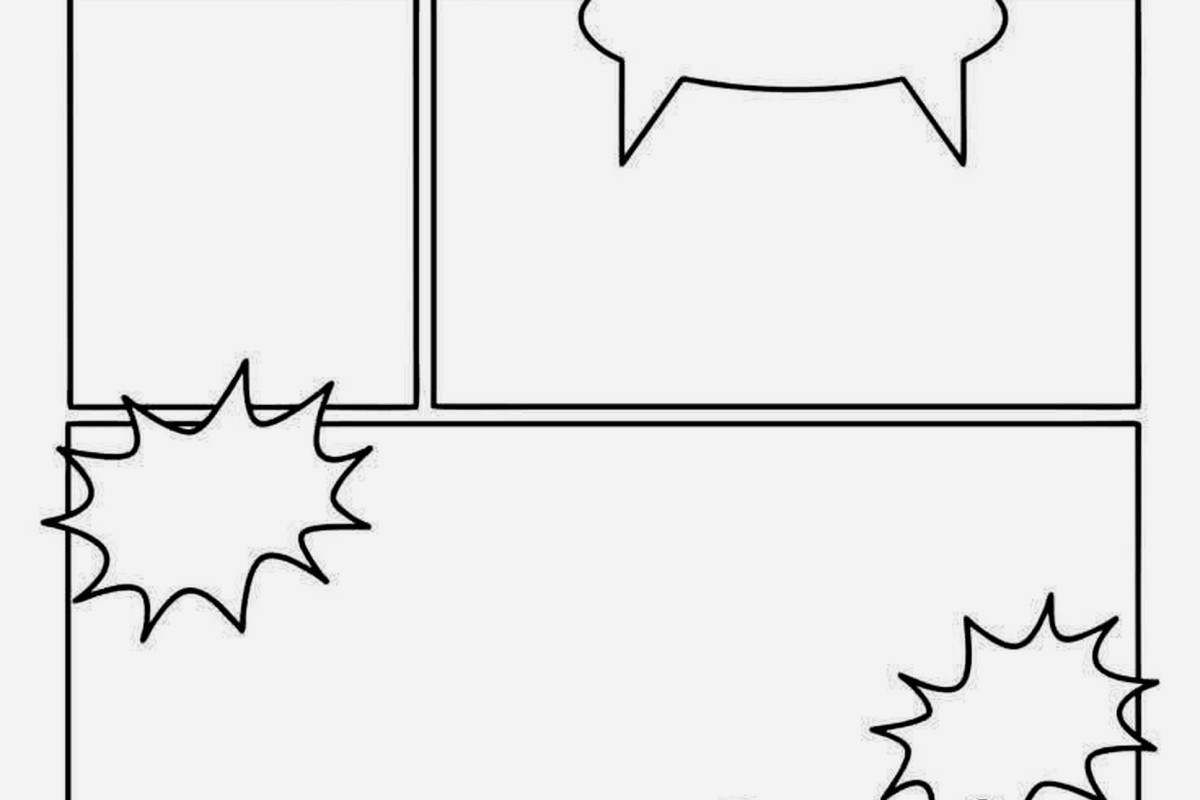
Action Lines and Effects
Speed lines, impact stars, sweat drops – these little details sell the action. I create a library of these effects as separate PNG elements with transparent backgrounds. Drop them in as needed.
For impact effects I usually use a separate layer with a blend mode set to Multiply. That way the effect interacts with whatever’s behind it naturally instead of looking pasted on.
Background Simplification
Professional comics often have detailed backgrounds but for templates, especially if you’re selling them, simpler is better. A few lines suggesting a room, some basic furniture shapes, maybe a window.
I do three background complexity levels: simple (just a horizon line or single color), medium (basic shapes suggesting environment), detailed (actual furniture and props). Mix them up across panels – detailed in panel 1 for establishing, simple in panels 2-3 where the focus is on character interaction.
The Money Part – Making Templates Sellable
If you’re publishing these as low-content books or selling the templates themselves, you need variations. I create a base template then make 10-20 variations with different character poses and expressions.
Each variation gets saved as a separate file but they all use the same character design system. This way buyers get variety but consistency.
Format Considerations
Export your templates as high-res PDFs for print, but also create PNG versions at 150 DPI for digital use. Some people want to fill these out digitally, others want to print and draw by hand.
I always include a guide page showing how to use the template. Sounds basic but you’d be surprised how many people don’t understand layers or how to add text properly.
Testing Your Templates
Before uploading anything to KDP, order a proof copy. I cannot stress this enough. What looks good on screen doesn’t always translate to print. The colors shift, sometimes text is smaller than you thought, panel borders might look too heavy or too light.
I usually order 2-3 proofs per template design, making adjustments between each order. Yeah it costs money upfront but it’s way better than getting bad reviews because the template doesn’t work in physical form.
Digital Proofing Trick
Print your template on a regular home printer first. Not the same quality as KDP’s POD but it gives you a reality check on sizing and readability. I do this while watching TV, just print, look it over, make notes, adjust.
Character Expression Library
Build out at least 15-20 expressions per character. Sounds like a lot but once you have the base head shape, you’re really just changing eyes and mouth. Happy, sad, angry, surprised, confused, skeptical, excited, bored, frustrated, thoughtful, worried, confident, shy, mischievous, tired.
Save each expression as a separate file or layer group. Name them clearly – “Character1_Happy” not “face3_v2_final.” Future you will thank present you for good file organization.
Color vs Black and White
Black and white templates are cheaper to print through KDP but color ones sell for higher prices. I usually create both versions – full color and a line art version that people can color themselves.
The line art versions actually sell really well as activity books. People buy them for their kids or even for themselves as a creative outlet. Those adult coloring books proved there’s a huge market for this stuff.
Panel Variety Without Chaos
Stick to 2-3 panel layouts max within a single template book. Too much variety and it stops feeling cohesive. I usually do one book with all 3-panel horizontal strips, another with 4-panel grid layouts, etc.
Within those constraints you can vary panel sizes though. Make one panel bigger for emphasis, use a tall narrow panel for a character standing up, a wide panel for a landscape shot.
okay so that’s basically my whole system for comic strip templates with characters – it’s not rocket science but there’s definitely a method to it that took me way too long to figure out through trial and error
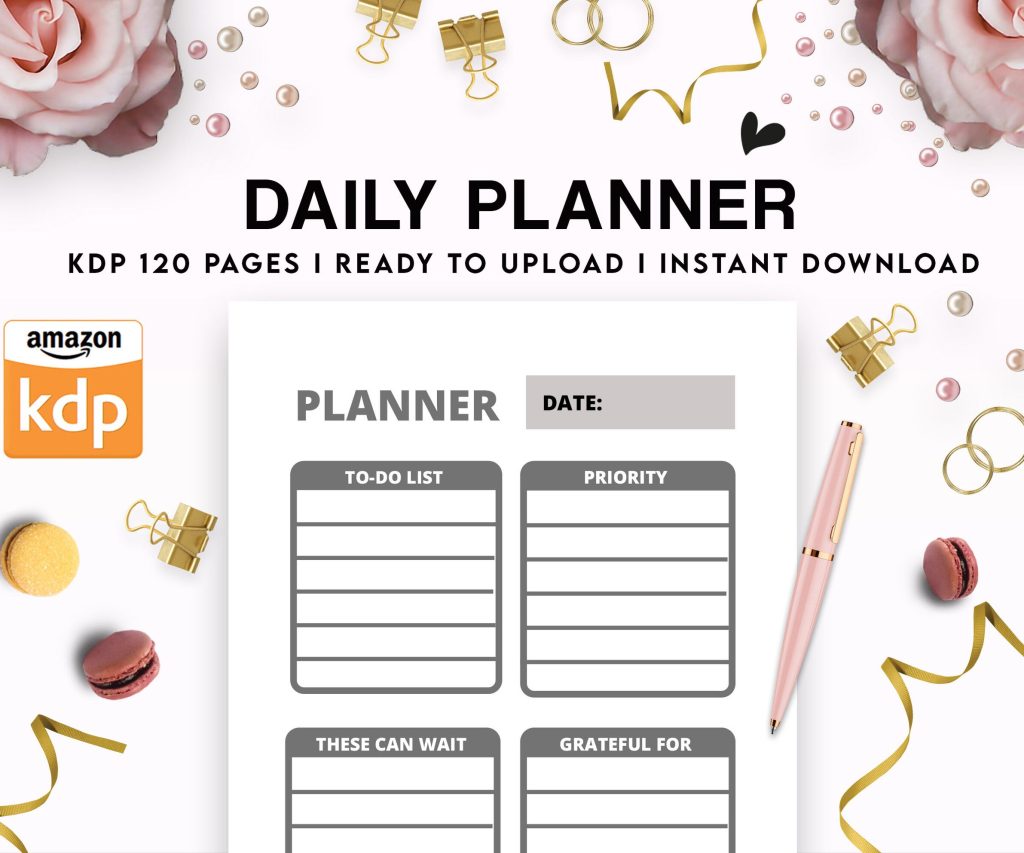 Daily Planner Diary : Diary Planners for Everyday Productivity, 120 pages, 6×9 Size | Amazon KDP Interior
1 × $0.00
Daily Planner Diary : Diary Planners for Everyday Productivity, 120 pages, 6×9 Size | Amazon KDP Interior
1 × $0.00 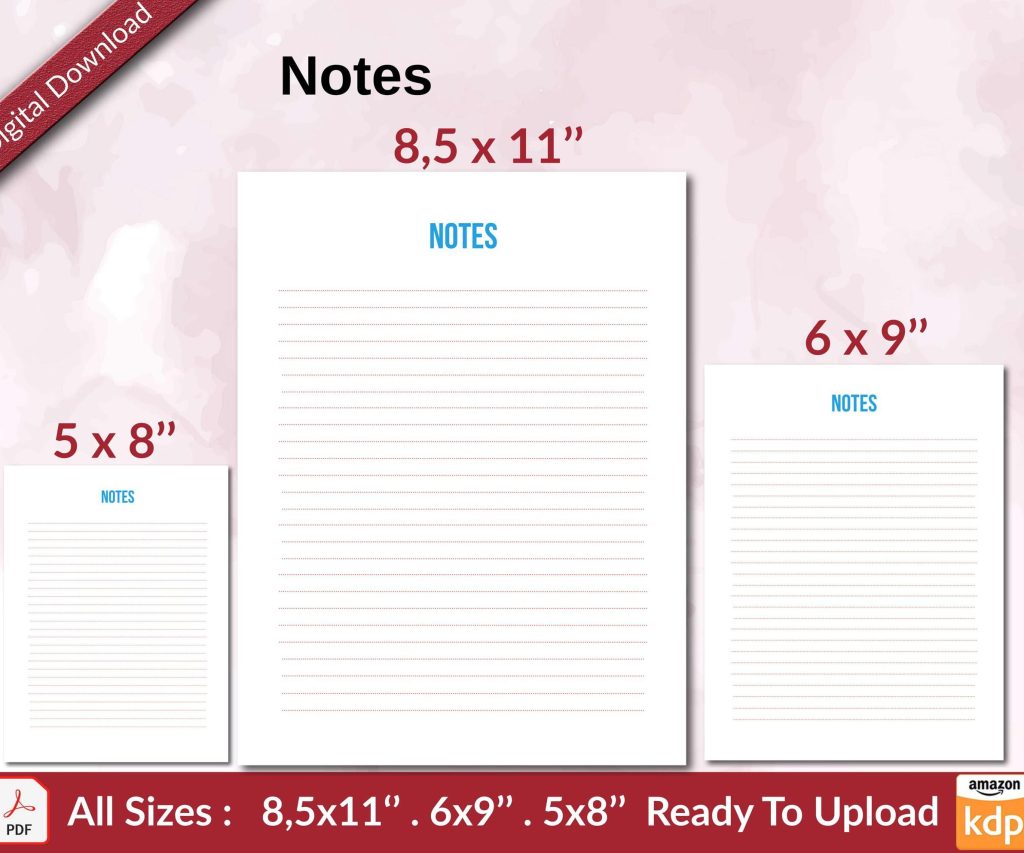 Notes KDP interior Ready To Upload, Sizes 8.5x11 6x9 5x8 inch PDF FILE Used as Amazon KDP Paperback Low Content Book, journal, Notebook, Planner, COMMERCIAL Use
1 × $0.00
Notes KDP interior Ready To Upload, Sizes 8.5x11 6x9 5x8 inch PDF FILE Used as Amazon KDP Paperback Low Content Book, journal, Notebook, Planner, COMMERCIAL Use
1 × $0.00 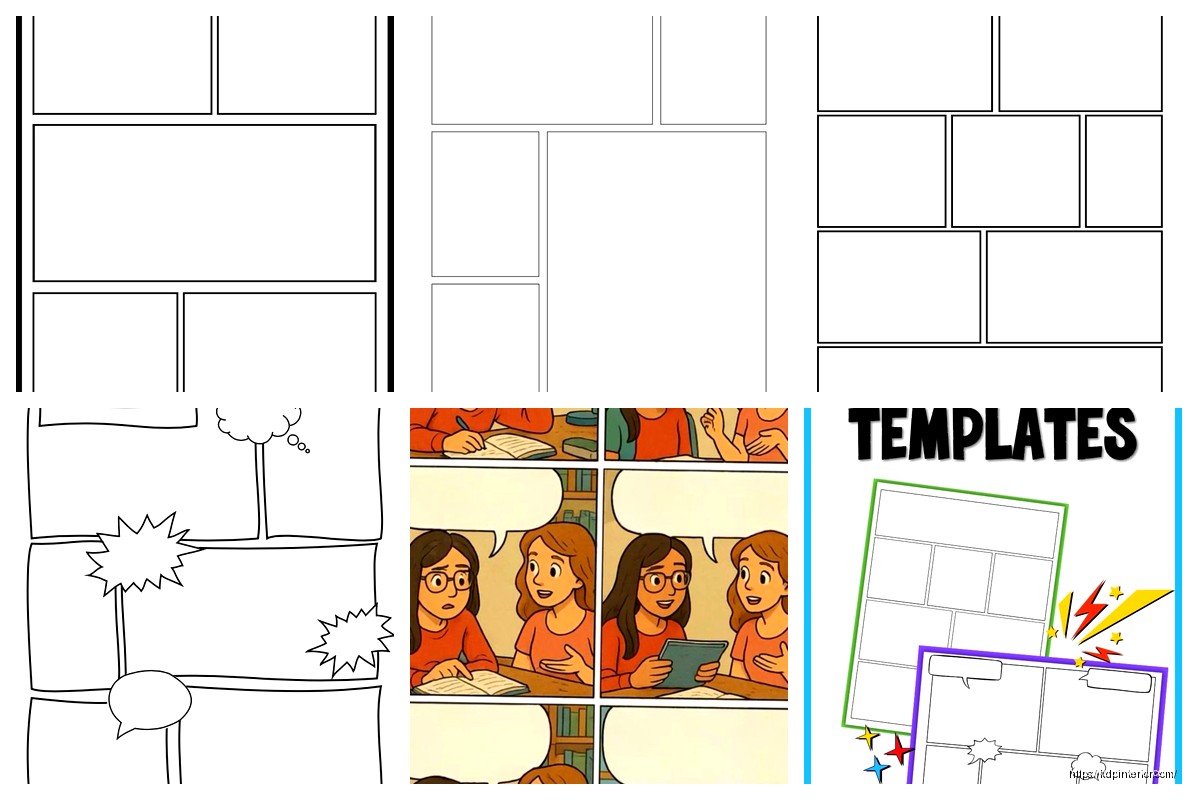
DISCOVER OUR FREE BEST SELLING PRODUCTS
Editable Canva Lined Journal: Express Your Thoughts – KDP Template
Lined Pages Journal 120 pages Ready to Upload PDF Commercial Use KDP Template 6×9 8.5×11 5×8 for Notebooks, Diaries, Low Content
Lined Pages Journal 120 pages Ready to Upload PDF Commercial Use KDP Template 6×9 8.5×11 5×8 for Notebooks, Diaries, Low Content
Cute Dogs Coloring Book for Kids | Activity Book | KDP Ready-To-Upload
Daily Planner Diary : Diary Planners for Everyday Productivity, 120 pages, 6×9 Size | Amazon KDP Interior
Wolf Coloring KDP interior For Adults, Used as Low Content Book, PDF Template Ready To Upload COMMERCIAL Use 8.5×11"
Coloring Animals Head Book for Kids, Perfect for ages 2-4, 4-8 | 8.5×11 PDF
Printable Blank Comic Book Pages PDF : Create Your Own Comics – 3 Available Sizes
Notes KDP interior Ready To Upload, Sizes 8.5×11 6×9 5×8 inch PDF FILE Used as Amazon KDP Paperback Low Content Book, journal, Notebook, Planner, COMMERCIAL Use
Black Lined Journal: 120 Pages of Black Lined Paper Perfect for Journaling, KDP Notebook Template – 6×9
Student Planner Journal 120 pages Ready to Upload PDF Commercial Use KDP Template 6×9" 8.5×11" for Low Content book
Recipe Journal Template – Editable Recipe Book Template, 120 Pages – Amazon KDP Interior