-
×
 Student Planner Journal 120 pages Ready to Upload PDF Commercial Use KDP Template 6x9" 8.5x11" for Low Content book
1 × $0.00
Student Planner Journal 120 pages Ready to Upload PDF Commercial Use KDP Template 6x9" 8.5x11" for Low Content book
1 × $0.00
Subtotal: $0.00
Okay so I just wrapped up helping a teacher friend design her Flat Stanley templates last month and honestly the whole process was way simpler than people make it sound but there’s definitely some tricks you gotta know.
First thing – you need to decide if you’re going physical or digital. I know that sounds obvious but like… the sizing completely changes everything. For physical Flat Stanley projects you’re usually looking at 8.5 x 11 inch paper because that’s what schools have access to. The original book has Stanley at about 4 feet tall and half an inch thick after the bulletin board incident but for classroom purposes most teachers go with a template that’s around 10-12 inches tall.
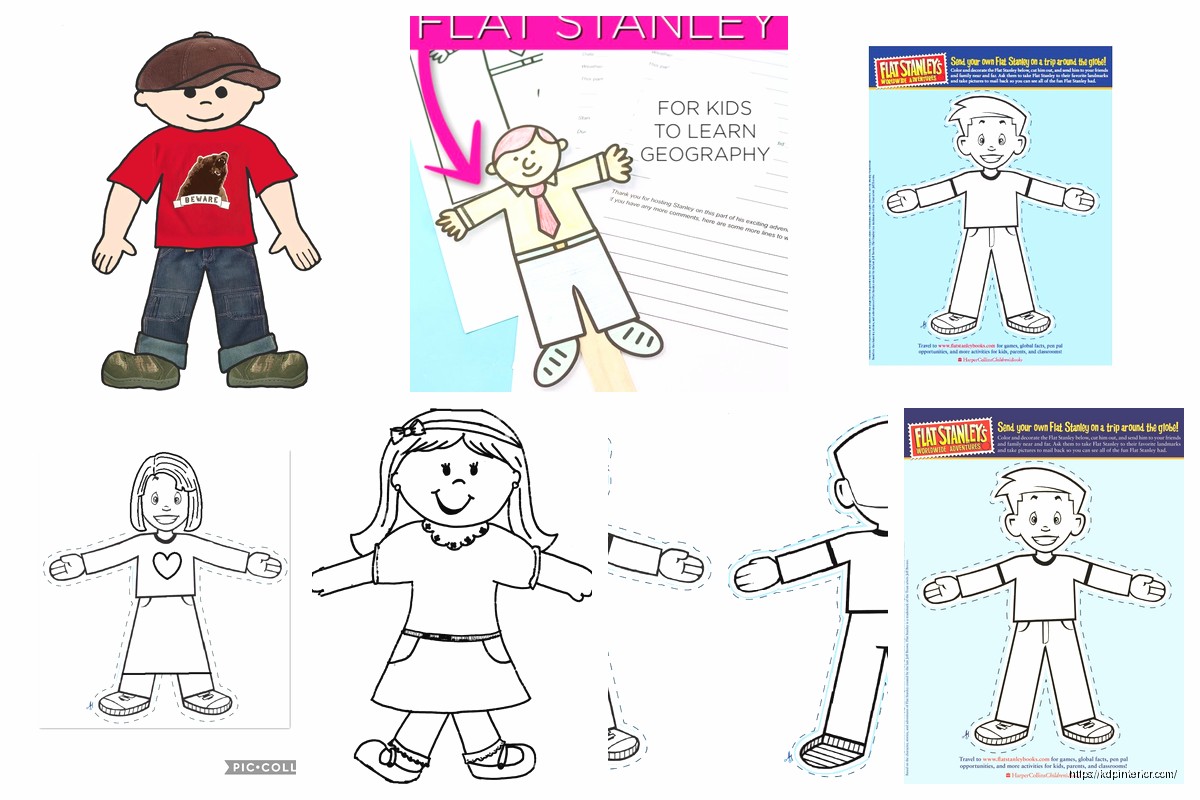
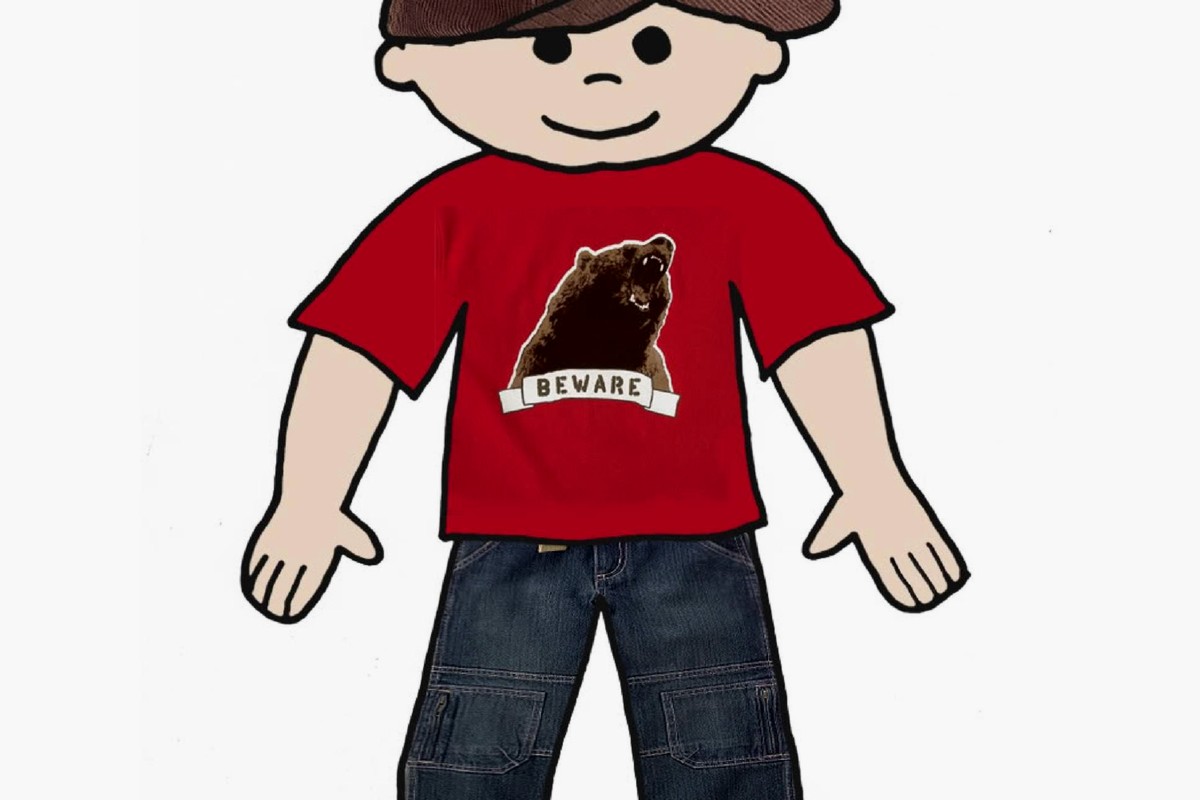
The actual outline needs to be super simple. Think gingerbread man shape basically – round head, body, arms out to the sides, legs slightly apart. I spent way too long on my first template trying to add details and the kids just… they don’t need that. They WANT to customize it themselves.
So you can use Canva which is what I recommend for most people who aren’t designers. They’ve got free templates you can modify and the dimensions are easy to set. But here’s the thing – if you’re planning to sell these templates or distribute them widely, you need to be careful about Canva’s licensing. I learned that the hard way when someone called me out on an ebook cover I made.
PowerPoint works surprisingly well too. My neighbor who teaches third grade does all her Flat Stanley stuff in PowerPoint because she can project it and show the kids exactly what to do. The shapes tool is perfect for creating that basic outline.
For me personally I use Adobe Illustrator because I’ve been doing KDP stuff forever but that’s overkill for most educational projects. Unless you’re gonna create like 50 variations to sell as a bundle or something.
Your basic Flat Stanley template should include:
Wait I forgot to mention – you definitely want to leave a flat base at the bottom of the feet. Not pointed toes. The whole point is Stanley can stand up when you fold a little tab at the bottom. I made mine with pointed feet once and the teacher was like “Daniel these keep falling over” and I felt like an idiot.
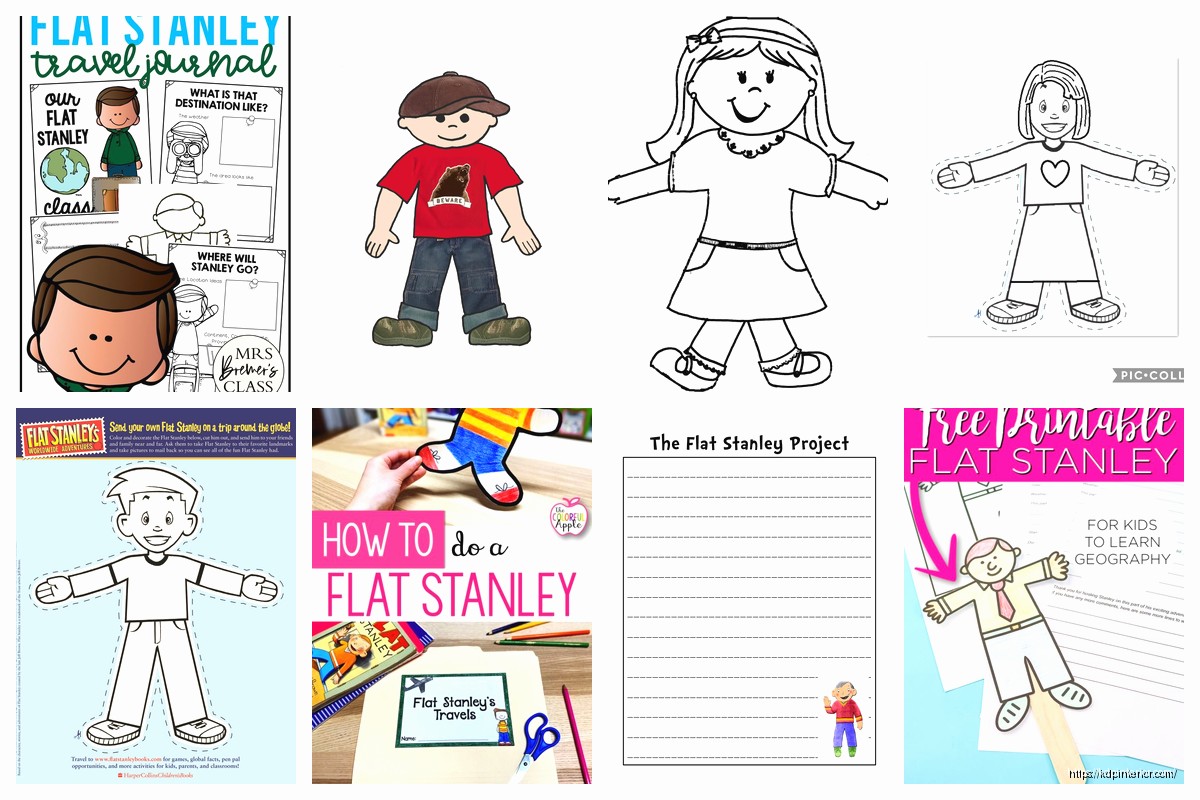
This is where it gets more interesting than just a paper doll situation. Most Flat Stanley projects are tied to geography or writing lessons so your template packet should probably include:
A travel journal page – This is where kids write about where their Stanley went. I format mine with lines for writing and a box for a photo or drawing. The photo box should be at least 3×4 inches because kids are gonna tape in actual printed photos or draw scenes.
Passport template – okay so funny story, I was watching that show Passport to Europe while working on these and realized a mini passport template would be perfect. Make it small enough to fold – like 4×5 inches with spaces for stamps from different locations.
Postcard template – Front side for address and stamp area, back side for the message. Standard postcard size is 4×6 which is perfect because it’s not gonna get lost in a backpack.
The writing prompts section… this is something I added after my friend said her students needed more structure. Simple things like “Stanley visited ___ and saw ___” or “The most interesting thing about this place was ___”
You want multiple versions honestly. I know it’s more work but here’s what teachers actually need:
The career ones are huge for career day projects. I didn’t think about this until a homeschool mom asked me if I had a firefighter Stanley and I was like… no but now I’m gonna make 20 of them.
Okay this is super important – resolution matters even for simple line art. Save everything at 300 DPI minimum. I’ve seen people create these cute templates at 72 DPI and then teachers try to blow them up on a photocopier and it looks terrible.
PDF format is your best friend for distribution. It locks everything in place and looks the same on every computer. But also offer PNG files with transparent backgrounds because some teachers want to drop these into their own worksheets or SmartBoard presentations.
Color vs black and white – always provide both. Color costs money to print and most schools are broke. Your black and white version needs to have clear lines that won’t disappear on a bad photocopier. I learned this after a teacher told me my gray dotted lines completely vanished when she made copies.
This is gonna sound weird but the instruction sheet is sometimes more important than the template itself. Parents and substitute teachers need to know what the heck a Flat Stanley project even is.
Your instruction sheet should cover:
I format mine as a one-pager with simple graphics. Nothing fancy. Arial or similar font, 11-12pt, bullet points. Teachers are gonna skim this at 7am before class starts so make it scannable.
Oh and another thing – COVID changed everything with these projects. Now you need digital versions too. A digital Flat Stanley template works differently because kids are using drawing apps or photo editing.
For digital I create:
The digital projects usually involve kids taking photos and superimposing Stanley into them which is actually really cool. I watched my niece do this and she put Stanley at the Grand Canyon, in her kitchen, with her cat… my cat kept walking across my keyboard while I was working on these templates which was annoying but whatever.
If you’re creating templates for older kids or more ambitious projects consider adding:
A measurement activity – kids measure objects next to Flat Stanley to understand his half-inch thickness. This ties into math standards which teachers love.
Map tracking – a blank map template where kids mark everywhere Stanley travels. I use simple continent outlines, nothing too detailed.
Comparison charts – before and after Stanley got flat, what changed, what stayed the same. Good for critical thinking skills.
When I bundle these for teachers or for selling on TeachersPayTeachers or whatever, here’s my folder structure:
Main folder: Flat_Stanley_Project_Templates
The READ_ME is crucial if you’re distributing these. Specify if it’s for personal classroom use only or if teachers can share with colleagues. I usually allow sharing within a single school but not district-wide without additional licensing.
Don’t make the lines too thin – anything under 2pt is gonna be hard for young kids to cut out. Their fine motor skills aren’t there yet.
Don’t overcomplicate the design – I see people adding like intricate hair details and individual fingers and it’s just… too much. Keep it simple.
Don’t forget about the fold tab at the bottom – I mentioned this before but seriously it’s important for Stanley to stand up.
Don’t use fonts that require special licensing if you’re gonna distribute or sell these. Stick with system fonts or fonts with commercial licenses. I got burned on this with a different KDP project and it was a nightmare.
Don’t make the file sizes huge – a simple template shouldn’t be more than 2-3MB even at high resolution. Compress your PDFs. Teachers are downloading these on school wifi which is usually terrible.
Before you finalize anything print it out yourself and actually cut it out. Sounds obvious but you’d be surprised. I found so many issues this way – spaces that were too narrow to cut, parts that didn’t line up when folded, text that was too small to read.
Have a kid test it if possible. My friend’s daughter tried my templates and immediately pointed out that the arm spacing was too narrow for her to color comfortably. Fixed that and the templates worked way better.
For teachers using these year after year, suggest laminating one completed Stanley as an example. It holds up better than paper and kids can see what the finished product should look like.
Provide a supply checklist – what materials they’ll need to have on hand. Most teachers are buying this stuff with their own money so being specific helps them budget.
The whole project works best when you’ve got everything organized in a binder or folder that can be pulled out each year. I created a cover page design that teachers can print and stick on the front of their Flat Stanley project binder.
Anyway that’s basically the full breakdown of creating Flat Stanley templates for educational use. The key is keeping it simple enough for young kids but flexible enough that teachers can adapt it for different grade levels and learning objectives. Most of my templates take maybe 2-3 hours to create once you’ve got the process down and they get used by hundreds of kids which is pretty cool.
DISCOVER OUR FREE BEST SELLING PRODUCTS
Editable Canva Lined Journal: Express Your Thoughts – KDP Template
Lined Pages Journal 120 pages Ready to Upload PDF Commercial Use KDP Template 6×9 8.5×11 5×8 for Notebooks, Diaries, Low Content
Lined Pages Journal 120 pages Ready to Upload PDF Commercial Use KDP Template 6×9 8.5×11 5×8 for Notebooks, Diaries, Low Content
Cute Dogs Coloring Book for Kids | Activity Book | KDP Ready-To-Upload
Daily Planner Diary : Diary Planners for Everyday Productivity, 120 pages, 6×9 Size | Amazon KDP Interior
Wolf Coloring KDP interior For Adults, Used as Low Content Book, PDF Template Ready To Upload COMMERCIAL Use 8.5×11"
Coloring Animals Head Book for Kids, Perfect for ages 2-4, 4-8 | 8.5×11 PDF
Printable Blank Comic Book Pages PDF : Create Your Own Comics – 3 Available Sizes
Notes KDP interior Ready To Upload, Sizes 8.5×11 6×9 5×8 inch PDF FILE Used as Amazon KDP Paperback Low Content Book, journal, Notebook, Planner, COMMERCIAL Use
Black Lined Journal: 120 Pages of Black Lined Paper Perfect for Journaling, KDP Notebook Template – 6×9
Student Planner Journal 120 pages Ready to Upload PDF Commercial Use KDP Template 6×9" 8.5×11" for Low Content book
Recipe Journal Template – Editable Recipe Book Template, 120 Pages – Amazon KDP Interior