Okay so here’s the deal with KDP covers – I literally just finished uploading three new notebooks last night and realized my cover approach has completely changed from when I started seven years ago.
The Size Thing Nobody Gets Right
Your cover needs to be 2560 x 1600 pixels minimum for Amazon. But here’s what I actually do – I work at 3000 x 1875 because it gives you more flexibility if you decide to scale up later or if you want to use the same design for print versions. The aspect ratio is what matters (1.6:1) and honestly I’ve seen people mess this up constantly and then wonder why their covers look stretched or cropped weird in the thumbnail view.
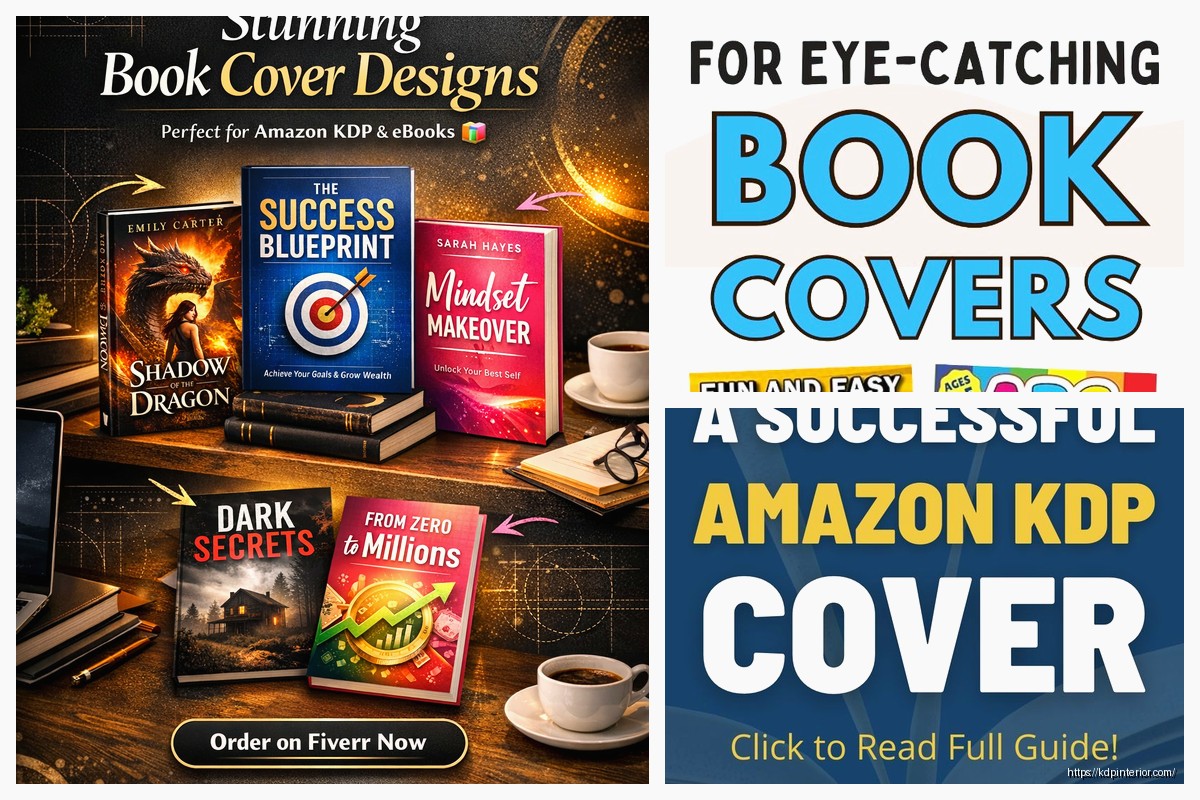
The thumbnail is everything. Like I cannot stress this enough – 90% of people will see your cover as a tiny little rectangle about the size of your fingernail on a phone screen. I keep a folder on my desktop with actual-size thumbnails and I check every single cover at that size before I upload. Sounds obsessive but it’s saved me so many times from using fonts that disappear or colors that blend together.
Tools I Actually Use
Canva Pro is where I do probably 70% of my covers now. Yeah it’s $13/month or whatever but the templates alone… okay so I don’t actually use their templates directly because everyone does and your cover will look like 500 other books. What I do is use them as a starting framework and then completely customize everything. Change the fonts, swap the graphics, adjust the color schemes.
Photoshop is still my go-to for anything complex or when I need specific effects that Canva can’t handle. The learning curve is brutal though – took me like two years to get comfortable with layers and masking. If you’re just starting out, honestly stick with Canva or even try Affinity Designer (one-time payment, way cheaper than Adobe subscription).
Oh and another thing – Book Brush is specifically made for book covers and it’s pretty solid. I used it a lot in 2019-2020 but kinda moved away because I got faster with Canva. Still good though, especially for 3D mockups.
Free Options That Don’t Suck
GIMP is free Photoshop basically. It’s clunky and the interface makes me wanna throw my laptop sometimes but it works. Pixlr is browser-based and decent for quick edits. Photopea is another browser one that actually has a Photoshop-style interface – I use this when I’m on my wife’s computer and don’t have my usual tools.
Typography Makes or Breaks Everything
Fonts are where most beginners completely fall apart. I see covers all the time with like 4 different fonts fighting each other or some decorative script that’s completely unreadable at thumbnail size.
My rule: Two fonts maximum. Usually I’ll do a bold sans-serif for the main title (think Montserrat, Bebas Neue, Oswald) and then either the same font in a different weight for the subtitle or a complementary serif if it’s appropriate for the genre. For notebooks and low-content stuff, clean and simple wins every single time.
Google Fonts is your friend here – completely free, commercially usable, huge selection. I probably use the same 15-20 fonts across all my covers because I know they work. Some favorites: Playfair Display for anything that needs elegance, Raleway for modern clean looks, Merriweather for readable body text if you need it.
Wait I forgot to mention – kerning and tracking actually matter. That’s the spacing between letters and words. Canva auto-adjusts this pretty well but in Photoshop you gotta do it manually. Title text usually looks better with slightly increased tracking, makes it feel more premium somehow.
Color Psychology and All That
Different niches respond to different color schemes and you gotta pay attention to what’s already selling. I spend like 30 minutes just scrolling through bestsellers in my target category before I start any design.
Planners and productivity stuff – people expect blues, teals, golds, rose gold, sometimes black and white minimalist. Journals – earth tones are huge right now, or those watercolor pastel vibes. Kids activity books – bright primary colors obviously. Recipe books – warm tones, reds, oranges, yellows with food photography.
This is gonna sound weird but I actually use Adobe Color (it’s free online) to pull color palettes from top-selling covers. You can upload an image and it’ll extract the exact hex codes. Then I’ll modify them slightly so I’m not straight-up copying but I’m staying in that proven zone.
Contrast is critical for thumbnails. Your title needs to pop against the background. I do this test – convert the cover to grayscale and see if the text is still clearly readable. If it’s not, your colors aren’t contrasting enough.
Background Elements
Stock photos from sites like Unsplash, Pexels, or Pixabay work fine for a lot of covers. Just make sure you’re checking the licenses – most are free for commercial use but some require attribution. I pay for Depositphotos subscription ($30/month for 50 downloads) because the quality is more consistent and I don’t have to worry about seeing the same image on 20 other covers.
Patterns and textures add depth without being distracting. Subtle marble textures, watercolor washes, geometric patterns – these work great for low-content books especially. Creative Market has tons of these, usually in bundles that are pretty affordable.
My cat just jumped on my keyboard sorry – anyway, elements and graphics from sites like Creative Fabrica (if you design a lot, their subscription is insane value) or individual graphics from Etsy. Just search for “commercial use graphics” or “PLR graphics.”
The Actual Design Process
Okay so funny story, I used to just wing it and wonder why my covers looked amateur. Now I have a actual process that takes like 45 minutes per cover instead of 3 hours of frustration.
First, I research. Bestseller lists in my specific subcategory, scrolling through at least 50-100 covers, taking screenshots of ones that catch my eye. I’m looking for patterns – what styles are working, what colors dominate, how much text versus graphics.
Then I sketch. Yeah actual paper sketching or sometimes just boxes in my notebook showing layout ideas. Where’s the title going, how big, what’s the focal point, where’s the author name. This saves so much time because you’re not figuring out composition while also trying to pick fonts and colors.
Color palette next – I’ll choose 3-5 colors before I even open my design software. Main background color, title color, accent colors. Already decided, locked in.
Layout and background first, then I add text elements, then graphics and embellishments last. Working in layers is essential – every element on its own layer so you can adjust without starting over.
Common Mistakes I Still See Everywhere
Text too small – your title should take up a significant portion of the cover. I see people with these tiny titles surrounded by tons of empty space or busy graphics. The title is the most important element period.
Too much going on – more elements doesn’t mean better design. Some of my best-selling notebooks have covers with literally just a colored background, a simple pattern, and text. That’s it.
Ignoring genre conventions – if you’re doing a gratitude journal and you make the cover look like a thriller novel, you’re gonna confuse potential buyers. Stay within your genre’s visual language but add your own twist.
Low quality images – blurry, pixelated graphics immediately scream amateur. Only use high-resolution assets, minimum 300 DPI for anything you might print.
Text Hierarchy and Composition
The reader’s eye needs to know where to look first. Usually that’s your title – make it the biggest, boldest element. Subtitle comes next in size and visual weight. Author name is typically smallest unless you’re already famous.
Rule of thirds helps a lot – imagine your cover divided into a 3×3 grid. Placing important elements along those lines or at the intersections creates more interesting, balanced compositions than just centering everything.
White space (or negative space) is not wasted space. It gives the eye room to rest and makes your design feel more professional. Beginning designers try to fill every pixel and it ends up looking cluttered and cheap.
Special Effects and When to Use Them
Drop shadows can add depth to text but go easy on them. I usually keep them subtle – maybe 30-40% opacity, small offset. Those harsh black shadows from 2010 are dead please don’t do that.
Gradients are back in style but they gotta be smooth and purposeful. I use them mostly for backgrounds or as overlays on photos to make text more readable.
Textures on text can look really good for certain genres – like a gold foil effect for premium planners or a watercolor texture for artistic journals. But it needs to still be readable at thumbnail size or it’s pointless.
Oh and mockups – 3D mockups make your book look real and tangible. I use them in my product descriptions and promotional images. Book Brush has good ones built in, or you can find free mockup templates on GraphicBurger or Mockup World.
Testing and Iteration
This is something I wish I’d understood earlier – your first cover design doesn’t have to be your forever cover. I regularly update covers on books that aren’t selling well. Sometimes a new cover completely changes a book’s performance.
A/B testing is harder on KDP since you can’t run two versions simultaneously, but you can look at your sales data before and after a cover change. I keep detailed notes in a spreadsheet tracking this stuff.
Get feedback before you publish but be careful who you ask. Your mom will say it’s beautiful no matter what. Other publishers or designers, or even posting in KDP Facebook groups (without revealing your niche obviously) can give you honest input.
The thumbnail test I mentioned earlier – view it at actual Amazon thumbnail size. If you can’t read the title or don’t immediately understand what the book is, redesign.
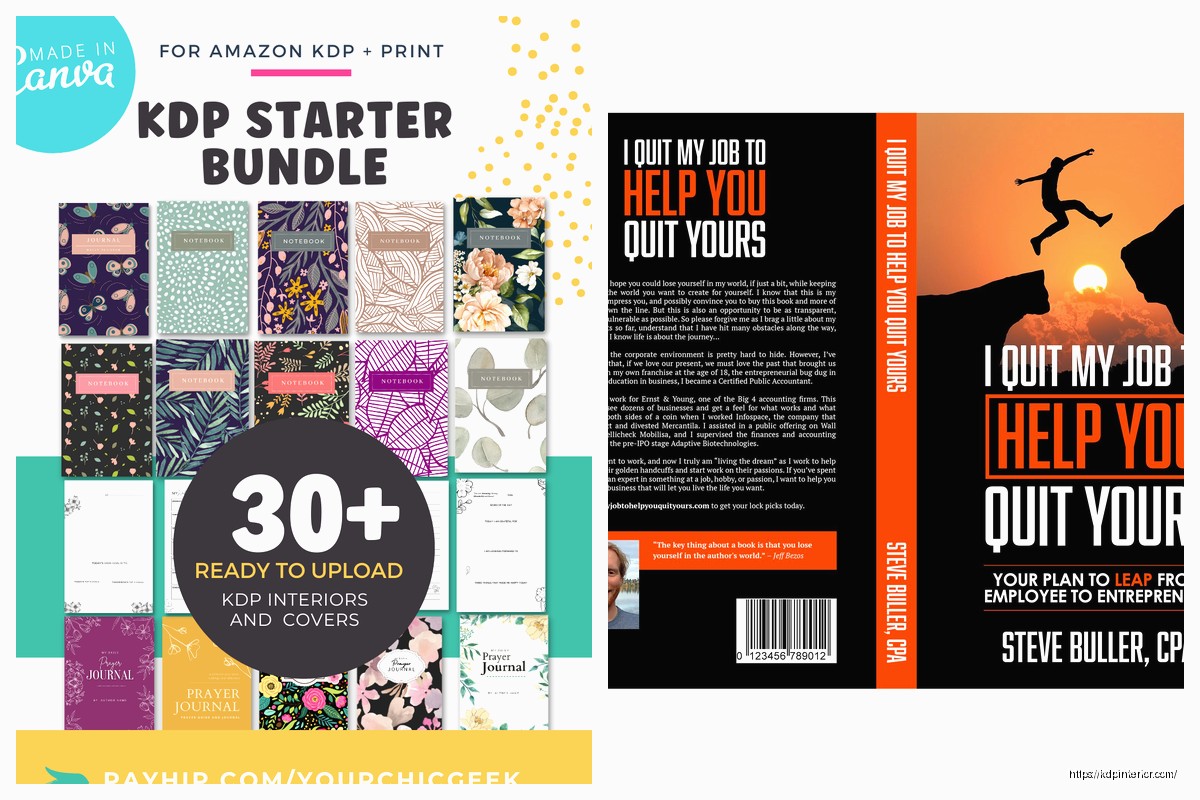
Spine and Back Cover for Paperbacks
If you’re doing paperback or hardcover, you need a full wrap cover. KDP has a cover calculator that tells you exact dimensions based on page count and paper type. Use it.
The spine only gets text if your book is over 100 pages usually – otherwise it’s too narrow. Keep spine text simple and make sure it’s readable when the book is on a shelf.
Back cover needs a compelling description, maybe some bullet points of what’s inside, barcode area (KDP adds this automatically), and your author name. I usually keep the design consistent with the front – same colors, similar styling.
File Formats and Upload Specs
Save your final cover as a high-quality JPEG or PNG. I usually do PNG because it handles transparency and quality better. File size limit on KDP is 50MB but honestly if you’re over like 15MB you probably need to optimize.
RGB color mode for digital, CMYK if you’re doing your own print files (though KDP handles conversion). I just stick with RGB and let Amazon deal with it.
Make sure you’re uploading at least 72 DPI but I always work at 300 DPI and then scale down if needed. Better to start with higher quality.
Look I’m gonna be real with you – your first 10 or 20 covers are probably gonna look pretty amateur compared to where you’ll be in a year. That’s totally normal. I look back at my 2018 covers and cringe so hard. But you gotta start somewhere and honestly just publishing and seeing what works in the real market teaches you more than any course or tutorial.
The main thing is making sure your cover fits your niche, looks professional enough to compete with the top sellers, and most importantly is readable at thumbnail size. Everything else is kinda secondary to those three things.
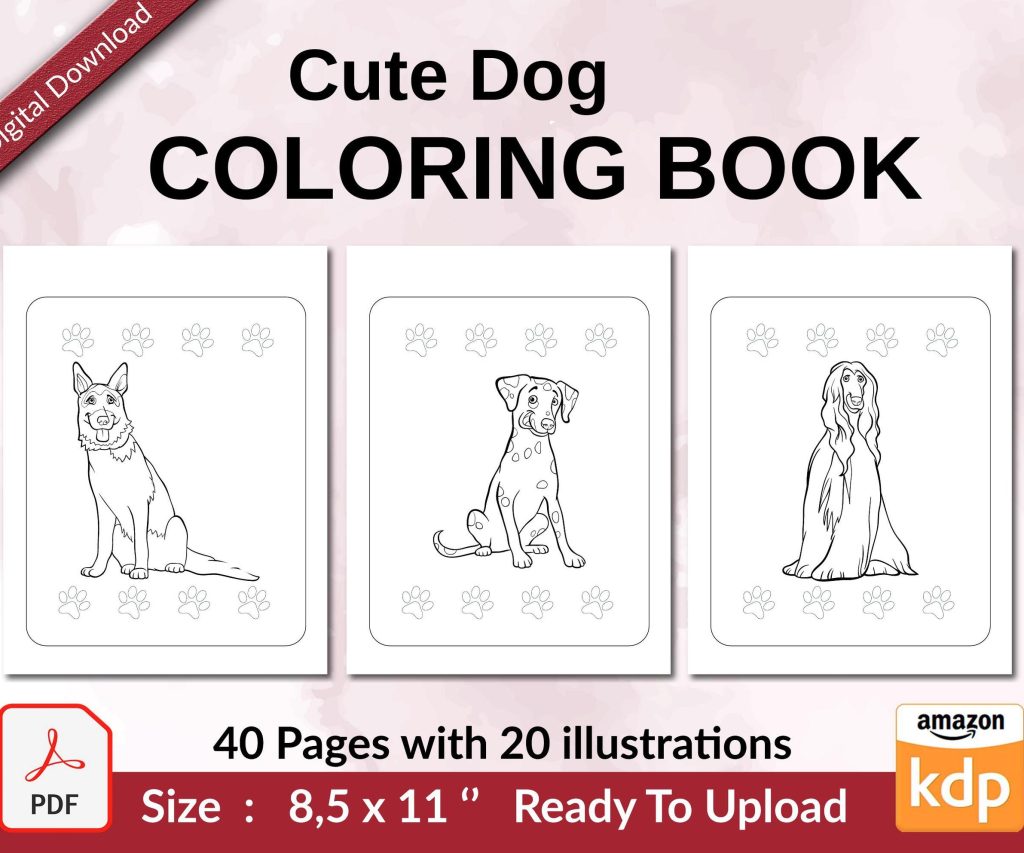 Cute Dogs Coloring Book for Kids | Activity Book | KDP Ready-To-Upload
1 × $0.00
Cute Dogs Coloring Book for Kids | Activity Book | KDP Ready-To-Upload
1 × $0.00  Lined Pages Journal 120 pages Ready to Upload PDF Commercial Use KDP Template 6x9 8.5x11 5x8 for Notebooks, Diaries, Low Content
1 × $0.00
Lined Pages Journal 120 pages Ready to Upload PDF Commercial Use KDP Template 6x9 8.5x11 5x8 for Notebooks, Diaries, Low Content
1 × $0.00 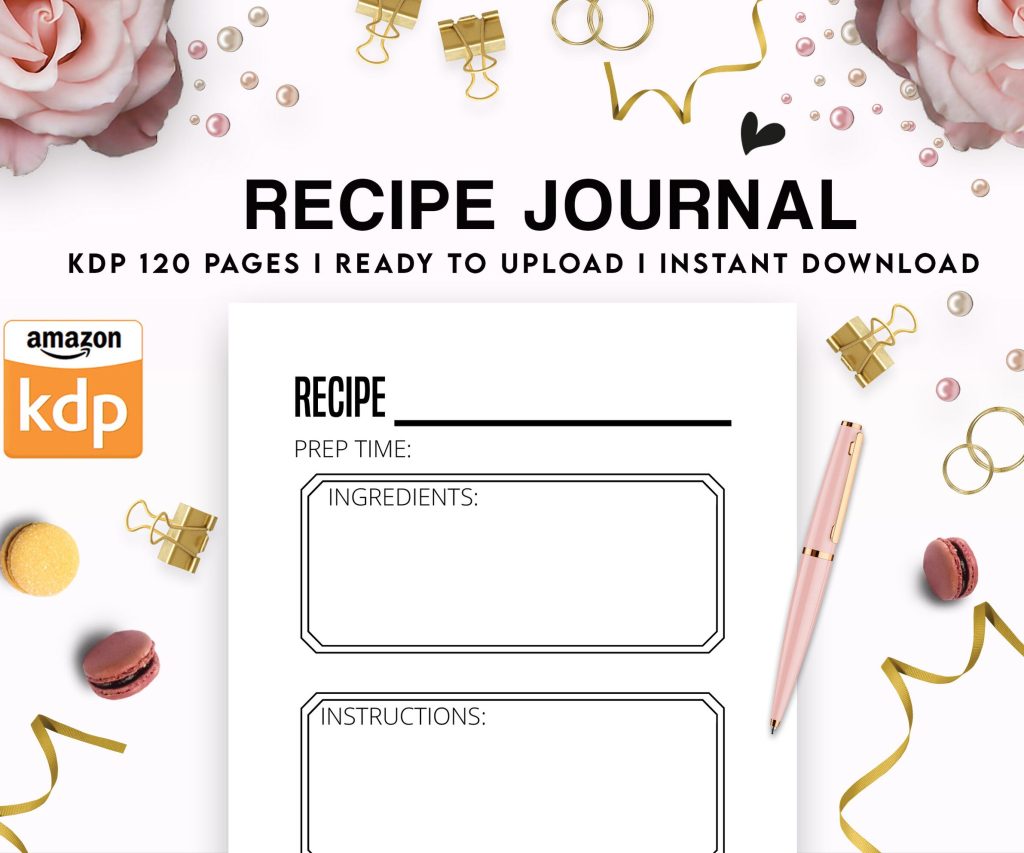 Recipe Journal Template - Editable Recipe Book Template, 120 Pages - Amazon KDP Interior
1 × $0.00
Recipe Journal Template - Editable Recipe Book Template, 120 Pages - Amazon KDP Interior
1 × $0.00  Black Lined Journal: 120 Pages of Black Lined Paper Perfect for Journaling, KDP Notebook Template - 6×9
1 × $0.00
Black Lined Journal: 120 Pages of Black Lined Paper Perfect for Journaling, KDP Notebook Template - 6×9
1 × $0.00 
DISCOVER OUR FREE BEST SELLING PRODUCTS
Editable Canva Lined Journal: Express Your Thoughts – KDP Template
Lined Pages Journal 120 pages Ready to Upload PDF Commercial Use KDP Template 6×9 8.5×11 5×8 for Notebooks, Diaries, Low Content
Lined Pages Journal 120 pages Ready to Upload PDF Commercial Use KDP Template 6×9 8.5×11 5×8 for Notebooks, Diaries, Low Content
Cute Dogs Coloring Book for Kids | Activity Book | KDP Ready-To-Upload
Daily Planner Diary : Diary Planners for Everyday Productivity, 120 pages, 6×9 Size | Amazon KDP Interior
Wolf Coloring KDP interior For Adults, Used as Low Content Book, PDF Template Ready To Upload COMMERCIAL Use 8.5×11"
Coloring Animals Head Book for Kids, Perfect for ages 2-4, 4-8 | 8.5×11 PDF
Printable Blank Comic Book Pages PDF : Create Your Own Comics – 3 Available Sizes
Notes KDP interior Ready To Upload, Sizes 8.5×11 6×9 5×8 inch PDF FILE Used as Amazon KDP Paperback Low Content Book, journal, Notebook, Planner, COMMERCIAL Use
Black Lined Journal: 120 Pages of Black Lined Paper Perfect for Journaling, KDP Notebook Template – 6×9
Student Planner Journal 120 pages Ready to Upload PDF Commercial Use KDP Template 6×9" 8.5×11" for Low Content book
Recipe Journal Template – Editable Recipe Book Template, 120 Pages – Amazon KDP Interior