-
×
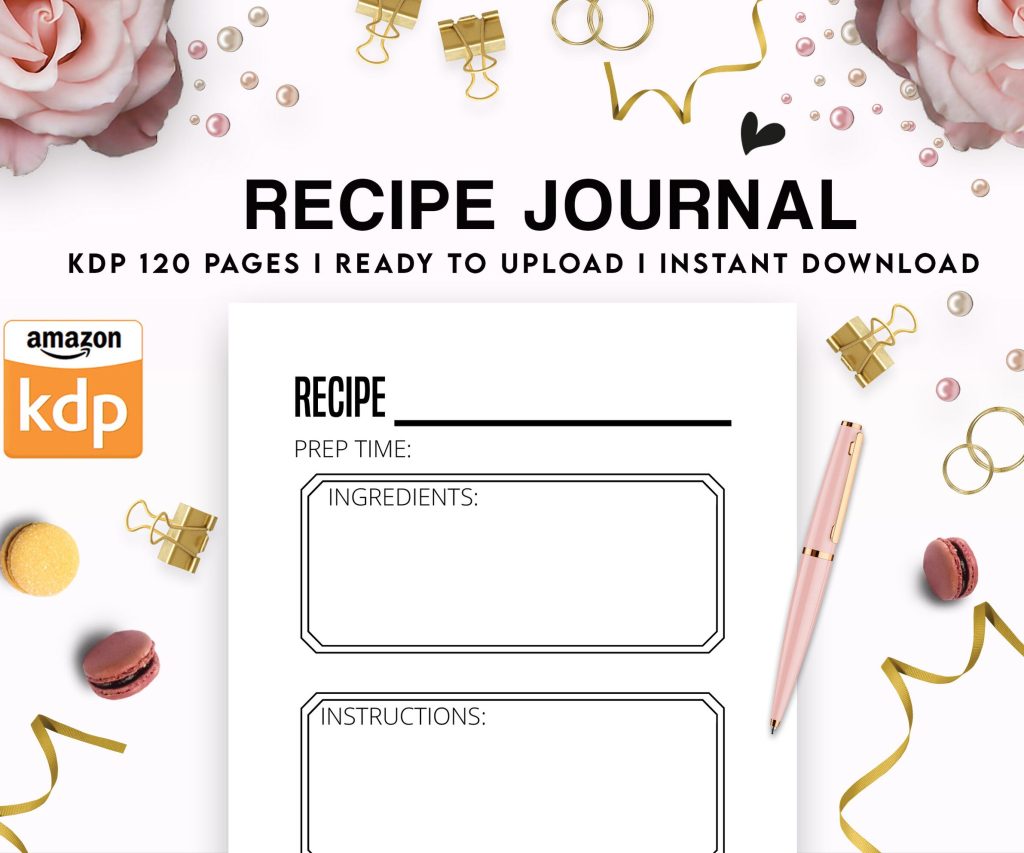 Recipe Journal Template - Editable Recipe Book Template, 120 Pages - Amazon KDP Interior
1 × $0.00
Recipe Journal Template - Editable Recipe Book Template, 120 Pages - Amazon KDP Interior
1 × $0.00
Subtotal: $0.00
Recipe Journal Template - Editable Recipe Book Template, 120 Pages - Amazon KDP Interior
1 × $0.00 Subtotal: $0.00
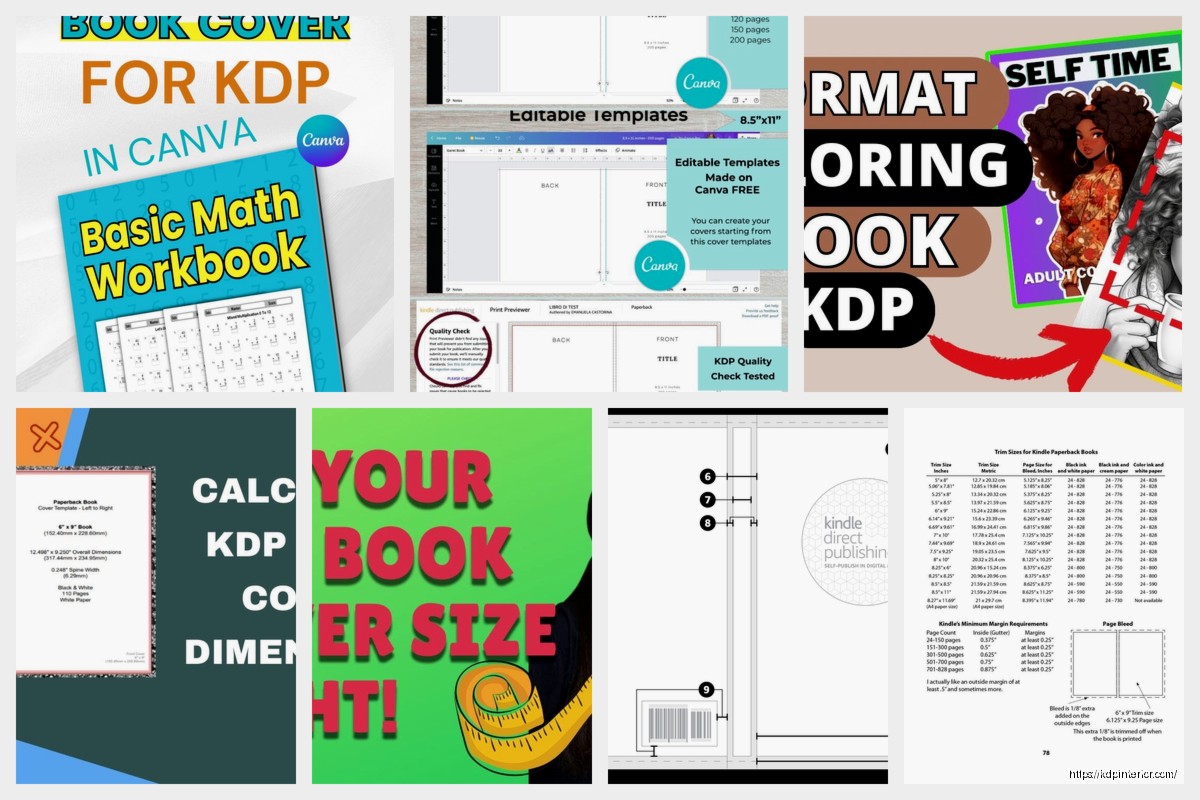
Okay so the KDP cover calculator thing is honestly one of those tools you don’t realize you need until you upload a cover that gets rejected for the third time and you’re sitting there at 11pm wondering why Amazon hates you.
The basic deal is Amazon needs your cover to be EXACTLY the right dimensions or their system just spits it back at you. And the dimensions change based on your page count and paper type which is… yeah it’s annoying. But there’s a calculator on KDP that does the math for you.
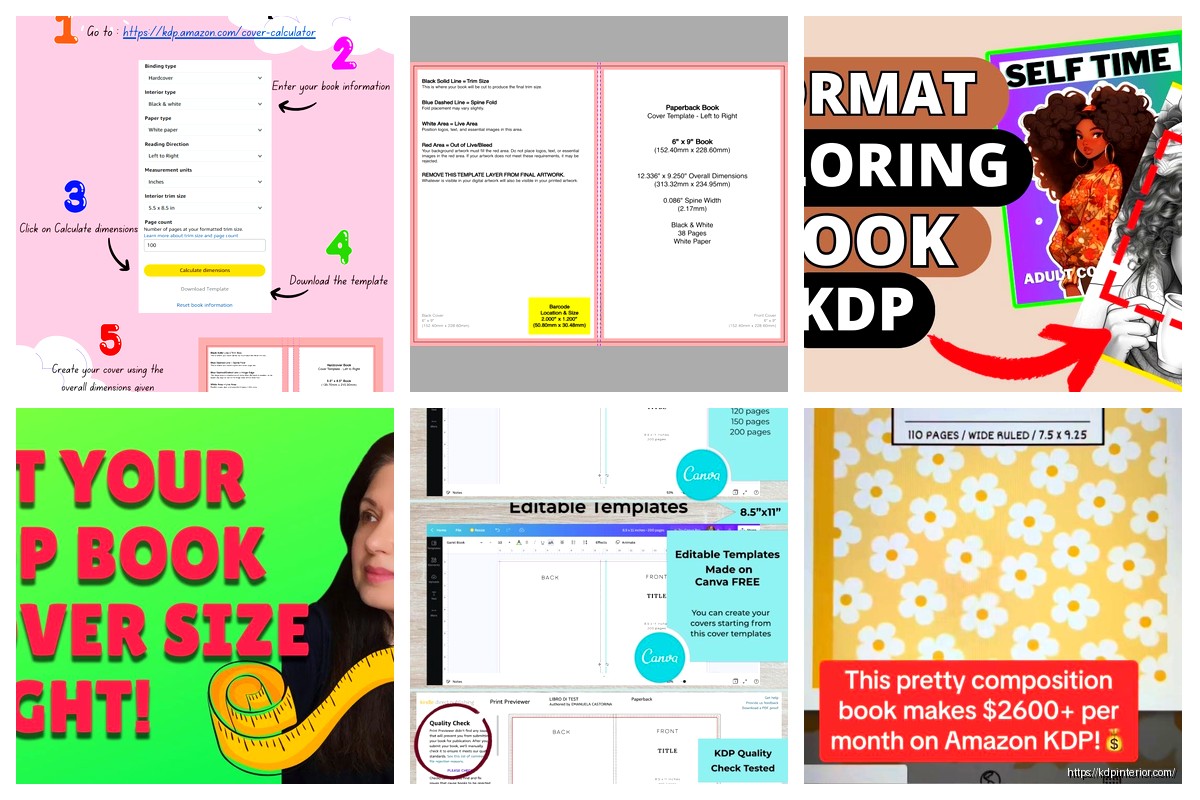
Go to kdp.amazon.com and log in obviously. Then you gotta navigate to the cover calculator – it’s under Help & Resources or you can just google “KDP cover calculator” and it should be the first result. I usually just bookmark it because I use it constantly.
The direct URL changes sometimes but searching “kdp cover template generator” gets you there. Amazon’s navigation is terrible honestly, I spent like 20 minutes looking for it the first time because I thought it would be under some obvious tab.
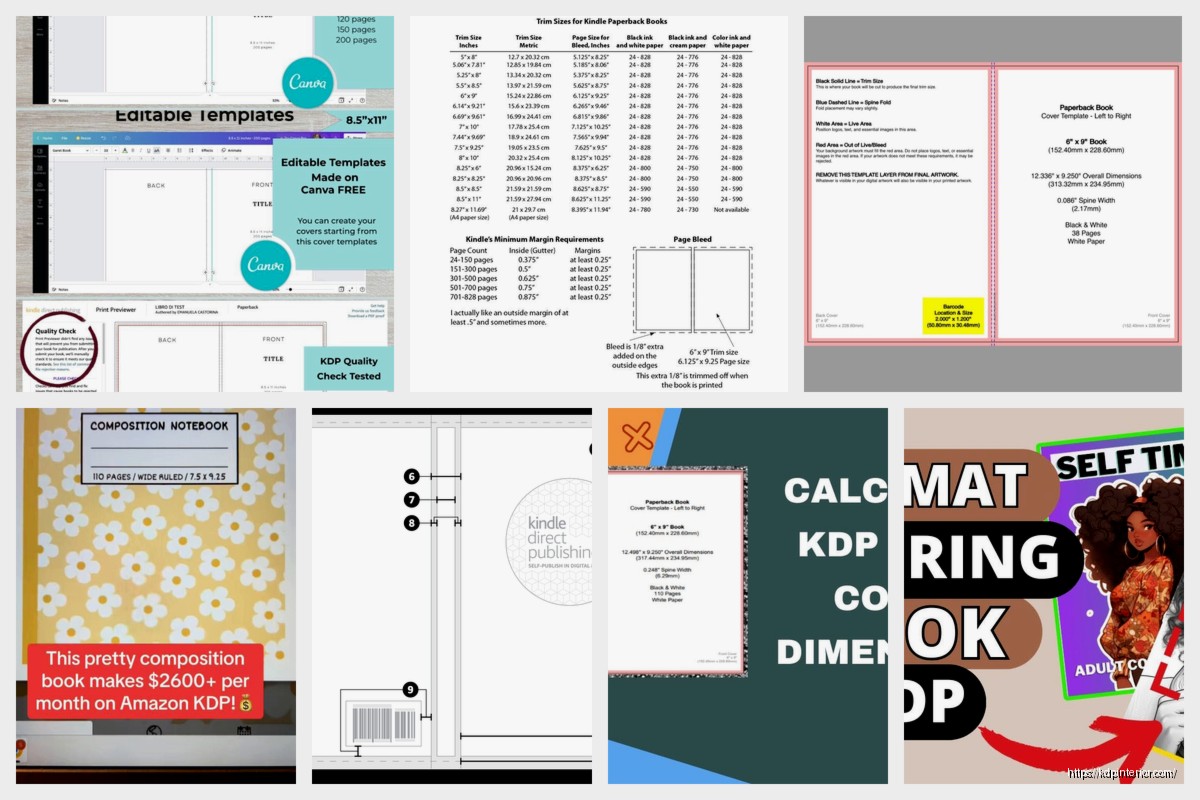
Before you even open the calculator you need to know:
The page count thing trips people up constantly. You can’t just guess. If your book is 147 pages in your Word doc that doesn’t mean it’ll be 147 pages when formatted for KDP. You gotta format it first, export it as a PDF, and count the actual pages in that PDF.
Most fiction books are 6×9. Non-fiction can be 6×9 or 8.5×11 depending on if it’s text-heavy or has workbook elements. I did a journal once at 8×10 and honestly it sold better than my 6×9 ones but that’s probably just the niche.
Wait I forgot to mention – the trim size you pick in the calculator HAS to match what you pick when you’re uploading your book interior. Amazon will reject it if they don’t match even if the cover looks fine. Learned that one the hard way.
So you open the calculator and it’s pretty straightforward. There’s dropdowns for:
You fill those out and hit calculate. Then it gives you the exact dimensions for your full cover including the spine width.
The spine width is calculated based on your page count and paper type because thicker paper = wider spine obviously. Cream paper is slightly thicker than white so the spine will be a tiny bit wider. We’re talking like fractions of an inch difference but Amazon’s system is picky.
After you hit calculate you get measurements that look something like:
Full Cover Width: 12.276 inches
Full Cover Height: 9.250 inches
Spine Width: 0.276 inches
These are the dimensions your cover designer needs. The full cover is front + spine + back all as one image.
Oh and another thing – the calculator also gives you a template you can download. It’s a PDF or PNG with guides showing where the front cover area is, where the spine is, where the back is, and most importantly where the SAFE ZONES are.
This is gonna sound obvious but the safe zones are areas where you shouldn’t put important text or images because they might get cut off during printing. Amazon’s cutting machines aren’t perfectly precise so they build in a margin of error.
The template shows:
I’ve seen so many covers where someone put their title right at the edge and half of it got chopped off. Keep everything important at least 0.125 inches away from all edges. On the spine I go even further – like 0.25 inches minimum because the spine is where most printing issues happen.
If your book is under like 100 pages the spine is gonna be super thin. Amazon says you can’t put text on spines under 0.25 inches wide or something like that – honestly I just don’t put spine text on anything under 120 pages because it looks cramped anyway.
When you DO put spine text make sure it reads top to bottom when the book is standing upright with the front cover facing you. That’s standard for English books. Some people do it backwards and it looks weird on a bookshelf.
Okay so you’ve got your dimensions from the calculator. Now you gotta make the actual cover. You need image editing software – Photoshop, GIMP (free), Canva (though Canva can be limiting for exact dimensions), Affinity Photo, whatever.
Create a new document with the EXACT dimensions the calculator gave you. Like if it says 12.276 inches don’t round to 12.3. Use 12.276. The resolution needs to be 300 DPI minimum. Amazon prefers 300 DPI but won’t reject anything over that.
Color mode should be RGB not CMYK even though that seems backwards for print. Amazon’s system converts RGB to CMYK during processing and they specifically say to upload RGB.
Import the template PDF/PNG that you downloaded from the calculator as a guide layer. In Photoshop you’d put it on its own layer and set the opacity to like 50% so you can see it but also see your design underneath.
The template shows you exactly where to position everything:
Oh wait there’s this thing with the barcode – Amazon automatically places a barcode on the back cover in the lower right area (I think it’s about 2×1.25 inches). Don’t put anything important there. The template usually shows a white box where the barcode will go.
Wrong page count: People use their Word doc page count instead of the formatted PDF page count. Always format first, export to PDF, then count pages in the PDF. That’s your real page count.
Forgetting bleed: The calculator dimensions already include bleed so don’t add extra. If you add extra bleed on top Amazon will reject it for being oversized.
Not downloading the template: Some people just write down the dimensions and wing it. Download the template. Use the template. It has guides that are way more helpful than just raw numbers.
Mixing up interior type: If you’re doing a black and white book interior but you select color in the calculator your spine width will be wrong because color paper is thicker. Match your actual book specs exactly.
I literally spent three hours once troubleshooting why my cover kept getting rejected and it was because I had selected cream paper in my book setup but white paper in the calculator. The spine was like 0.02 inches off and Amazon’s system caught it.
Hardcovers are trickier because there’s also dust jacket vs. case laminate options. The calculator handles both but you gotta know which one you’re doing before you start.
Case laminate is where the cover is printed directly on the hardcover board – no dust jacket. This is what most KDP hardcovers are. The spine calculation is different because hardcover boards are thicker than paperback.
I don’t do many hardcovers tbh because the royalties are lower and they’re pricier for customers but when I do I always double-check I’m selecting the right hardcover option in the calculator.
Before you upload to KDP you should test your cover file. Here’s what I check:
You can also use KDP’s cover previewer tool after upload but before you publish. It shows you what the cover will look like on the actual book. Sometimes colors look different than you expect or text is harder to read than on your monitor.
Okay so funny story – I used to never order proof copies because I was cheap and impatient. Then I published a book where the spine text was readable on my screen but basically illegible on the actual printed book because the font was too small.
Now I order a proof copy for anything that’s gonna be a main product. It’s like $5-8 depending on size and you can catch issues that you’d never see on screen. The colors especially can look way different in print.
If you’re doing like a low-content book or something you’re testing you can probably skip the proof. But for anything where you’re investing in a proper cover design definitely get the proof.
If you need to change your cover after publishing you’ll need to go back to the calculator if your page count changed. Even adding or removing one page changes the spine width slightly.
Amazon lets you update covers without unpublishing the book but if the spine width changed significantly they might require a new ISBN. It’s a whole thing. Try to get your page count finalized before you do your cover if possible.
Sometimes I’ll design a cover with a slightly wider spine than needed (like use a page count that’s 10 pages higher) so I have wiggle room to add content later without redoing the cover. That’s probably not best practice but it’s worked for me – my cat just jumped on my keyboard sorry – yeah so it’s worked fine and Amazon hasn’t rejected any of them.
There are third-party calculators out there that do the same thing. Some cover designers have their own calculators built into their workflows. I still use Amazon’s official one though because I know it’s always up to date with their current requirements.
Some people use Canva’s KDP templates which have preset dimensions but honestly those are hit or miss. They don’t always account for different page counts properly. Better to use the official calculator and create a custom Canva document if you’re using Canva.
For repeat trim sizes I keep a spreadsheet with common page count ranges and their corresponding dimensions. Like I know 6×9 at 150 pages is gonna be around X dimensions, 200 pages around Y dimensions, etc. Saves time if I’m doing multiple books in a series with similar page counts.
But yeah that’s basically it – use the calculator, get your exact dimensions, download the template, design within the safe zones, double-check everything matches before upload. It’s tedious but way less tedious than having covers rejected or worse printing books with cut-off text.
DISCOVER OUR FREE BEST SELLING PRODUCTS
Editable Canva Lined Journal: Express Your Thoughts – KDP Template
Lined Pages Journal 120 pages Ready to Upload PDF Commercial Use KDP Template 6×9 8.5×11 5×8 for Notebooks, Diaries, Low Content
Lined Pages Journal 120 pages Ready to Upload PDF Commercial Use KDP Template 6×9 8.5×11 5×8 for Notebooks, Diaries, Low Content
Cute Dogs Coloring Book for Kids | Activity Book | KDP Ready-To-Upload
Daily Planner Diary : Diary Planners for Everyday Productivity, 120 pages, 6×9 Size | Amazon KDP Interior
Wolf Coloring KDP interior For Adults, Used as Low Content Book, PDF Template Ready To Upload COMMERCIAL Use 8.5×11"
Coloring Animals Head Book for Kids, Perfect for ages 2-4, 4-8 | 8.5×11 PDF
Printable Blank Comic Book Pages PDF : Create Your Own Comics – 3 Available Sizes
Notes KDP interior Ready To Upload, Sizes 8.5×11 6×9 5×8 inch PDF FILE Used as Amazon KDP Paperback Low Content Book, journal, Notebook, Planner, COMMERCIAL Use
Black Lined Journal: 120 Pages of Black Lined Paper Perfect for Journaling, KDP Notebook Template – 6×9
Student Planner Journal 120 pages Ready to Upload PDF Commercial Use KDP Template 6×9" 8.5×11" for Low Content book
Recipe Journal Template – Editable Recipe Book Template, 120 Pages – Amazon KDP Interior