Amazon KDP guide, KDP book publishing
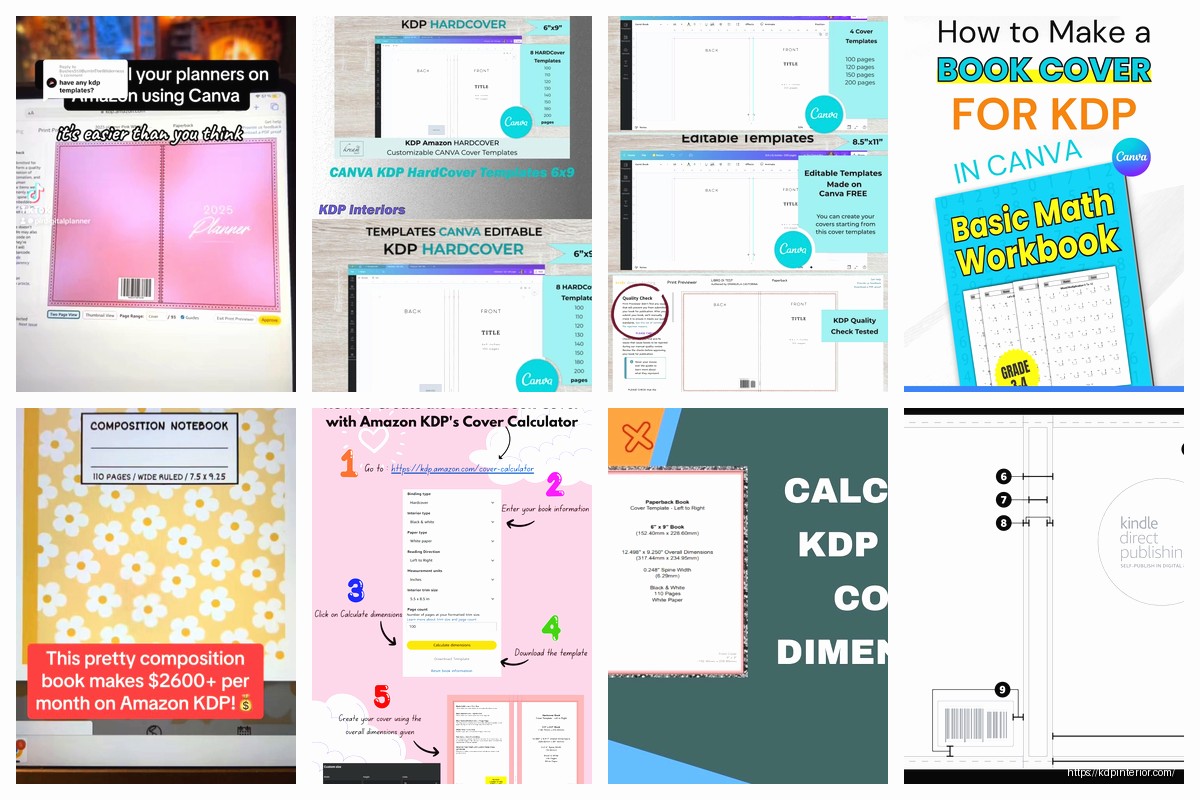
KDP Cover Template Calculator: Automated Design Tool
Mar
Okay so the KDP cover template calculator thing is honestly one of those tools I wish I’d known about like 5 years ago because I was manually calculating spine widths with a literal calculator and Excel spreadsheet like some kind of cave person.
So here’s the deal with KDP covers – Amazon needs your cover to be one single file that wraps around the entire book, right? Front cover, spine, back cover, all in one image. And the spine width changes based on how many pages your book has and what paper type you’re using. This is where everyone screws up their first time because you can’t just guess the dimensions.
The Basic Math Behind It All
KDP’s cover template calculator does all the annoying math for you but lemme break down what it’s actually calculating. Your total cover width = front cover width + spine width + back cover width + bleed areas. The bleed is that extra 0.125 inches on all sides that gets trimmed off during printing.
For a 6×9 book (super common size), your front and back covers are obviously 6 inches wide each. But the spine? That depends entirely on your page count and paper type. Cream paper is thicker than white paper, so a 200-page book on cream paper has a wider spine than the same book on white paper.
The formula Amazon uses is basically: spine width = page count × paper thickness. For white paper it’s 0.002252 inches per page, cream paper is 0.0025 inches per page. So a 200-page book on cream paper = 200 × 0.0025 = 0.5 inches for the spine width.
Actually Using the KDP Calculator
Go to kdp.amazon.com and you don’t even need to be logged in for this part. There’s a cover template generator in the help section – just search “cover calculator” and it pops right up. You’ll need to input:
- Trim size (like 6×9, 8.5×11, whatever)
- Page count (gotta be accurate here)
- Paper type (white or cream)
- Bleed settings (yes or no)
Wait I forgot to mention – always use bleed unless your cover is literally just solid colors with no images or text near the edges. Bleed makes your book look professional because there’s no white edges if the trimming is slightly off.
Hit calculate and it downloads a zip file with templates in PNG and PDF formats. The PDF has guides showing you exactly where the spine edges are, where the safe zones are (keep important stuff like text away from the trim lines), and the full dimensions you need.
The Part Nobody Tells You
Okay so funny story – I once uploaded a cover that looked perfect on my screen but when the proof copy arrived, half my title was cut off because I didn’t account for the spine properly. The calculator gives you a template but you still gotta understand what you’re looking at.
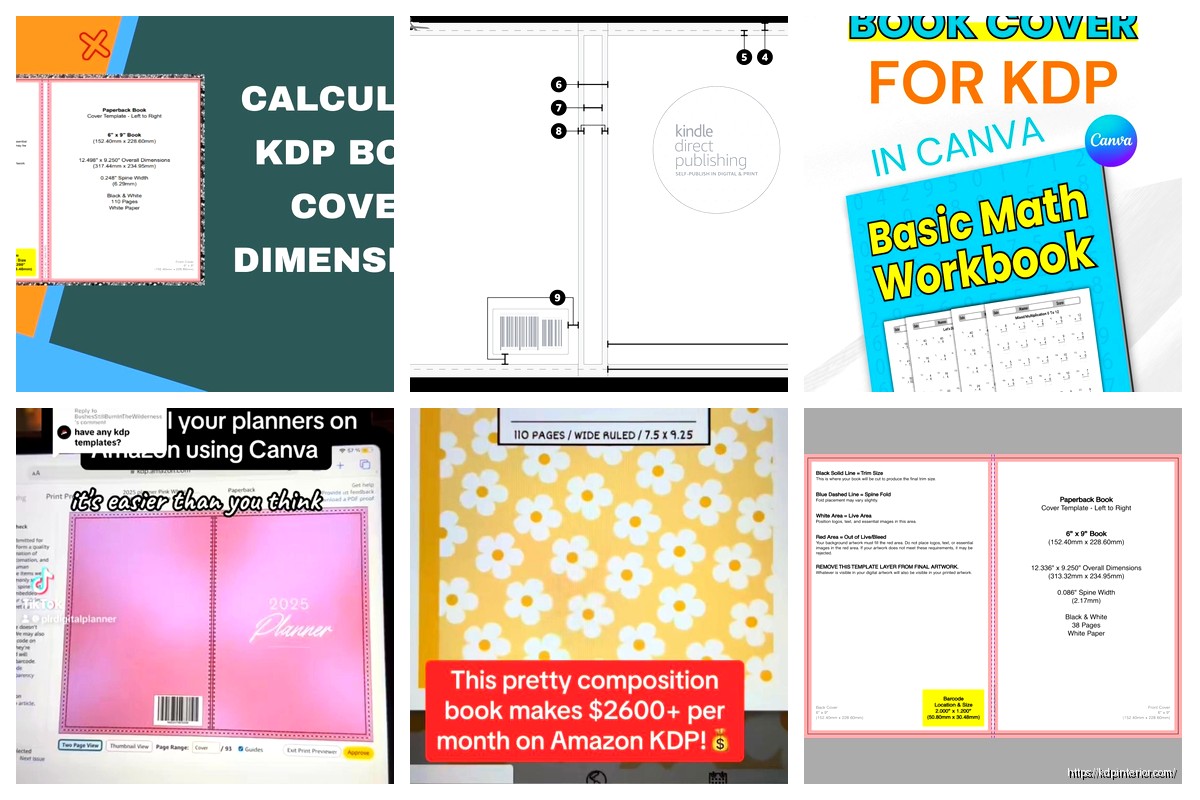
The template shows these important zones:
Trim line – where the book actually gets cut. Nothing outside this line will appear on your final book.
Spine center – marked with a vertical line. This is where your book folds. Don’t put critical text or images right on this line because it curves when the book is closed.
Safe zone – usually 0.125 inches inside the trim line. Keep all your important text and images inside this area.
Setting Up Your Design File
Open whatever design software you’re using – Photoshop, GIMP, Canva, Affinity Designer, whatever. Create a new document with the exact dimensions from the calculator. For a 200-page 6×9 book with cream paper and bleed, you’d be looking at something like 12.5 inches wide by 9.25 inches tall.
Set your resolution to 300 DPI minimum. This is crucial and I see people mess this up constantly. 72 DPI looks fine on screen but prints blurry. Amazon wants 300 DPI or higher.
Import the template PNG file that KDP gave you and set it as a guide layer. In Photoshop I usually put it at like 30% opacity so I can see my design underneath but still reference the guidelines.
Designing Each Section
Start with the front cover on the right side of your template. This is what customers see first on Amazon and in stores. Put your title, author name, main imagery here. Make sure everything important is at least 0.25 inches from the spine edge because of the safe zone.
The spine is that narrow middle section and honestly it’s the trickiest part. If your book is under 100 pages, the spine might be too narrow for text – like under 0.3 inches wide. You can still try to fit the title there but use a really thin font. For thicker books over 150 pages, you’ve got more room to work with.
Oh and another thing – spine text should read from top to bottom so when the book is sitting on a shelf, people can read it. I see authors do bottom to top sometimes and it just looks wrong.
Back cover goes on the left side. This is where you put your book description, author bio, barcode area, whatever. Leave a white rectangle in the bottom right corner (about 2×3 inches) for Amazon’s barcode if you’re not providing your own ISBN.
The Actual Calculation Shortcuts I Use
Okay so I’m gonna share something I literally have saved in a Google Sheet because I publish so many books. Instead of using the KDP calculator every single time, I just reference my own chart:
For 6×9 books on cream paper:
- 100 pages = 0.25 inch spine
- 150 pages = 0.375 inch spine
- 200 pages = 0.5 inch spine
- 300 pages = 0.75 inch spine
Then I add the bleed (0.125 inches on each side) and boom, I know my total cover width without opening the calculator. For that 200-page book: 6 + 0.5 + 6 + 0.25 = 12.75 inches wide. Height is always trim height plus 0.25 for bleed (9.25 for a 6×9 book).
This is gonna sound weird but I actually have these dimensions memorized now for my most common book sizes because I was designing a cover while my cat was having a medical emergency and I didn’t have time to download templates. Just needed to get the file uploaded fast.
Common Mistakes That’ll Get Your Cover Rejected
Amazon’s pretty strict about cover files and here’s what trips people up:
Wrong file format – needs to be PDF, TIFF, or JPEG. I always use PDF because it preserves quality better.
Incorrect dimensions – even being off by a few pixels can cause rejection. Use the exact numbers from the calculator.
Low resolution – anything under 300 DPI at final size gets flagged. I’ve had covers rejected at 299 DPI before, no joke.
Text too close to spine or edges – Amazon’s system actually checks this automatically now. Keep everything 0.125 inches from trim lines minimum.
Barcode placement issues – if you’re letting Amazon generate the barcode, you need that white space on the back cover. If you have a dark background there, it gets rejected.
Testing Your Cover Before Upload
Before I upload anything, I do this quick check that’s saved me so many headaches. Open your cover file and zoom to 100%. Does the text look crisp? If it’s blurry at 100% zoom, it’ll print blurry.
Print a test copy on your home printer at actual size. Yeah it’s multiple pages taped together but you can see if your spine text is readable, if your colors look right, if anything’s positioned weird. I caught a typo once doing this that spell check missed because it was part of an image.
Fold the printed version like it’s an actual book. Does your spine design work when it’s curved? Sometimes text that looks fine flat becomes unreadable when the book is closed because it disappears into the curve.
Advanced Calculator Tricks
Wait I forgot to mention – the KDP calculator has this preview feature that nobody uses but it’s actually super helpful. After you generate a template, there’s a 3D preview option that shows what your cover will look like wrapped around an actual book. You can rotate it and see the spine from different angles.
For hardcover books the calculation is different because you’ve got the case and the dust jacket. The calculator handles this automatically but the spine is usually wider because hardcover boards are thicker than paperback paper stacks.
If you’re doing a series, calculate all your covers at once even if you haven’t written the later books yet. This way you know how much spine width variation you’ll have and can design accordingly. I made the mistake once of designing a series where book 1 was 150 pages but book 3 ended up being 400 pages, and the spine text sizing looked totally inconsistent on the shelf.
When Page Count Changes
This happens ALL the time – you design the cover based on a draft that’s 200 pages, then your editor adds stuff and suddenly it’s 215 pages. Now your spine width is off.
The quick fix is to recalculate with the new page count, check the new spine width, and adjust just the spine section of your cover. You don’t need to redesign the whole thing usually, just stretch or compress that middle section slightly. Most design software lets you select just the spine area and resize it without affecting the front and back covers.
If the change is more than like 20 pages though, you might need to redo the spine text because it could become too cramped or too loose-looking.
Alternative Tools and Workarounds
Okay so KDP’s calculator is free and official which is great, but there are some third-party tools that are honestly easier to use if you’re doing this regularly. BookBrush has a cover creator with built-in calculators. Canva has KDP templates now but you gotta double-check the dimensions because I’ve found them to be slightly off sometimes.
There’s also this Chrome extension called KDP Helper that calculates dimensions right in your browser without downloading files. Super handy when you just need quick numbers.
For my workflow, I actually use a combination. I’ll use the official KDP calculator to verify dimensions are exactly right, but I design in Affinity Designer using my own template files that I’ve saved with all my preferred guides and safe zones already marked.
The biggest time-saver has been creating master templates for each trim size I use regularly. Once you’ve got the dimensions and guides set up perfectly once, save it as a template file. Then every new cover is just opening that template and replacing the design elements.
One last thing – and this is important – always order a proof copy before going live with a new cover design. The calculator can be perfect and your file can be perfect but sometimes colors print differently than they appear on screen, or text that seems readable at 100% zoom is actually too small in physical form. I’ve caught issues in proof copies that would’ve been embarrassing if they’d gone live, trust me on this.

DISCOVER OUR FREE BEST SELLING PRODUCTS
Editable Canva Lined Journal: Express Your Thoughts – KDP Template
Lined Pages Journal 120 pages Ready to Upload PDF Commercial Use KDP Template 6×9 8.5×11 5×8 for Notebooks, Diaries, Low Content
Lined Pages Journal 120 pages Ready to Upload PDF Commercial Use KDP Template 6×9 8.5×11 5×8 for Notebooks, Diaries, Low Content
Cute Dogs Coloring Book for Kids | Activity Book | KDP Ready-To-Upload
Daily Planner Diary : Diary Planners for Everyday Productivity, 120 pages, 6×9 Size | Amazon KDP Interior
Wolf Coloring KDP interior For Adults, Used as Low Content Book, PDF Template Ready To Upload COMMERCIAL Use 8.5×11"
Coloring Animals Head Book for Kids, Perfect for ages 2-4, 4-8 | 8.5×11 PDF
Printable Blank Comic Book Pages PDF : Create Your Own Comics – 3 Available Sizes
Notes KDP interior Ready To Upload, Sizes 8.5×11 6×9 5×8 inch PDF FILE Used as Amazon KDP Paperback Low Content Book, journal, Notebook, Planner, COMMERCIAL Use
Black Lined Journal: 120 Pages of Black Lined Paper Perfect for Journaling, KDP Notebook Template – 6×9
Student Planner Journal 120 pages Ready to Upload PDF Commercial Use KDP Template 6×9" 8.5×11" for Low Content book
Recipe Journal Template – Editable Recipe Book Template, 120 Pages – Amazon KDP Interior