Okay so I just updated my KDP dashboard last week and honestly the interface changes keep throwing me off but here’s what you actually need to know about publishing on Kindle in 2024.
Setting Up Your KDP Account The Right Way
First thing, you’re gonna need a regular Amazon account which you probably already have. Then head to kdp.amazon.com and sign up with those same credentials. The tax interview part freaks everyone out but just take your time with it. If you’re in the US you’ll need your SSN or EIN, and honestly I’d recommend getting an EIN even as a sole proprietor because then you’re not throwing your social security number around everywhere.
The tax thing takes like 10 minutes and yes you have to do it before you can publish anything or get paid. International folks need a W-8BEN form and there’s this whole withholding tax situation that I won’t get into but basically the platform walks you through it.
Book Formatting That Won’t Make You Want to Scream
So formatting is where most people get stuck initially. You’ve got a few options here and honestly which one you pick depends on if you’re doing fiction or non-fiction and how complex your layout is.
For basic text-only books like novels, you can literally upload a Word doc. I know everyone says don’t do this but KDP’s conversion has gotten way better. Just use styles properly, heading 1 for chapters, normal text for body, page breaks between chapters. The preview tool will show you exactly how it’ll look.
But if you want more control or you’re doing something with images or special formatting, learn Vellum if you’re on Mac or use Atticus which works on everything. I switched to Atticus last year and it’s like $150 one-time which seems steep until you format your third book and realize you’ve already saved hours of frustration.
The Manuscript File Specifics
KDP accepts DOC, DOCX, HTML, EPUB, and a few others. EPUB is technically the cleanest but honestly most of my books started as Word docs. The file size limit is 650 MB which you’ll never hit unless you’re doing a photography book.
For images inside your book, use JPG at 300 DPI if you want them to look crisp on newer Kindles. Keep them under 5MB each. And this is gonna sound weird but I always compress my images slightly before upload because the KDP conversion sometimes bloats file sizes and if your book goes over 10MB you start paying delivery fees that eat into your royalty.
Cover Design Without Spending a Fortune
Your cover is literally the most important thing. I tested this with two identical books different covers and the better design outsold the other one 7 to 1. Not exaggerating.
If you can’t afford a designer yet, use Canva Pro. The KDP cover dimensions are specific, for a 200-page book you’re looking at around 5.25″ x 8″ trim size which means your cover needs to be 2625 x 4000 pixels at 300 DPI. Canva has templates already sized for this.
Or just use KDP’s cover creator which is free and actually not terrible anymore? They updated it and you can do basic text-on-image designs that look professional enough. I’ve used it for low content books and they sell fine.
Wait I forgot to mention, if you’re doing print books too (which you should because it’s literally the same upload process), you need a full wrap-around cover including spine and back. The cover calculator on KDP tells you exact dimensions based on your page count. White paper vs cream paper changes the spine width slightly because cream is thicker.
The Actual Upload Process Step by Step
Log into KDP, click the big yellow “Create” button, choose Kindle eBook or Paperback. You’ll hit this multi-page form.
Page 1 – Kindle eBook Details:
Enter your title and subtitle. The subtitle is searchable so use keywords here. Author name, series info if applicable. Book description goes in this HTML editor that’s honestly pretty bad but you can format with bold and italics at least.
Categories, you get to pick two. Choose carefully because this affects where your book shows up. There’s this whole strategy around picking less competitive categories but that’s another conversation. You can email KDP after publishing to add up to 8 more categories which I always do.
Keywords, you get seven. Don’t waste these on words already in your title. Use longer phrases people actually search for. Like instead of “romance” try “small town romance with dogs” or whatever fits your book.
Page 2 – Content:
Upload your manuscript file. Upload your cover as a separate JPG or use their creator. Enable DRM if you want (I usually don’t because it’s annoying for readers). Then you gotta click this preview button and actually check every page. The 3D previewer shows how it looks on different devices.
I once published a book where the chapter headings were messed up and didn’t catch it until a reader emailed me. Super embarrassing. So yeah, check the preview.
Page 3 – Pricing:
Choose KDP Select or go wide. Select means exclusive to Amazon for 90 days and you get access to Kindle Unlimited. Going wide means you can publish on other platforms too. I do both depending on the book.
Pricing, you’ve got two royalty options. 35% lets you price $0.99 to $200. 70% requires $2.99 to $9.99 and has delivery fees based on file size. For a normal novel those fees are like $0.06 to $0.15 so not a big deal.
I price most stuff at $2.99 or $4.99. The psychological difference between $2.99 and $3.99 is real based on my sales data. Oh and another thing, you can set different prices for different countries or just let Amazon auto-convert, I usually auto-convert because managing 12 different prices is tedious.
KDP Select and Kindle Unlimited Explained
So KDP Select is this enrollment thing where your ebook can only be on Amazon, nowhere else, not even your own website. In exchange you get:
- Kindle Unlimited borrows where readers pay $12/month for unlimited reading and you get paid per page read
- Free promo days – 5 per 90-day period
- Countdown deals
- Access to Kindle Owners’ Lending Library
The page reads currently pay around $0.004 per page, so a 300-page book fully read gets you like $1.20. Sometimes that adds up to more than you’d make from a $2.99 sale depending on your genre.
I keep most fiction in Select because romance and fantasy readers love KU. Non-fiction I usually go wide because those readers are more likely to buy outright.
Paperback Setup Is Basically The Same
If you’re adding paperback, the process is almost identical except you need to format for print. This means margins are different, you need page numbers, and you gotta think about bleed if you have images extending to page edges.
Trim size matters here. 6″ x 9″ is standard for non-fiction. 5″ x 8″ or 5.25″ x 8″ for fiction. I usually match whatever similar books in my genre use.
Interior type, black and white or color. Color is way more expensive to print which affects your royalty. A 200-page color book might cost $8 to print versus $1.50 for black and white, so your pricing options get limited.
Paper type, white or cream. Cream looks more traditional for fiction, white is better for images. This is totally preference though.
The Print Royalty Situation
Print royalties are calculated as: (List Price × 60%) – Printing Costs. So if you price at $9.99 and printing costs $3.00, you make $2.99 per sale. You can see the exact calculation in real-time as you set your price.
Expanded Distribution is this checkbox that gets your book into bookstores and libraries theoretically. The royalty drops to 40% minus printing costs, so it’s usually not worth it unless you’re trying to get into a specific bookstore.
After You Hit Publish What Actually Happens
The book goes into review. Usually takes like 24 to 72 hours. Ebooks are faster than print. They’re checking for content violations, making sure it’s not gibberish, verifying the cover isn’t stolen.
Once approved it goes live on Amazon. You’ll get an email with your book’s link. At this point you can finally see it in the wild which is honestly still exciting even after 200 books.
Your book shows “In Stock” for paperback immediately even though no copies exist yet. Amazon prints on demand when someone orders. The buyer gets it in normal Prime shipping time.
The Dashboard and Understanding Your Reports
The KDP dashboard is where you’ll live now. It shows sales from like 2 days ago because there’s this delay in reporting. The month doesn’t close until the 15th of the following month, then you get paid 60 days after month-end.
So sales in January get paid around mid-March. Yeah it’s slow. My cat knocked over my coffee while I was checking my dashboard yesterday and I almost missed that one of my books randomly spiked in sales, no idea why but I’ll take it.
Reports section gives you sales by marketplace (US, UK, Germany, etc), by format, estimated royalties. The “Prior Months’ Royalties” report is the accurate one, the dashboard numbers are estimates and sometimes wrong.
Advertising Basics You Gotta Know
Amazon ads are built into KDP now. You can set up sponsored product ads right from your bookshelf. Start with automatic targeting at $5/day budget and let Amazon figure out keywords. Check it after a week and pause keywords that aren’t converting.
I know everyone says you need a huge ad budget but honestly I’ve launched books with $3/day and gotten enough visibility to start organic sales. The key is having a good cover and description so when people see the ad they actually click.
Bids usually start around $0.30 per click. Adjust based on your royalty, like if you make $2 per sale you can afford higher bids than if you make $0.60.
Common Mistakes That’ll Cost You Sales
Okay so things I see people screw up constantly:
Bad book descriptions. You’ve got HTML formatting available, use it. Bold the first line. Add some line breaks. Don’t write a essay, write sales copy. What’s the hook, what’s the conflict, why should someone care.
Ignoring keywords. Those seven keyword slots are free advertising space basically. Research what people search using Amazon’s search bar autocomplete or tools like Publisher Rocket.
Pricing too high for a debut. I get wanting to value your work but if you’re unknown, a $9.99 ebook is a hard sell. Start at $2.99 or $3.99, build reviews, raise it later.
Not updating books. You can upload new versions anytime. I fix typos, update covers, refresh descriptions. The book stays at the same URL so you don’t lose reviews or ranking.
Forgetting about Look Inside. The preview readers see starts with your front matter. Don’t put 15 pages of copyright info first. Hook them immediately or put that stuff at the back.
Managing Multiple Books and Pen Names
You can add author names under Settings. I’ve got like 6 pen names running for different genres. Each name can have its own author page which you set up through Author Central (separate login, same credentials).
The bookshelf view lets you filter by author name, status, format. Use naming conventions like “PENNAME-Title” so things sort together.
Series are managed in the book details. You can link books into a series which creates a series page on Amazon. This is huge for fiction because readers binge series and Amazon promotes them together.
International Marketplaces and Currency
Your book automatically goes live on all Amazon marketplaces unless you deselect them. So amazon.com, .co.uk, .de, .fr, .es, .it, .ca, .com.au, etc.
You get paid in local currency and Amazon converts it when they pay you. Or you can set up separate bank accounts for different currencies if you’re fancy. I just let them convert, the rates are fine.
Pricing can be different per marketplace or auto-converted. The UK market likes slightly lower prices than US, from what I’ve seen.
Getting Reviews Without Being Sketchy
Reviews are the hardest part honestly. Amazon killed their early reviewer program. You can’t offer incentives. Asking family gets flagged sometimes.
What works: back matter in your book asking for honest reviews, email list mentions, advance review copies through services like BookSprout or NetGalley (costs money though).
Getting to 10-20 reviews is the critical mass where organic reviews start happening. Before that it’s a grind.
Tools I Actually Use Daily
Publisher Rocket for keyword research, $97 one-time. Helium 10 has a free Chrome extension that shows sales estimates. Book Bolt if you’re doing low content. Atticus for formatting like I mentioned. Canva Pro for covers and graphics. That’s pretty much it, you don’t need a million tools.
Okay so that’s the core of what you need to know to actually publish on Kindle and not completely mess it up. The platform itself is pretty straightforward once you do it once, the hard part is all the stuff around it like marketing and writing the next book but that’s a whole different conversation for another night when you can’t sleep and decide to message me at 2am about book launches.

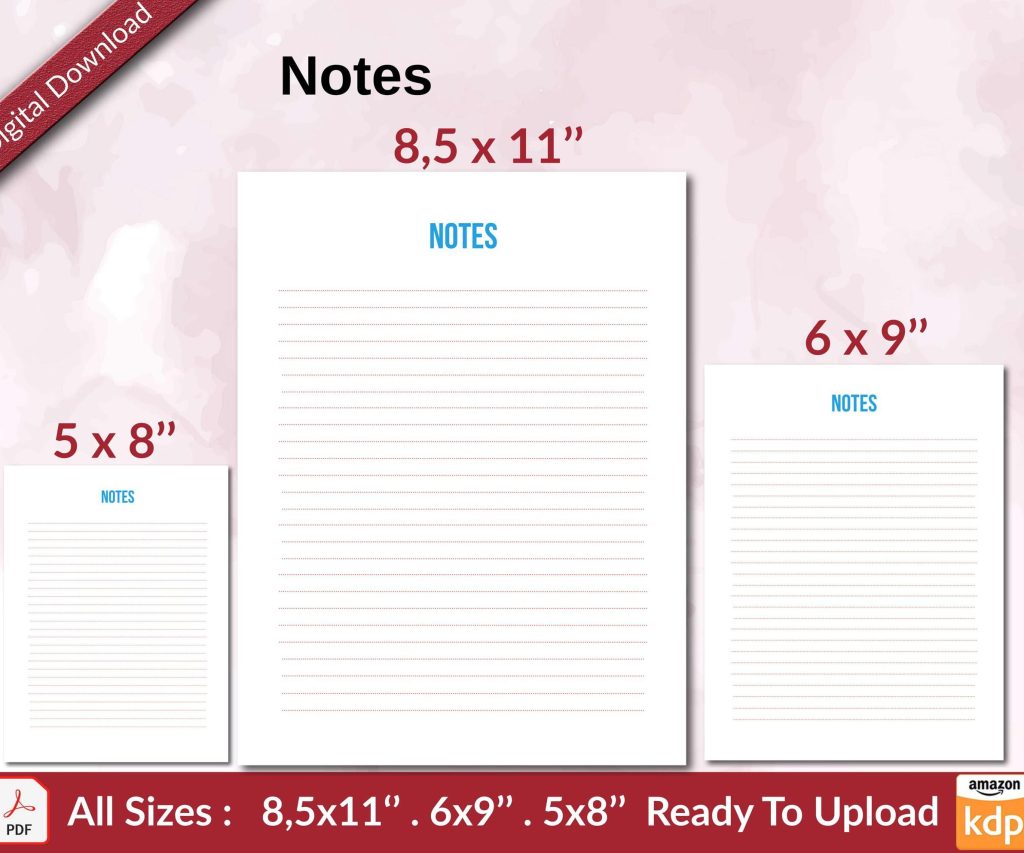 Notes KDP interior Ready To Upload, Sizes 8.5x11 6x9 5x8 inch PDF FILE Used as Amazon KDP Paperback Low Content Book, journal, Notebook, Planner, COMMERCIAL Use
1 × $0.00
Notes KDP interior Ready To Upload, Sizes 8.5x11 6x9 5x8 inch PDF FILE Used as Amazon KDP Paperback Low Content Book, journal, Notebook, Planner, COMMERCIAL Use
1 × $0.00 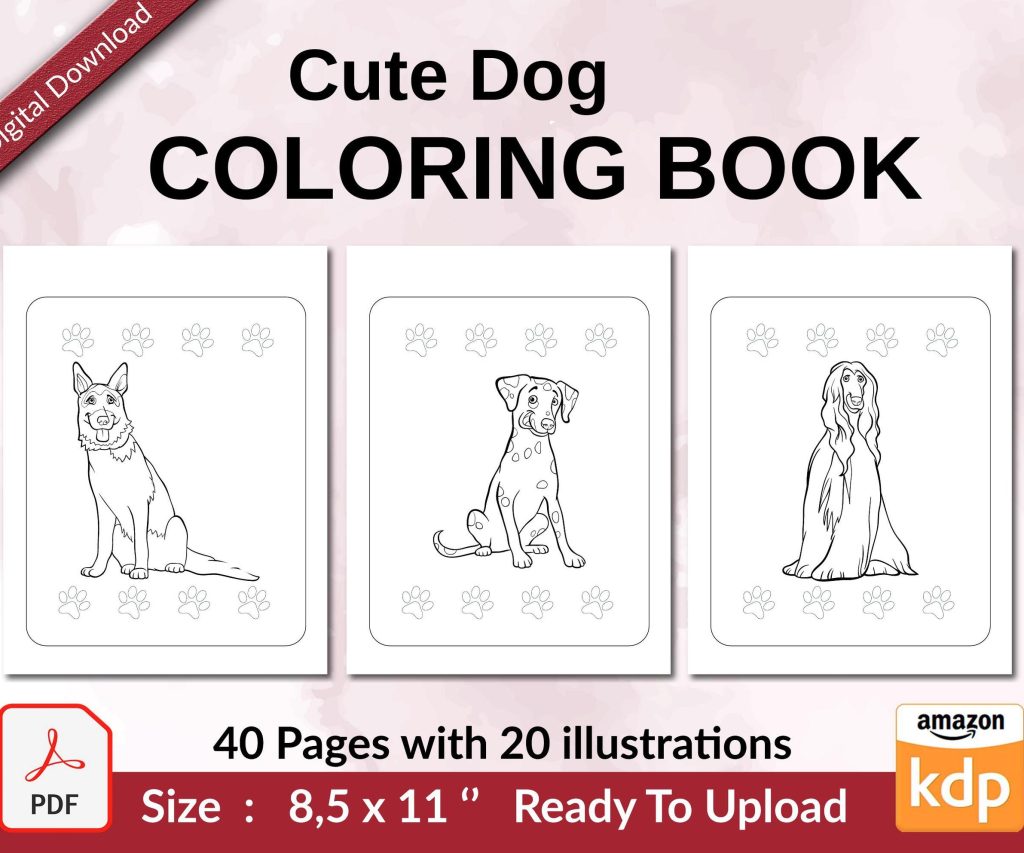 Cute Dogs Coloring Book for Kids | Activity Book | KDP Ready-To-Upload
1 × $0.00
Cute Dogs Coloring Book for Kids | Activity Book | KDP Ready-To-Upload
1 × $0.00 
DISCOVER OUR FREE BEST SELLING PRODUCTS
Editable Canva Lined Journal: Express Your Thoughts – KDP Template
Lined Pages Journal 120 pages Ready to Upload PDF Commercial Use KDP Template 6×9 8.5×11 5×8 for Notebooks, Diaries, Low Content
Lined Pages Journal 120 pages Ready to Upload PDF Commercial Use KDP Template 6×9 8.5×11 5×8 for Notebooks, Diaries, Low Content
Cute Dogs Coloring Book for Kids | Activity Book | KDP Ready-To-Upload
Daily Planner Diary : Diary Planners for Everyday Productivity, 120 pages, 6×9 Size | Amazon KDP Interior
Wolf Coloring KDP interior For Adults, Used as Low Content Book, PDF Template Ready To Upload COMMERCIAL Use 8.5×11"
Coloring Animals Head Book for Kids, Perfect for ages 2-4, 4-8 | 8.5×11 PDF
Printable Blank Comic Book Pages PDF : Create Your Own Comics – 3 Available Sizes
Notes KDP interior Ready To Upload, Sizes 8.5×11 6×9 5×8 inch PDF FILE Used as Amazon KDP Paperback Low Content Book, journal, Notebook, Planner, COMMERCIAL Use
Black Lined Journal: 120 Pages of Black Lined Paper Perfect for Journaling, KDP Notebook Template – 6×9
Student Planner Journal 120 pages Ready to Upload PDF Commercial Use KDP Template 6×9" 8.5×11" for Low Content book
Recipe Journal Template – Editable Recipe Book Template, 120 Pages – Amazon KDP Interior