-
×
 Student Planner Journal 120 pages Ready to Upload PDF Commercial Use KDP Template 6x9" 8.5x11" for Low Content book
1 × $0.00
Student Planner Journal 120 pages Ready to Upload PDF Commercial Use KDP Template 6x9" 8.5x11" for Low Content book
1 × $0.00
Subtotal: $0.00
okay so I just wrapped up creating three different recipe book templates for a client last month and honestly the whole process is way simpler than people think but there’s like… specific things you gotta do to make it actually usable and not just pretty
First thing – and I cannot stress this enough – you need to decide your format before you do ANYTHING else. Are we talking 8.5×11 which is standard US letter size, or are you going with 6×9 which is that classic cookbook size that fits on shelves better? I’ve published probably 40+ recipe books at this point and the 7×10 size actually performs weirdly well too because it’s that sweet spot between readable and not taking up half your kitchen counter
So here’s what I do when I’m setting up a new template from scratch. I open up whatever program you’re using – gonna assume you’re either using Microsoft Word, Google Docs, or if you’re fancy maybe Canva or Adobe InDesign. Word is honestly fine for this, don’t let anyone tell you different
Go into your page setup and this is where people mess up immediately. You need to add bleed if you’re printing this thing. Amazon KDP requires 0.125 inches of bleed on all sides, so if you’re doing a 6×9 book, your actual document size needs to be 6.25 x 9.25 inches. I forgot this on my first cookbook template back in like 2018 and had to redo the ENTIRE thing because the edges looked chopped off
Set your margins to at least 0.5 inches on top and bottom, but here’s the thing about the inside margin (that’s the side that goes into the binding) – you need it bigger. Amazon has this whole formula based on page count but basically:
Just go with 0.75 inches on the inside margin and 0.5 on the outside, it’ll save you headaches later
Okay so this is gonna sound weird but the best recipe templates I’ve made all follow the same basic structure even though they look different. You want these elements on every recipe page:
Recipe title at the top – use like 18-24pt font, make it bold, center it or left align it but be consistent throughout the whole book. I usually go with a decorative font here if the client wants something fancy, but keep it READABLE. I once used this gorgeous script font and got reviews saying people couldn’t read the recipe names so… yeah
Right under the title you want a subtitle area or description. 2-3 lines max. This is where you put “A classic family favorite” or “Ready in 30 minutes” or whatever. 10-12pt font, maybe italicized
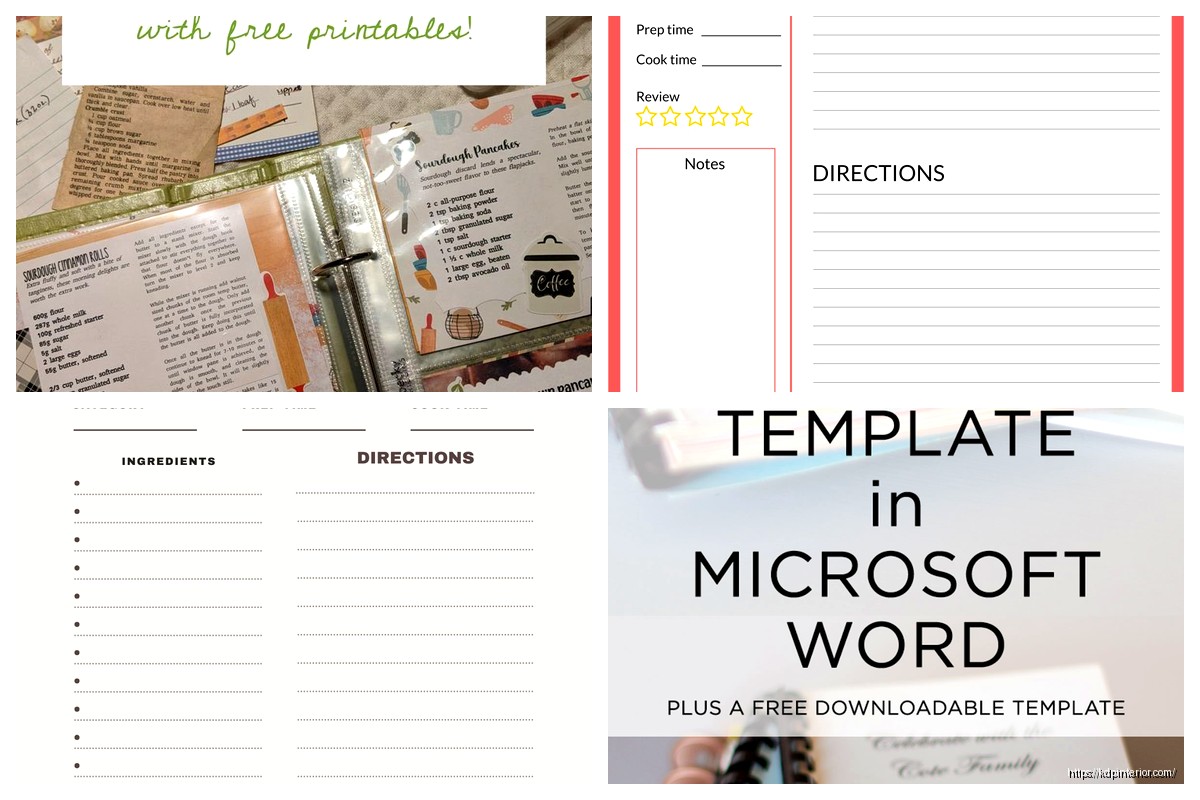
Then you need a quick info section and this is super important – people want to know at a glance: prep time, cook time, total time, servings. I format this as a little box or just a line with icons if I’m feeling fancy. Something like:
Prep: 15 min | Cook: 30 min | Servings: 4
This should be its own clearly defined section. I always put a header that says “Ingredients” in like 14-16pt bold font. Then list everything as a bulleted list or with checkboxes – people LOVE checkboxes in recipe books because they can mark off what they have
Pro tip that took me way too long to figure out: organize ingredients in the order they’re used in the recipe. Seems obvious but you’d be surprised how many recipe books don’t do this. Also if you’re making a template you plan to reuse, leave space for 15-20 ingredients max. Most recipes don’t need that many but when they do, you don’t wanna reformat the whole page
oh and another thing – use consistent measurement abbreviations. Either spell out “tablespoon” every time or use “Tbsp” every time, don’t mix them. I have a style guide I made after my like 50th recipe book that just lists all this stuff:
Number these. Always number them. I’ve tested both bulleted and numbered instructions and numbered performs better in terms of reviews and customer satisfaction. People don’t lose their place as easily
Each step should be its own paragraph basically. Don’t cram multiple steps into one number. Like this is wrong:
“1. Preheat oven to 350°F and mix the dry ingredients in a bowl and set aside while you prepare the wet ingredients.”
That should be THREE separate steps. Keep each instruction to one action or one closely related set of actions
I usually leave about 10-12 numbered spaces for instructions in my templates. Font size here should be 11-12pt, easy to read. Line spacing of 1.15 or 1.5 works well – gives it breathing room
So beyond the basic recipe page, your template needs these other pages and I’m always surprised when people skip them:
This is page 1, right side (always odd numbered pages are on the right when a book is open, remember that). Just your cookbook title, maybe a subtitle, and space for an image if you want. Keep it simple. My cat knocked over my coffee while I was designing a title page last week and honestly the simpler version I redid was way better than the original complicated one
Page 2, left side. Include copyright year, your name or business name, “All rights reserved” and maybe a little disclaimer like “The recipes in this book are for informational purposes” blah blah. There’s legal templates online for this wording
This is where I see people give up. Don’t overthink it. Two columns work well for recipe books. Recipe name on the left, page number on the right, maybe dots connecting them. In Word you can auto-generate this if you use heading styles properly which… okay wait I need to explain this because it’ll save you hours
Every recipe title in your book should be formatted with “Heading 2” style in Word. Then when you insert a table of contents, it automatically pulls all those recipe titles and their page numbers. You just gotta update it before you export. Right-click the TOC and hit “Update Field” and boom, done
If you’re organizing recipes by category – like Breakfast, Lunch, Dinner, Desserts, etc – you need section divider pages. These can be simple, just the category name in big text, maybe a decorative element. I usually make these full-page with the text centered both horizontally and vertically
wait I forgot to mention – every recipe page should have a notes section at the bottom. Just like 3-4 lines where people can write their modifications or whatever. I put a small “Notes:” header and then just horizontal lines. Super simple but people really use these based on the feedback I get
Some templates I’ve done include a rating system too, like 5 stars people can fill in, but honestly that’s optional. The notes section though? That’s essential
Okay so here’s where I probably differ from other people teaching this stuff. Everyone gets obsessed with making their cookbook template beautiful with tons of graphics and fancy borders and… it doesn’t matter as much as you think. What actually matters:
Put page numbers in the footer. I usually do center aligned at the bottom. In the header you can put the book title on even pages and maybe the section name on odd pages. Or just leave headers blank, that’s fine too. Just be consistent
Don’t cram everything together trying to fit more recipes. White space makes your template look professional and makes it easier to read when someone’s actually cooking and glancing at the book from across the kitchen. I learned this after making my first template super dense and getting feedback that it was “hard to follow”
Use maximum two fonts. One for titles/headers, one for body text. My go-to combinations:
The body text font MUST be super readable. 11-12pt minimum. I usually go with 12pt because these books get used by people of all ages and eye qualities
this is gonna sound obvious but make each page type once and then duplicate it. Like create your perfect recipe page layout, then save it as “Recipe Template Master” or whatever. In Word you can create a template file (.dotx) but honestly I just keep a master document and copy pages from it
For a full cookbook template you probably want to create:
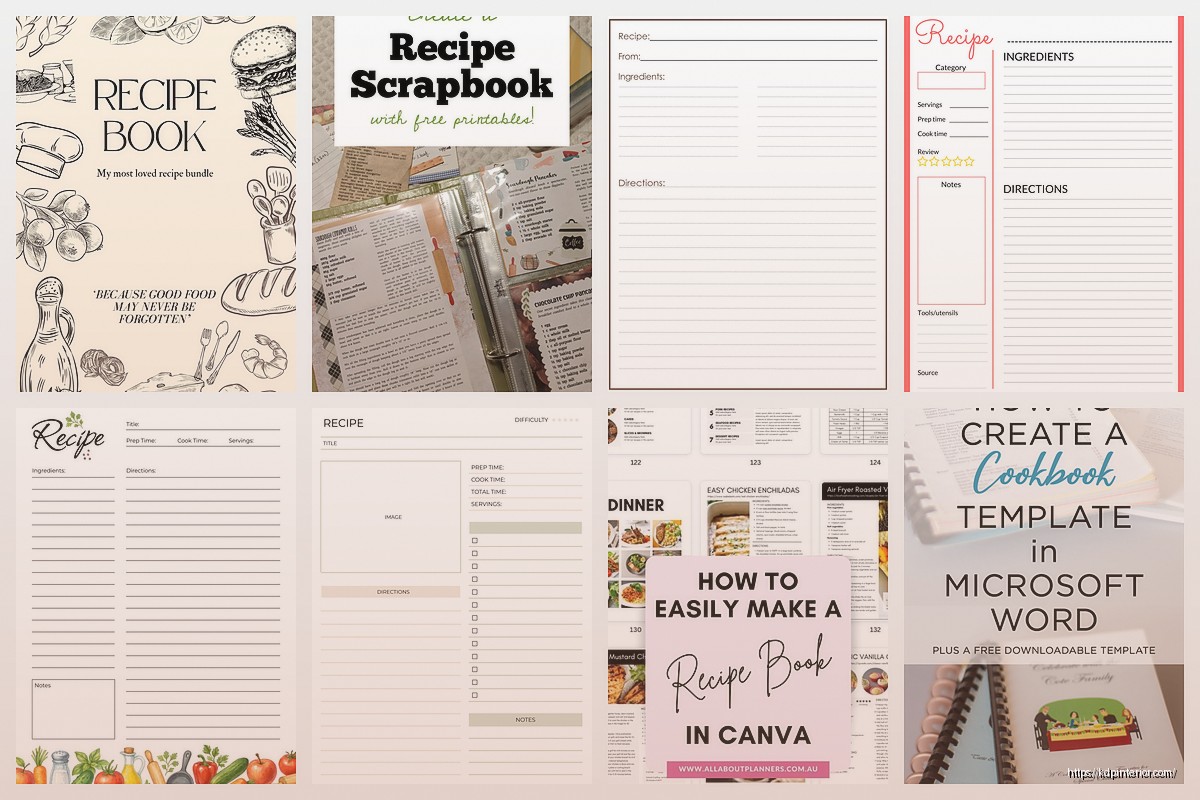
If you’re including photos in your recipe template – and this depends on whether you’re making this for yourself or selling templates or whatever – you need to decide where they go. Top of the page is most common, usually a 4×3 or 16×9 ratio rectangle. Leave at least 0.25 inches of space between the photo and the recipe title
I’ve done templates with small circular photos next to the ingredients list, with photos taking up the entire left page of a spread, with small photos scattered throughout… honestly the simple “one photo at the top” approach tests best for usability
Make your photo placeholder boxes with a light gray fill and maybe text that says “INSERT PHOTO HERE” so you remember where they go
Okay so funny story, I published my first cookbook without an index and someone left a review specifically complaining about it. Now I always include both a table of contents AND an index at the back
The index should be alphabetical and can include recipe names plus key ingredients. Like “chicken” would list all recipes with chicken. This is tedious to create manually but if you’re making a template, just set up the format – two or three columns, alphabetical headers (A, B, C, etc), and then you fill it in once you know what recipes are actually in the book
Make sure you set up your document with mirrored margins if you’re doing print. This means the inside margin alternates – on left pages the binding is on the right, on right pages the binding is on the left. In Word this is under Page Setup > Margins > Multiple Pages > Mirror Margins
Starting each recipe on a right-hand page (odd numbers) looks more professional but uses more pages which increases printing costs. For a low-content book template you’re selling on Amazon, this probably doesn’t matter. For a personal cookbook you’re printing, consider whether you want that polished look vs saving money
I usually compromise – major sections start on right pages, individual recipes just flow continuously
This is a big decision point. Color printing on Amazon KDP is EXPENSIVE. Like, a 100-page color cookbook costs way more to print than black and white. For templates I’m selling, I create both versions – a full color one and a black and white one
If you’re going black and white, you can still use gray for section breaks, headers, boxes around text, etc. It adds visual interest without the color printing cost. I use a 30% gray for backgrounds and a 60% gray for lines and borders usually
For color templates, keep your color palette limited. Choose like 3-4 colors that work well together and stick with those throughout. My client canceled last week so I spent a few hours comparing color palettes and here’s what works well for cookbook templates:
Use text boxes for elements you want to position exactly. The ingredient list, the prep time info box, photo placeholders – make these text boxes so they don’t shift around when you add or remove text
Create paragraph styles for every text element. Recipe Title style, Ingredient style, Instruction style, etc. This keeps formatting consistent and makes editing faster. You can modify a style once and it updates everywhere
Save your template as a .dotx file (Word Template format) so when you open it, it creates a new document based on the template rather than editing the template itself
Honestly Google Docs is kinda limiting for cookbook templates because you can’t do mirror margins or control page layout as precisely. But if that’s what you’re using, focus on clear heading styles and consistent formatting. You’ll need to manually adjust margins for left vs right pages which is annoying
The advantage is collaboration if you’re working with someone else on the recipes. And it’s free which matters to some people
Canva is great for this actually. Search for cookbook templates and customize one, or start from scratch. The drag-and-drop interface makes it easy to create beautiful layouts without design experience
Make sure you set your document size correctly including bleed. Canva has a print settings option where you can add bleed marks. Download as PDF for printing
The downside is if you have like 50+ recipes, placing them all individually gets repetitive. Canva works best for smaller cookbooks or if you’re making a template to sell where the buyer will add their own recipes
This is overkill for most people but if you know InDesign or wanna learn, it’s the professional standard. You can set up master pages with your repeating elements (headers, footers, page numbers) and then individual pages inherit those elements. Super efficient for multi-page documents
The learning curve is steep though and it requires a subscription. Only go this route if you’re planning to create lots of books or templates
Before you call your template done, fill in at least 5-10 recipes completely. Like actually type out full recipes with all ingredients and instructions. This will show you where your template breaks:
Does a recipe with 25 ingredients fit? What about instructions with 15 steps? What if the recipe title is really long? What if it’s just two words?
I’ve had templates that looked perfect empty but once I added actual content, text was overlapping, sections were too small, page breaks were happening in weird places… Test with real content, not Lorem Ipsum
Print out a few pages too if you can. Things look different on paper than on screen. Text that seemed readable on your monitor might be too small printed. Colors might be different than you expected
Include a page with common conversions – teaspoons to tablespoons, cups to ounces, Fahrenheit to Celsius, etc. People reference this constantly when cooking. Put it near the front of the book, like right after the table of contents
Having a few blank recipe templates at the back lets people add their own recipes. These should have all the same sections as your regular recipe pages but obviously empty. I usually include 10-15 of these
Some cookbooks include weekly meal planning templates. This is a simple table with days of the week and spaces for breakfast, lunch, dinner. Optional but nice addition
Just lined pages or pages with categories (Produce, Meat, Dairy, etc) where people can write shopping lists. Again optional but adds value.
DISCOVER OUR FREE BEST SELLING PRODUCTS
Editable Canva Lined Journal: Express Your Thoughts – KDP Template
Lined Pages Journal 120 pages Ready to Upload PDF Commercial Use KDP Template 6×9 8.5×11 5×8 for Notebooks, Diaries, Low Content
Lined Pages Journal 120 pages Ready to Upload PDF Commercial Use KDP Template 6×9 8.5×11 5×8 for Notebooks, Diaries, Low Content
Cute Dogs Coloring Book for Kids | Activity Book | KDP Ready-To-Upload
Daily Planner Diary : Diary Planners for Everyday Productivity, 120 pages, 6×9 Size | Amazon KDP Interior
Wolf Coloring KDP interior For Adults, Used as Low Content Book, PDF Template Ready To Upload COMMERCIAL Use 8.5×11"
Coloring Animals Head Book for Kids, Perfect for ages 2-4, 4-8 | 8.5×11 PDF
Printable Blank Comic Book Pages PDF : Create Your Own Comics – 3 Available Sizes
Notes KDP interior Ready To Upload, Sizes 8.5×11 6×9 5×8 inch PDF FILE Used as Amazon KDP Paperback Low Content Book, journal, Notebook, Planner, COMMERCIAL Use
Black Lined Journal: 120 Pages of Black Lined Paper Perfect for Journaling, KDP Notebook Template – 6×9
Student Planner Journal 120 pages Ready to Upload PDF Commercial Use KDP Template 6×9" 8.5×11" for Low Content book
Recipe Journal Template – Editable Recipe Book Template, 120 Pages – Amazon KDP Interior