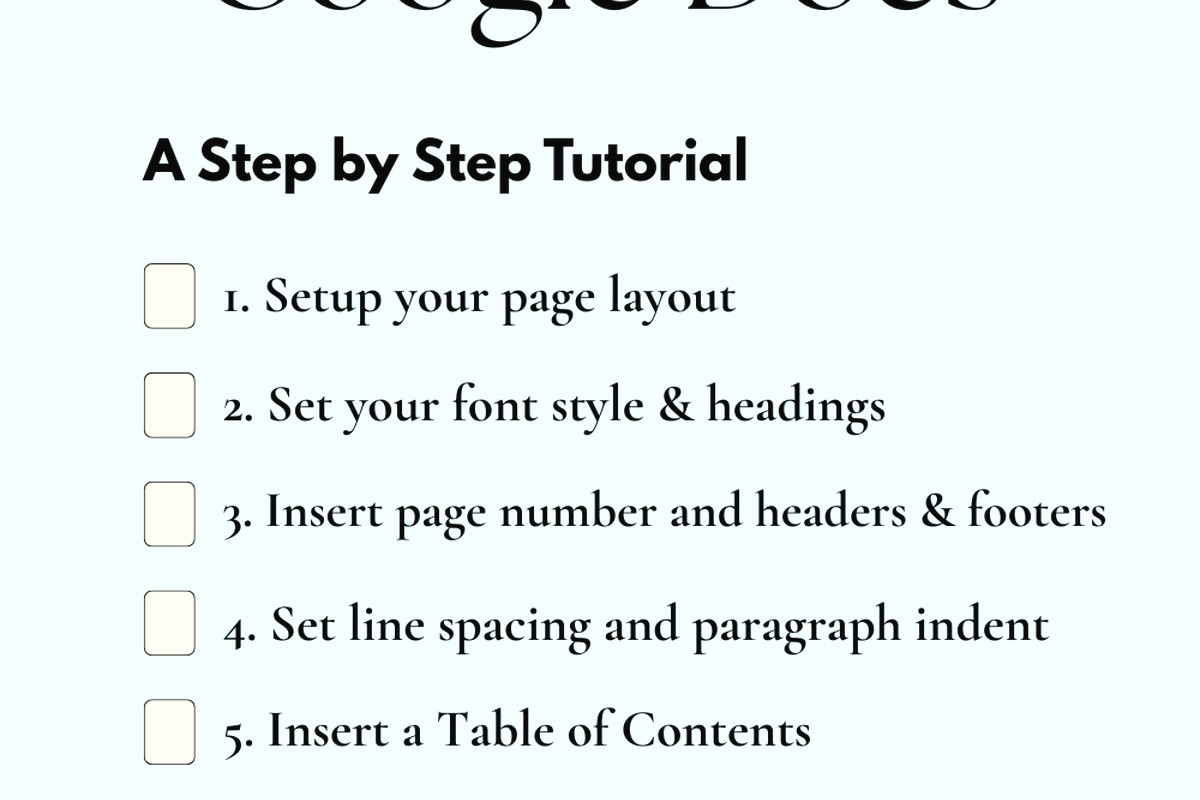
Okay so I just spent like three hours last week setting up a client’s entire novel manuscript in Google Docs and honestly it’s way easier than people make it sound but there’s definitely a specific way to do it that won’t make you want to throw your laptop out the window.
The Basic Document Setup Nobody Tells You About
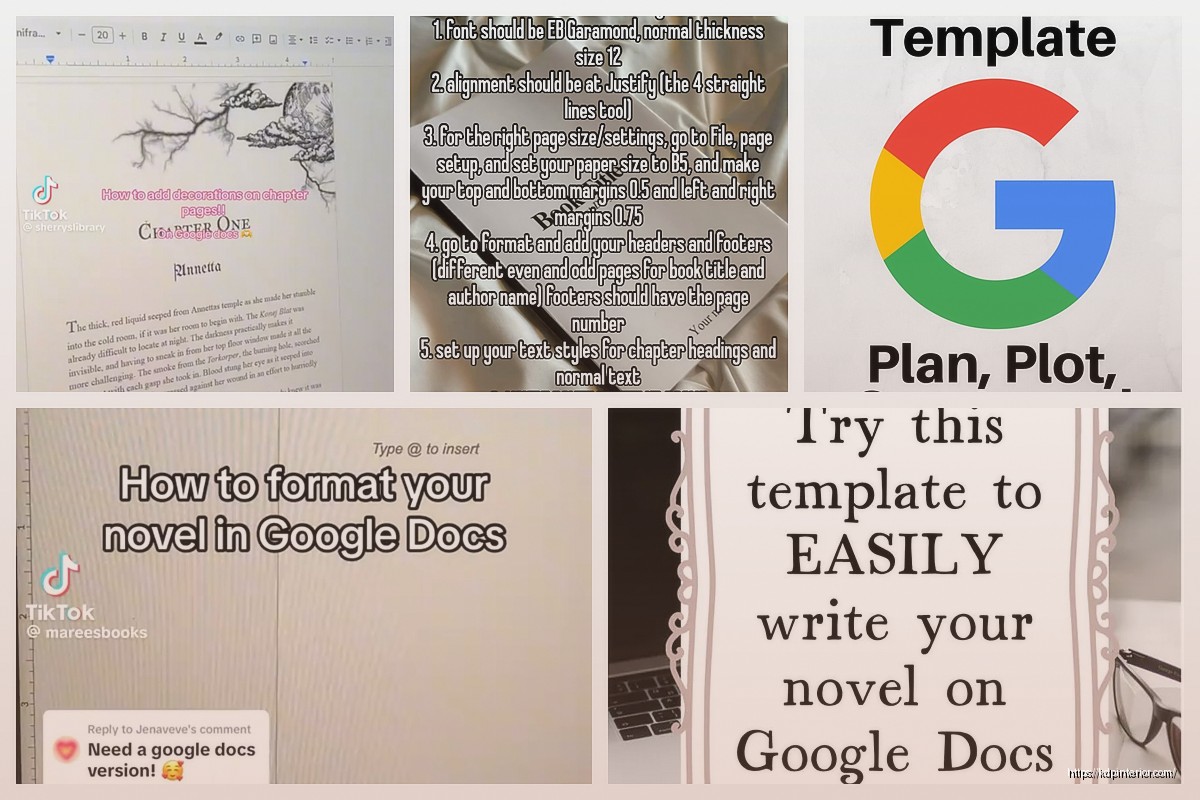
First thing you gotta do is actually create a new document and immediately go to File > Page Setup. This is where people screw up right away because they just start typing and then wonder why their formatting looks weird when they export. Set your margins to 1 inch on all sides. Yeah I know Google Docs defaults to something else but trust me on this one.
For the paper size keep it at Letter (8.5 x 11) even if you’re planning to publish as a 6×9 paperback later. You’re not formatting for print in Google Docs, you’re just writing and organizing your manuscript. The actual formatting for KDP or IngramSpark happens later in a different program or you just let Amazon’s converter handle it.
Font Choices That Won’t Drive You Crazy
Use Times New Roman 12pt or Georgia 12pt. I’ve tested like twenty different fonts and these two are the most readable for long-form fiction writing. Don’t use Arial or Calibri or whatever Google Docs defaults to now. Those sans-serif fonts are harder on your eyes when you’re staring at 80,000 words.
Oh and set your line spacing to Double. I know it looks like a waste of space but when you’re editing or when you send this to beta readers or an editor they need room to make notes. Go to Format > Line spacing > Double.
Chapter Formatting That Actually Works
So here’s where it gets interesting. Each chapter should start on a new page. In Google Docs you do this by hitting Ctrl+Enter (or Cmd+Enter on Mac) which inserts a page break. Don’t just hit Enter a bunch of times because that’s gonna mess everything up when you edit and add or delete text.
Your chapter headings should be formatted as Heading 2 or Heading 3 in the styles menu. This isn’t just about making them look bigger, it actually creates a document outline that you can navigate with. Click on the little document outline icon on the left side of your screen and you’ll see all your chapters listed there. Makes it super easy to jump around in a 300-page manuscript.
I usually format mine like this:
Chapter One
Or just:
1
Centered, bold, Heading 3 style. Then add two blank lines before starting the actual chapter text.
Scene Breaks Are Tricky
When you need a scene break within a chapter don’t just add blank lines. That’s amateur hour and it gets lost when you convert formats. Use the # symbol centered on its own line or three asterisks like this:
***
I learned this the hard way when I published my first novel back in 2017 and half my scene breaks just vanished in the Kindle version. My dog knocked over my coffee while I was trying to fix that mess at 2am and I nearly cried.
The Outline Sidebar Is Your Best Friend
Wait I forgot to mention this earlier but it’s super important. That document outline I mentioned? You can actually use it to reorganize entire chapters. If you decide Chapter 5 should come before Chapter 4, you can literally drag and drop in the outline view and the whole chapter moves.
This only works if you’ve formatted your chapter titles as proper headings though. If you just made them bold text it won’t show up in the outline.
Track Your Word Count Per Chapter
Google Docs has a word count tool (Tools > Word count) but here’s a trick most people don’t know. If you highlight just one chapter and then check word count it’ll show you the count for just that selection. Super useful when you’re trying to keep chapters roughly even or when you need to hit specific targets.
I usually aim for 2500-4000 words per chapter in commercial fiction but that varies by genre obviously.
Using Comments for Self-Editing
This is gonna sound weird but one of my favorite Google Docs features for fiction is the commenting system. When you’re in the middle of drafting and you know a scene needs work but you don’t wanna stop your flow just highlight that paragraph and add a comment like “fix this dialogue later” or “research Victorian door locks.”
You can also use comments to leave notes for yourself about foreshadowing or plot threads you need to resolve. Way better than trying to keep track of everything in a separate notebook.
Color Coding With Highlights
Oh and another thing, you can use the highlight tool to color code different elements. I sometimes highlight all my subplot scenes in yellow so I can visually see if they’re distributed evenly throughout the book. Or highlight every scene with a particular character in blue to check if they disappear for too long.
This isn’t necessary but when you’re deep in revisions it helps you see patterns you might miss otherwise.
The Headers and Footers Situation
You probably don’t need headers and footers while you’re drafting but if you want to add them go to Insert > Headers & footers. I usually put my last name and the book title in the header, page numbers in the footer. But honestly I only do this if I’m printing the manuscript to read on paper or sending it to someone who requested specific formatting.
For your own working draft skip the headers. They’re just visual clutter.
Managing Multiple POV Characters
If you’re writing multiple POV this gets a bit more complex. Some people create separate documents for each POV and then combine them later but I think that’s more hassle than it’s worth. Instead use your heading styles strategically.
Make your chapter titles Heading 2 and then if you have POV switches within chapters use Heading 3 for the character name. Like:
Chapter Seven (Heading 2)
Sarah (Heading 3)
Then all your POV sections show up in the document outline and you can navigate between them easily.
Table of Contents Auto-Generation
Wait this is actually super cool. Once you’ve formatted all your chapters with heading styles you can auto-generate a table of contents. Go to Insert > Table of contents and pick either the page number style or the blue links style.
The blue links style is better for a working manuscript because you can click any chapter in the TOC and jump straight there. The page numbers update automatically as you write which is pretty slick.
I usually put this on the second page of my document, right after the title page.
Backing Up Your Work Because You’re Gonna Forget
Google Docs auto-saves constantly which is great but you should still make backup copies. Here’s what I do: every time I finish a major revision I go to File > Make a copy and name it something like “Novel Title – Draft 3 – Dec 2024.” That way if I totally screw something up or accidentally delete a scene I loved I can go back to an earlier version.
You can also download copies as .docx files (File > Download > Microsoft Word) and store them on your computer or an external drive. Google’s servers are reliable but I’ve seen too many horror stories about people losing access to their accounts.
The Version History Thing You Need to Know
Okay so funny story, I once wrote like 5000 words, closed the document, came back the next day and they were just gone. Turns out I had somehow reverted to an earlier version without realizing it. But Google Docs keeps a complete version history so I went to File > Version history > See version history and found the version with all my new words and restored it.
This feature is insanely useful. You can see every change made to your document and when. If you ever think “wait I had a better version of this scene two weeks ago” you can literally go back and find it.
Naming Your Versions
You can also name specific versions. Like when you finish your first draft click on that version in the history and give it a name “First Draft Complete.” Makes it easy to find major milestones later.
Collaboration Features If You Work With Others
If you’ve got a writing partner or you’re working with an editor Google Docs makes it pretty simple. Click the Share button and add their email. You can give them editing access, commenting access, or just viewing access.
The suggesting mode is perfect for editorial feedback. When someone has editing access tell them to switch from Editing mode to Suggesting mode (there’s a dropdown in the top right). Then any changes they make show up as suggestions you can accept or reject instead of just changing your text directly.
I’ve worked with probably fifty editors this way and it’s way smoother than emailing Word documents back and forth.
Dealing With Smart Quotes and Formatting Marks
Google Docs automatically converts straight quotes to curly quotes which is what you want for fiction. But if for some reason you need straight quotes you can turn this off in Tools > Preferences > uncheck “Use smart quotes.”
Also turn on “Show non-printing characters” from the View menu if you wanna see all the spaces and paragraph marks. This helps when you’re trying to figure out why your formatting looks weird in some spot.
Export Options When You’re Ready
When it’s time to send your manuscript somewhere or upload to KDP you’ve got options. File > Download gives you a bunch of formats. For most purposes .docx (Microsoft Word) is what you want. It preserves your formatting pretty well.
If you’re uploading directly to Amazon KDP you can actually just upload the .docx from Google Docs and their converter handles it decently. Not perfect, you’ll probably want to use Kindle Create or Vellum or something for the final version but for getting a preview up quickly it works.
Don’t export as PDF unless someone specifically asks for it. PDFs are harder to edit and format.
The Weird Formatting Issues Nobody Warns You About
Sometimes when you paste text from other sources into Google Docs it brings weird invisible formatting with it. If you notice some paragraphs look different use Ctrl+\ (or Cmd+\) to clear formatting on selected text. Then reapply whatever formatting you need.
This drove me crazy for like two years before I figured out that keyboard shortcut existed.
Using Find and Replace for Consistency
Your Find and Replace tool (Ctrl+H) is amazing for fixing consistency issues. Like if you realize you’ve been spelling a character’s name two different ways. Or if you overuse a particular word and wanna find all instances. I use this constantly during editing.
You can even use it to find formatting stuff. Search for two spaces after periods if you’re trying to switch to single space. Or find all em dashes if you think you’re using them too much.
Okay I think that covers the main stuff you need to know. There’s obviously more advanced things you can do but this’ll get you through writing and revising a complete novel manuscript without wanting to die. The key is just setting it up right from the start so you don’t have to fix everything later.
 Notes KDP interior Ready To Upload, Sizes 8.5x11 6x9 5x8 inch PDF FILE Used as Amazon KDP Paperback Low Content Book, journal, Notebook, Planner, COMMERCIAL Use
1 × $0.00
Notes KDP interior Ready To Upload, Sizes 8.5x11 6x9 5x8 inch PDF FILE Used as Amazon KDP Paperback Low Content Book, journal, Notebook, Planner, COMMERCIAL Use
1 × $0.00  Cute Dogs Coloring Book for Kids | Activity Book | KDP Ready-To-Upload
1 × $0.00
Cute Dogs Coloring Book for Kids | Activity Book | KDP Ready-To-Upload
1 × $0.00 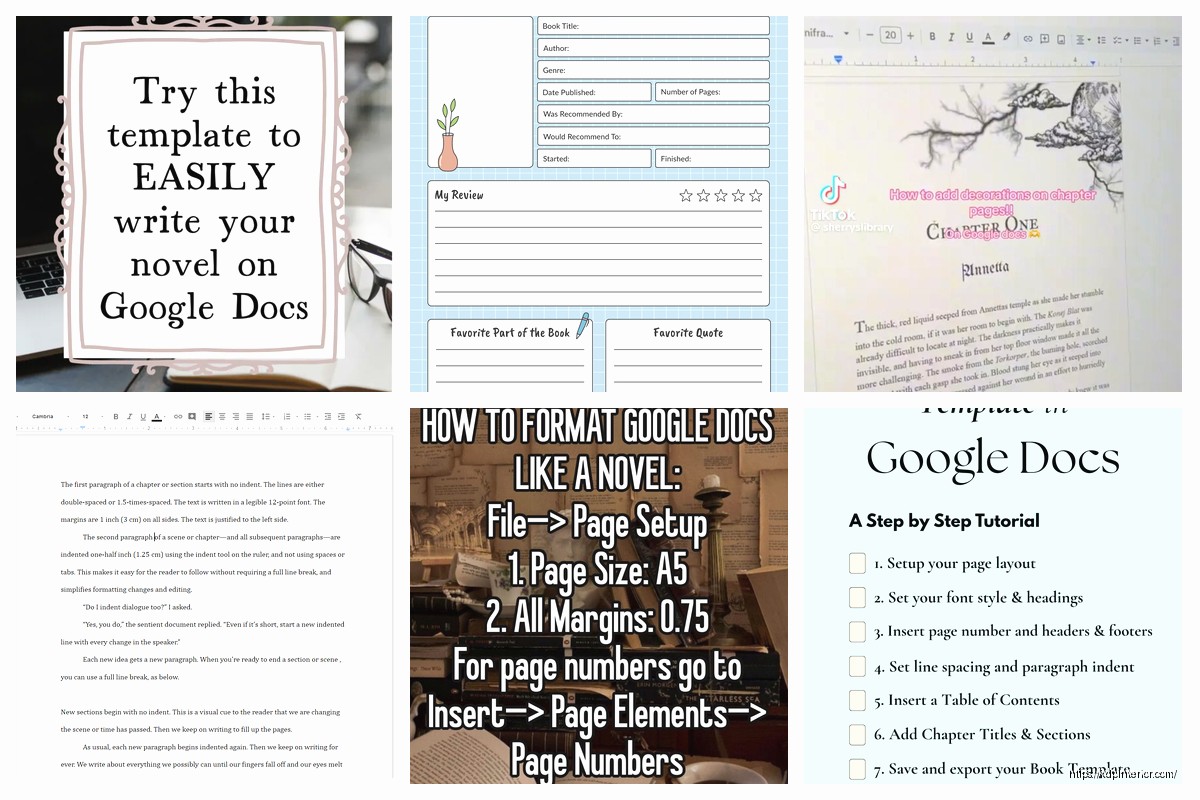
DISCOVER OUR FREE BEST SELLING PRODUCTS
Editable Canva Lined Journal: Express Your Thoughts – KDP Template
Lined Pages Journal 120 pages Ready to Upload PDF Commercial Use KDP Template 6×9 8.5×11 5×8 for Notebooks, Diaries, Low Content
Lined Pages Journal 120 pages Ready to Upload PDF Commercial Use KDP Template 6×9 8.5×11 5×8 for Notebooks, Diaries, Low Content
Cute Dogs Coloring Book for Kids | Activity Book | KDP Ready-To-Upload
Daily Planner Diary : Diary Planners for Everyday Productivity, 120 pages, 6×9 Size | Amazon KDP Interior
Wolf Coloring KDP interior For Adults, Used as Low Content Book, PDF Template Ready To Upload COMMERCIAL Use 8.5×11"
Coloring Animals Head Book for Kids, Perfect for ages 2-4, 4-8 | 8.5×11 PDF
Printable Blank Comic Book Pages PDF : Create Your Own Comics – 3 Available Sizes
Notes KDP interior Ready To Upload, Sizes 8.5×11 6×9 5×8 inch PDF FILE Used as Amazon KDP Paperback Low Content Book, journal, Notebook, Planner, COMMERCIAL Use
Black Lined Journal: 120 Pages of Black Lined Paper Perfect for Journaling, KDP Notebook Template – 6×9
Student Planner Journal 120 pages Ready to Upload PDF Commercial Use KDP Template 6×9" 8.5×11" for Low Content book
Recipe Journal Template – Editable Recipe Book Template, 120 Pages – Amazon KDP Interior