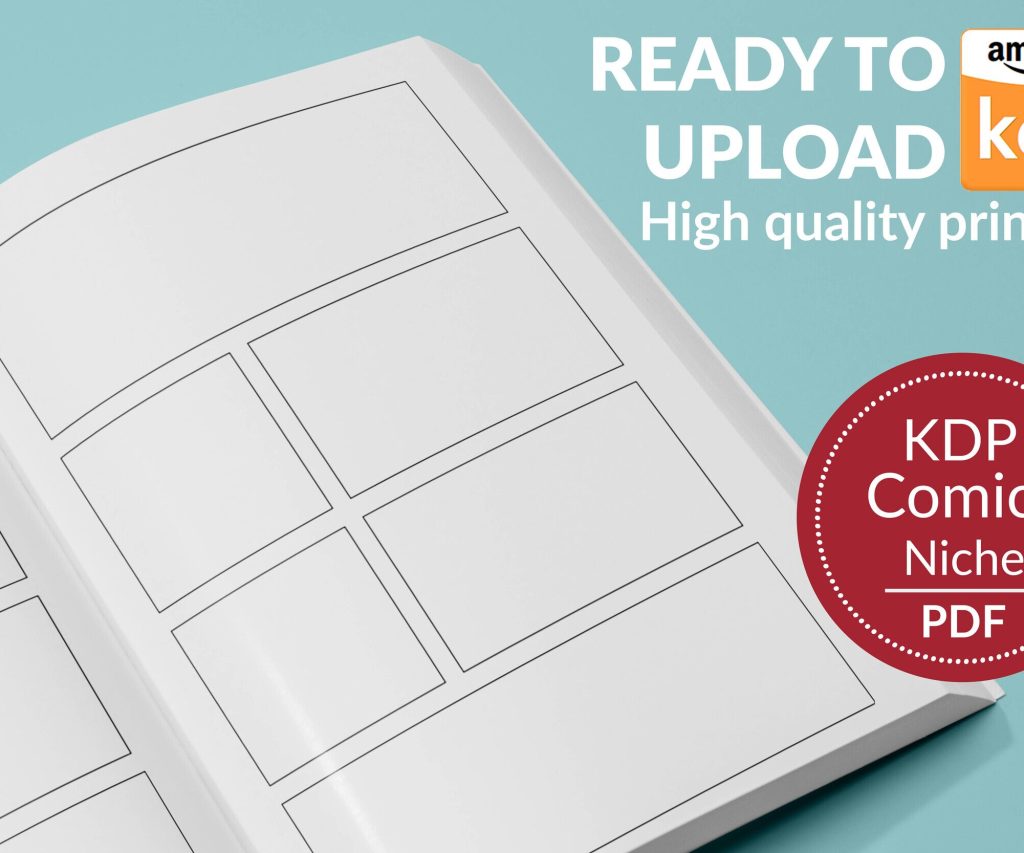
 Printable Blank Comic Book Pages PDF : Create Your Own Comics - 3 Available Sizes
 Subtotal: $0.00
Amazon KDP guide, KDP book publishing
Novel Planning Template: Fiction Outlining Tools
08
Apr
Apr
Okay so I’ve been testing novel planning templates for the past couple months and honestly there’s way more options than you’d think, some amazing and some absolute garbage that’ll waste your time.
The thing nobody tells you is that the best template depends completely on whether you’re a plotter or a pantser, and like… most people are somewhere in the middle which makes it harder. I spent three days last week reorganizing my entire system because I realized I was forcing myself into this rigid structure that just didn’t match how my brain works.
The Basic Three-Act Structure Template
Start here if you’re new to this. Seriously. I know it sounds boring but there’s a reason this one’s been around forever. You basically divide your story into three chunks – setup, confrontation, resolution. Each act gets its own section in whatever tool you’re using.
What I do is create a simple spreadsheet with three columns. Act One takes up about 25% of your novel, Act Two is like 50%, and Act Three wraps up the last 25%. Under each act I list the major plot points that need to happen. For Act One that’s your inciting incident, for Act Two it’s the midpoint twist and stuff getting worse, Act Three is the climax and resolution.
The mistake I made early on was trying to plot every single chapter in Act One before moving to Act Two. Don’t do that. Sketch all three acts first with just the major beats, then go back and fill in details. Your story will feel way more cohesive.
Scrivener’s Built-In Outliner
If you’re gonna invest in one tool, Scrivener is worth the $50 or whatever it costs now. The corkboard view changed how I plan novels completely. You can create index cards for each scene and move them around visually which is perfect when you realize chapter 8 needs to happen before chapter 5.
I use colored labels for different POV characters – blue for my protagonist, red for the antagonist, green for the love interest. Then I can see at a glance if I’ve gone too long without checking in on a particular character’s storyline.
The outliner mode in Scrivener lets you see your entire novel structure as a nested list. Folders for acts, subfolders for chapters, individual scenes under each chapter. You can add synopses and notes to each card. I usually write a one-sentence summary of what happens in the scene plus any important details I need to remember (like what the weather is or what the character is wearing if it matters later).
Oh and another thing – Scrivener lets you set status markers. I mark scenes as “To Do,” “First Draft,” “Revised,” etc. Super helpful when you’re juggling multiple projects.
The Snowflake Method Template
This one’s for the plotters who like structure. Randy Ingermanson created this method and it’s basically starting with a one-sentence summary of your novel then expanding it in stages.
First you write one sentence about your book. Then you expand that to a paragraph with the major plot points. Then you write a page about each major character. Then you expand your paragraph to a full page for each act. You keep going until you have a detailed outline.
I created a Word doc with sections for each stage of the snowflake. Stage one is literally just one sentence at the top. Stage two is five sentences (setup, major plot points, ending). Stage three is character sheets. And so on.
The problem with this method is it takes forever and honestly by the time I finished the full snowflake I just wanted to start writing the actual book. But if you need to understand your story inside and out before drafting, this works great. I used it for a mystery novel where I needed to know exactly where all the clues were planted.
Notion Templates for Novelists
Wait I forgot to mention Notion because this is actually what I’m using right now for my current project. Notion is free for personal use and there are tons of novel planning templates people have shared.
My favorite setup has a database for characters, another for locations, one for scenes, and one for chapters. Everything links together. So in my scene database I can tag which characters appear in that scene, which location it takes place in, and which chapter it belongs to.
The cool part is you can view your scenes database as a table, a board (like Trello), a calendar, or a gallery. I usually work in board view with columns for each act, then drag scenes between acts when I’m restructuring.
For characters I track basic info like age and appearance but also their goal, motivation, and conflict for THIS specific story. Plus their character arc – where they start vs where they end up. My cat just knocked over my coffee while I’m writing this so excuse any typos going forward.
The Save the Cat Beat Sheet
This template is technically for screenwriting but it works amazing for novels too. Blake Snyder identified 15 beats that appear in pretty much every successful story. You can find the beat sheet free online.
The beats include stuff like the Opening Image, Theme Stated, Catalyst, Debate, Break into Two, B Story, Midpoint, All Is Lost, Dark Night of the Soul, Break into Three, Finale, and Final Image.
I create a simple document with each beat as a heading and fill in what happens in my story for each one. The beats come with suggested page counts which you can convert to word counts for novels. Like the Midpoint should happen around the 50% mark of your book.
This template forces you to include certain story elements that readers expect even if they don’t consciously realize it. The “All Is Lost” moment where everything goes wrong? That needs to happen around the 75% mark. Your protagonist’s “Dark Night of the Soul” where they almost give up? Right after All Is Lost.
I’ve used this for every novel since 2019 and my story structure got so much tighter. Readers started leaving reviews saying they couldn’t put the book down which never happened with my earlier novels.
Chapter-by-Chapter Breakdown Spreadsheet
Okay so funny story, I resisted spreadsheets for years because they seemed too corporate or whatever. But then I tried planning a novel with one and realized how much control it gives you.
My spreadsheet has columns for chapter number, POV character, scene goal, conflict, outcome, and word count target. Sometimes I add a column for which subplot this chapter advances.
The scene goal is what the POV character wants in this specific scene. The conflict is what stops them from getting it easily. The outcome is whether they succeed or fail or something in between. This structure ensures every scene has tension and moves the plot forward.
I also track cumulative word count so I can see if my pacing is off. If I’m at 60,000 words and only halfway through the plot, I know I need to tighten things up. Or if I’m at 30,000 words and approaching the climax, I need to slow down and develop more.
You can use Google Sheets for this which is free and accessible anywhere. I work on my outline on my phone sometimes when I’m waiting in line or whatever.
Word Count Targets Per Chapter
Something I wish someone had told me earlier – decide your target word count for the whole novel first, then divide by how many chapters you want. This gives you a rough target per chapter.
For a 80,000 word novel with 20 chapters, that’s 4,000 words per chapter. Some will be shorter, some longer, but having that average helps you pace things correctly.
Character Arc Templates
Your plot outline is only half the work. You gotta track character arcs too or your story will feel flat even if the plot is solid.
I use a simple template with these sections for each major character: Who They Are at the Start, What They Believe (Lie), What They Need to Learn (Truth), Events That Challenge Their Belief, The Moment of Change, and Who They Are at the End.
For example, my protagonist might start out believing she needs to be completely self-reliant. The lie is “asking for help is weakness.” The truth she needs to learn is “vulnerability creates connection.” Throughout the story events force her to rely on others, she resists, then finally accepts help at the climax and becomes stronger for it.
This template ensures your character actually changes over the course of the story instead of just experiencing a bunch of stuff and staying the same person.
The Hero’s Journey Template
If you’re writing fantasy or adventure, the Hero’s Journey structure is clutch. It’s got 12 stages starting with the Ordinary World and ending with Return with the Elixir.
I won’t list all 12 stages here because you can Google it, but I create a document with each stage as a heading and fill in how my story fits that stage. Not every story needs every stage – you can skip some if they don’t fit.
The key stages you definitely need are the Call to Adventure, Crossing the Threshold into the special world, Tests and Allies, the Supreme Ordeal (your climax), and the Return.
This structure works for contemporary fiction too if you think of the “special world” as any new situation your character enters. A romance where someone moves to a new city, a mystery where an amateur detective enters the world of crime solving, whatever.
Plottr Software
This is newer software specifically designed for plotting novels. It’s got timeline views, character templates, relationship tracking, all that stuff. I tested it for like two weeks last month.
The timeline feature is actually really useful if you’re writing something where the chronology matters. You can see exactly when events happen and make sure you don’t have continuity errors. Like your character can’t be in two places at once or whatever.
Plottr has templates for different story structures built in – Three Act, Save the Cat, Hero’s Journey, etc. You pick one and it sets up the framework for you.
The downside is it costs $100 for the desktop version or $25/year for the online version. Whether it’s worth it depends on how serious you are. I still use Notion mostly because it’s free and more flexible, but Plottr is cleaner if you just want something purpose-built for novels.
Simple Bullet Point Outline
Honestly sometimes the simplest approach works best. Just open a Word doc or Google Doc and start listing what happens in bullet points.
Act One:
– Opening scene establishing main character’s normal life
– Inciting incident that disrupts everything
– Character resists the call to adventure
– Mentor figure or friend convinces them to act
– Character commits to the journey
Just keep going like that through your whole story. No fancy software needed. I do this when I’m planning a novella or short story that doesn’t need a complex structure.
The benefit is you can see your whole plot at a glance and it’s easy to rearrange bullets if something isn’t working. Copy, paste, done.
Mixing Methods That Actually Work
Real talk – I use like four different methods simultaneously now. I start with the Save the Cat beat sheet to get my major plot points. Then I create a Notion database for scenes where I expand each beat into multiple scenes. Then I track everything in a spreadsheet to monitor pacing and word count.
You don’t have to pick one template and stick to it religiously. Take what works from each method and build your own system. Maybe you use the Hero’s Journey for overall structure but track details in Scrivener. Or you start with the Snowflake Method then switch to a simple outline once you understand your story.
The template that works for one novel might not work for the next one either. My mystery novels need way more detailed plotting than my contemporary fiction. Different genres have different requirements.
Just start somewhere and adjust as you go. Every novelist I know has changed their planning process multiple times. You’ll figure out what clicks for your brain.

DISCOVER OUR FREE BEST SELLING PRODUCTS
Editable Canva Lined Journal: Express Your Thoughts – KDP Template
Lined Pages Journal 120 pages Ready to Upload PDF Commercial Use KDP Template 6×9 8.5×11 5×8 for Notebooks, Diaries, Low Content
Lined Pages Journal 120 pages Ready to Upload PDF Commercial Use KDP Template 6×9 8.5×11 5×8 for Notebooks, Diaries, Low Content
Cute Dogs Coloring Book for Kids | Activity Book | KDP Ready-To-Upload
Daily Planner Diary : Diary Planners for Everyday Productivity, 120 pages, 6×9 Size | Amazon KDP Interior
Wolf Coloring KDP interior For Adults, Used as Low Content Book, PDF Template Ready To Upload COMMERCIAL Use 8.5×11"
Coloring Animals Head Book for Kids, Perfect for ages 2-4, 4-8 | 8.5×11 PDF
Printable Blank Comic Book Pages PDF : Create Your Own Comics – 3 Available Sizes
Notes KDP interior Ready To Upload, Sizes 8.5×11 6×9 5×8 inch PDF FILE Used as Amazon KDP Paperback Low Content Book, journal, Notebook, Planner, COMMERCIAL Use
Black Lined Journal: 120 Pages of Black Lined Paper Perfect for Journaling, KDP Notebook Template – 6×9
Student Planner Journal 120 pages Ready to Upload PDF Commercial Use KDP Template 6×9" 8.5×11" for Low Content book
Recipe Journal Template – Editable Recipe Book Template, 120 Pages – Amazon KDP Interior