Amazon KDP guide, KDP book publishing
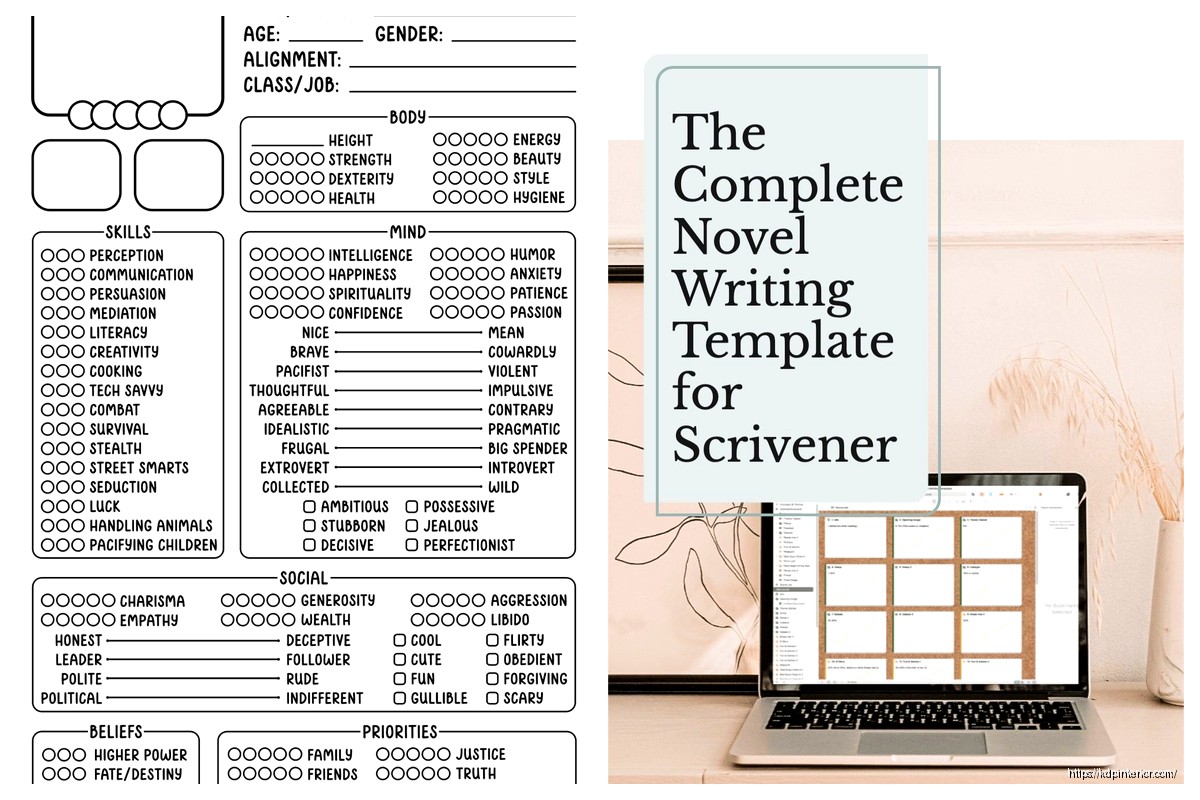
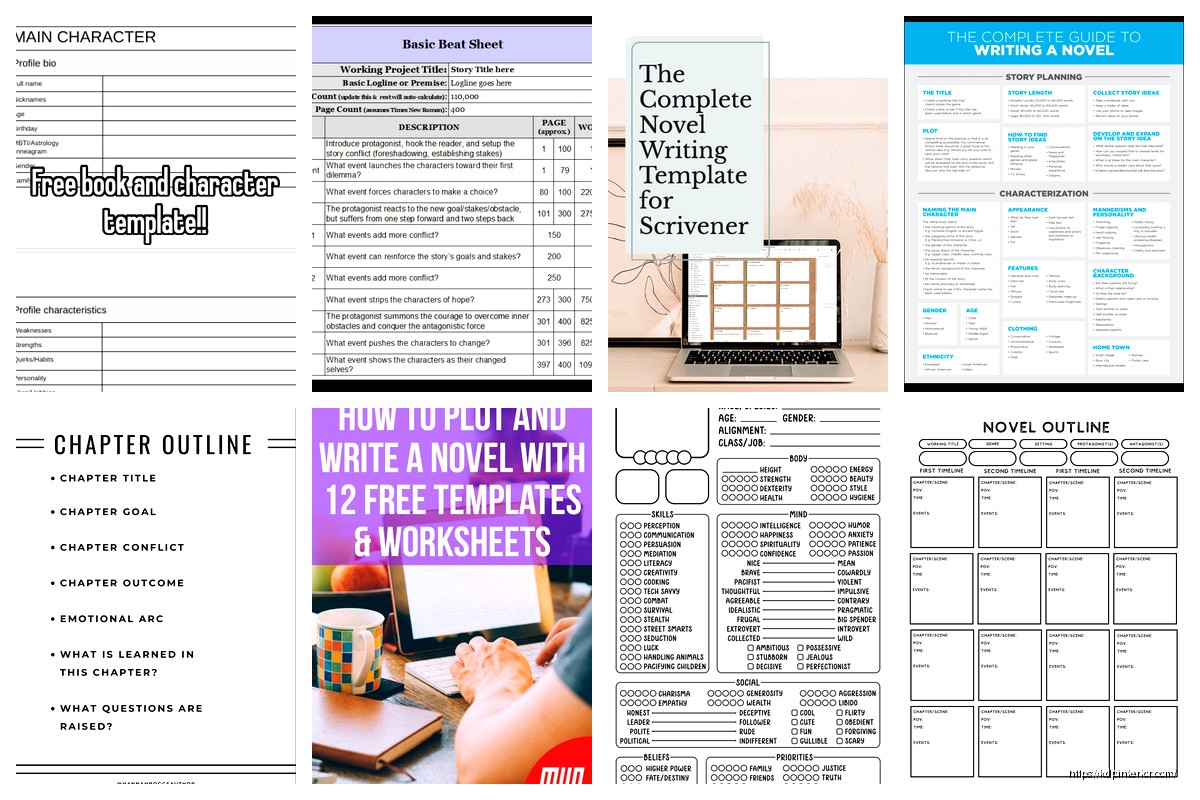
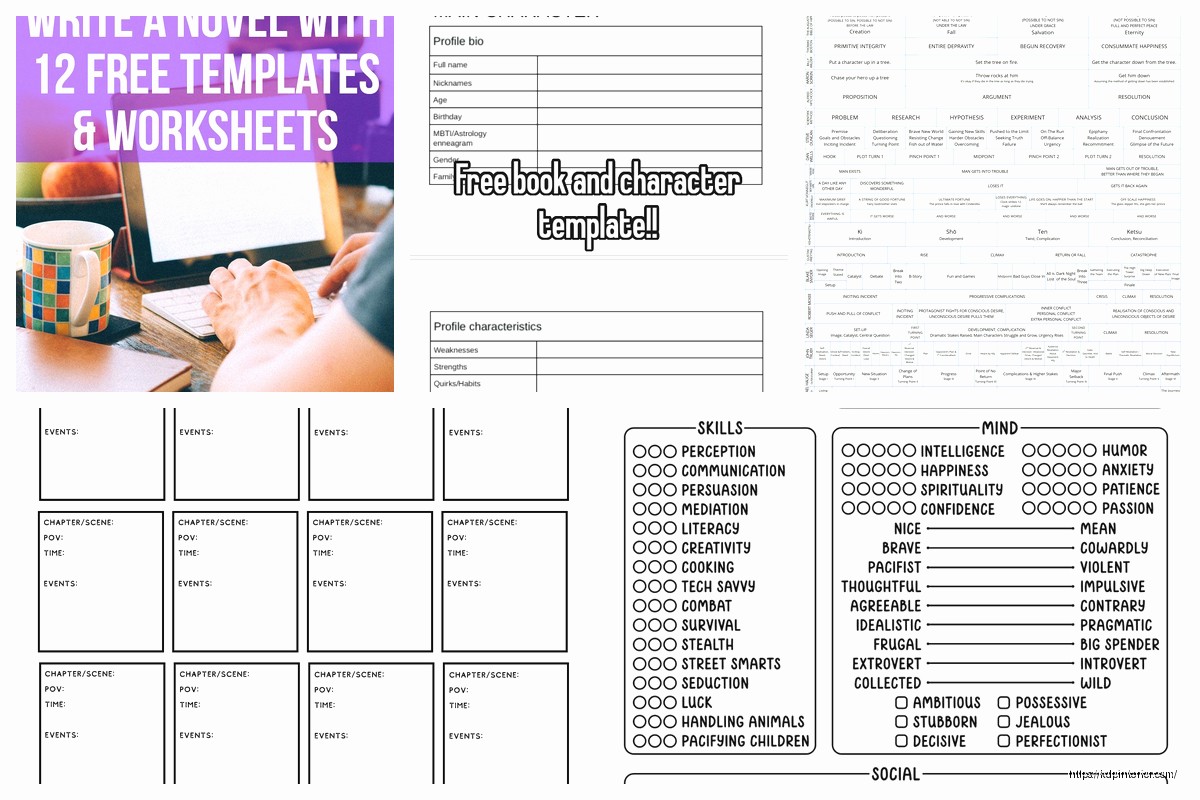
Novel Writing Template: Fiction Manuscript Format
Apr
Okay so manuscript formatting is one of those things that seems super complicated but honestly once you get the template set up you never think about it again, and I’ve formatted like 200+ manuscripts at this point so let me just walk through exactly what publishers and agents actually want to see.
First thing – and this trips everyone up – you need to forget about making it look “pretty.” Your manuscript isn’t supposed to look like a published book. It’s a working document. Think of it like… you know how construction blueprints don’t look like the actual house? Same deal here.
The Basics That Everyone Gets Wrong
Font is Times New Roman, 12pt. Period. I know Garamond looks nicer, I know you love your Calibri, doesn’t matter. TNR 12pt is industry standard and if you deviate you’re just signaling that you didn’t do your research. Courier is also acceptable but it’s gonna make your page count higher because it’s a wider font – I only use that when I’m trying to hit a minimum page requirement honestly.
Margins are 1 inch on all sides. Some people will tell you to do 1.25 on the left for binding but unless someone specifically requests that just stick with 1 inch all around.
Double spacing. Always. No exceptions. This gives editors room to make notes and it’s just what everyone expects. Single spacing makes you look like an amateur immediately.
The Header Situation
Top right corner of every page except the first page of each chapter needs your last name, a slash, the book title (or a shortened version if it’s long), another slash, and the page number. So mine looks like: Harper / MIDNIGHT PROTOCOL / 47
Don’t put this on your title page or the first page of chapters though. Those stay clean.
Oh and another thing – page numbers should be in the header, not the footer. I see people mess this up constantly because Word defaults to footer placement sometimes.
Title Page Setup
Top left corner gets your contact info:
- Your name
- Street address (yeah I know it feels weird but it’s traditional)
- City, state, zip
- Phone number
- Email address
Top right corner gets your word count rounded to the nearest thousand. So if your manuscript is 87,340 words you write “approximately 87,000 words.” They don’t need exact numbers here.
Then about halfway down the page, centered, you put your title in ALL CAPS. Skip a line, put “by” in lowercase, skip another line, put your author name (or pen name) in regular title case.
That’s it. Don’t get fancy with fonts or sizes or graphics or anything. Just clean and simple.
Chapter Formatting That Actually Works
Start each chapter about 1/3 down the page. Not halfway, not at the top – about 8-10 lines down. You can do this with hard returns or page breaks, I prefer page breaks because they’re cleaner when you’re reformatting later.
Chapter headings can be “Chapter One” or “Chapter 1” or just “1” – doesn’t really matter as long as you’re consistent. Center them. Some people do chapter titles too which is fine, just put it on the line below the chapter number.
Wait I forgot to mention – don’t justify your text. Left align only. Justified text looks published but it creates weird spacing issues and editors hate it. My cat just knocked over my coffee while I’m writing this, hold on… okay back.
First paragraph of each chapter starts flush left. No indent. Every paragraph after that gets indented 0.5 inches. DO NOT use the space bar or tab key to create indents. Use the paragraph formatting tool in Word to set a first-line indent of 0.5 inches. This matters because when you convert to different formats later those manual spaces will screw everything up.
Scene Breaks and Other Formatting
Scene breaks within a chapter – you know when you’re jumping in time or POV or location but not starting a new chapter – those need a visual marker. Standard is to skip a line, put a centered # or ***, then skip another line.
Some people just do extra line spacing but that can disappear at page breaks and then your readers get confused. The symbol makes it clear even if it lands at the top or bottom of a page.
For dialogue, standard indentation rules apply. New speaker = new paragraph. Action beats that belong to a character’s dialogue stay in that paragraph.
Paragraph Spacing Stuff
This is gonna sound weird but you want zero extra spacing between paragraphs. Like in Word there’s that “spacing after paragraph” setting that defaults to 10pt or whatever? Change that to 0. Your double spacing handles all the space you need.
I see so many manuscripts with double spacing PLUS extra paragraph spacing and it looks bizarre and wastes pages.
Things You Don’t Need to Worry About
Headers for your chapters with the chapter title repeating – nope, don’t need that. That’s a published book thing.
Fancy first letter drop caps – no.
Different fonts for different elements – no, everything is TNR 12pt.
Graphics or images unless it’s absolutely essential to the story – probably no, and if you must include them put them on separate pages with figure captions.
Special Text Formatting
Italics are fine for emphasis, internal thoughts, foreign words, etc. Just don’t overuse them.
Bold is generally not used in manuscripts except maybe for chapter headings if that’s your preference.
Underline is old-school – it was used back in typewriter days to indicate italics. Now we can just use actual italics.
ALL CAPS for shouting is acceptable but use sparingly because it’s harder to read.
Front Matter Nobody Tells You About
Before your first chapter you might need a few pages depending on what you’re submitting:
Title page (always)
Optional: dedication page if you already know who you’re dedicating to
Optional: acknowledgments, but honestly most agents don’t care about these until you’re actually getting published
What you DON’T include: copyright page, ISBN info, publisher info, table of contents (unless it’s nonfiction). All that comes later.
The Word Count Thing
Industry standard is to calculate word count using your word processor’s word count tool. Don’t try to do that old formula based on pages times words per page or whatever. Just use Word’s actual count.
For the title page though you’re rounding to nearest thousand like I mentioned earlier.
Different genres have different expected word counts and if you’re way outside those ranges you’re gonna have a harder time. But that’s a whole other conversation and this is just about formatting.
File Naming and Submission
When you save your file don’t call it “My Novel.docx” or “Book.doc” or “Final Draft.docx”
Use: TITLE_AuthorLastName.docx
So mine would be: MIDNIGHTPROTOCOL_Harper.docx
Makes it way easier for agents who are juggling hundreds of submissions to keep track of whose is whose.
Oh and save as .docx not .doc unless specifically requested otherwise. The newer format handles formatting better.
Common Mistakes I See Constantly
Using tabs or spaces instead of proper indents – this screws up everything when you convert formats.
Forgetting to turn off widow/orphan control – you want this ON so you don’t get single lines stranded at tops or bottoms of pages.
Manual page breaks everywhere instead of letting text flow naturally except at chapter breaks.
Mixing up em dashes and hyphens. Em dash is — (no spaces around it) for interruptions or abrupt changes. Hyphen is – for compound words. En dash is – for ranges like “pages 10–15” but honestly most people just use hyphens for that and it’s fine.
The Template Setup Process
Here’s what I do and this saves me hours: create one master template with all these settings already configured. Then every new manuscript I start, I just open that template instead of starting from scratch.
In Word you can literally save it as a template file (.dotx) and then it’ll show up in your templates when you create new documents. Game changer.
Set up your styles too – Normal style with all the paragraph formatting, Heading 1 for chapter titles, etc. Then you can just apply styles instead of manually formatting everything.
What About Ebooks vs Print?
This format I’m describing is for submissions to agents/publishers and also for print formatting. If you’re self-publishing ebooks you actually want something different – you’ll strip out all the headers, use style-based formatting exclusively, and probably work in a different program entirely.
But for traditional publishing or print-on-demand paperbacks, this manuscript format is what you need.
I spent like three hours last week watching someone on a webinar explain “advanced formatting techniques” and it was literally just this stuff but overcomplicated. You don’t need fancy software or expensive courses. You just need to follow these standards.
The thing is once you have your template set up you literally never think about it again. You just write. The formatting is already done. When I’m drafting I’m not thinking about margins or headers or any of this – it’s all automatic because I set it up once.
And honestly? Even if you mess some of this up it’s not the end of the world. The story matters way more than whether your margins are exactly 1 inch or 1.1 inches. But if you can get the format right from the start it just shows you’re professional and you’ve done your homework, and that makes agents and editors more inclined to take you seriously from page one.
DISCOVER OUR FREE BEST SELLING PRODUCTS
Editable Canva Lined Journal: Express Your Thoughts – KDP Template
Lined Pages Journal 120 pages Ready to Upload PDF Commercial Use KDP Template 6×9 8.5×11 5×8 for Notebooks, Diaries, Low Content
Lined Pages Journal 120 pages Ready to Upload PDF Commercial Use KDP Template 6×9 8.5×11 5×8 for Notebooks, Diaries, Low Content
Cute Dogs Coloring Book for Kids | Activity Book | KDP Ready-To-Upload
Daily Planner Diary : Diary Planners for Everyday Productivity, 120 pages, 6×9 Size | Amazon KDP Interior
Wolf Coloring KDP interior For Adults, Used as Low Content Book, PDF Template Ready To Upload COMMERCIAL Use 8.5×11"
Coloring Animals Head Book for Kids, Perfect for ages 2-4, 4-8 | 8.5×11 PDF
Printable Blank Comic Book Pages PDF : Create Your Own Comics – 3 Available Sizes
Notes KDP interior Ready To Upload, Sizes 8.5×11 6×9 5×8 inch PDF FILE Used as Amazon KDP Paperback Low Content Book, journal, Notebook, Planner, COMMERCIAL Use
Black Lined Journal: 120 Pages of Black Lined Paper Perfect for Journaling, KDP Notebook Template – 6×9
Student Planner Journal 120 pages Ready to Upload PDF Commercial Use KDP Template 6×9" 8.5×11" for Low Content book
Recipe Journal Template – Editable Recipe Book Template, 120 Pages – Amazon KDP Interior