-
×
 Wolf Coloring KDP interior For Adults, Used as Low Content Book, PDF Template Ready To Upload COMMERCIAL Use 8.5x11"
1 × $0.00
Wolf Coloring KDP interior For Adults, Used as Low Content Book, PDF Template Ready To Upload COMMERCIAL Use 8.5x11"
1 × $0.00
Subtotal: $0.00

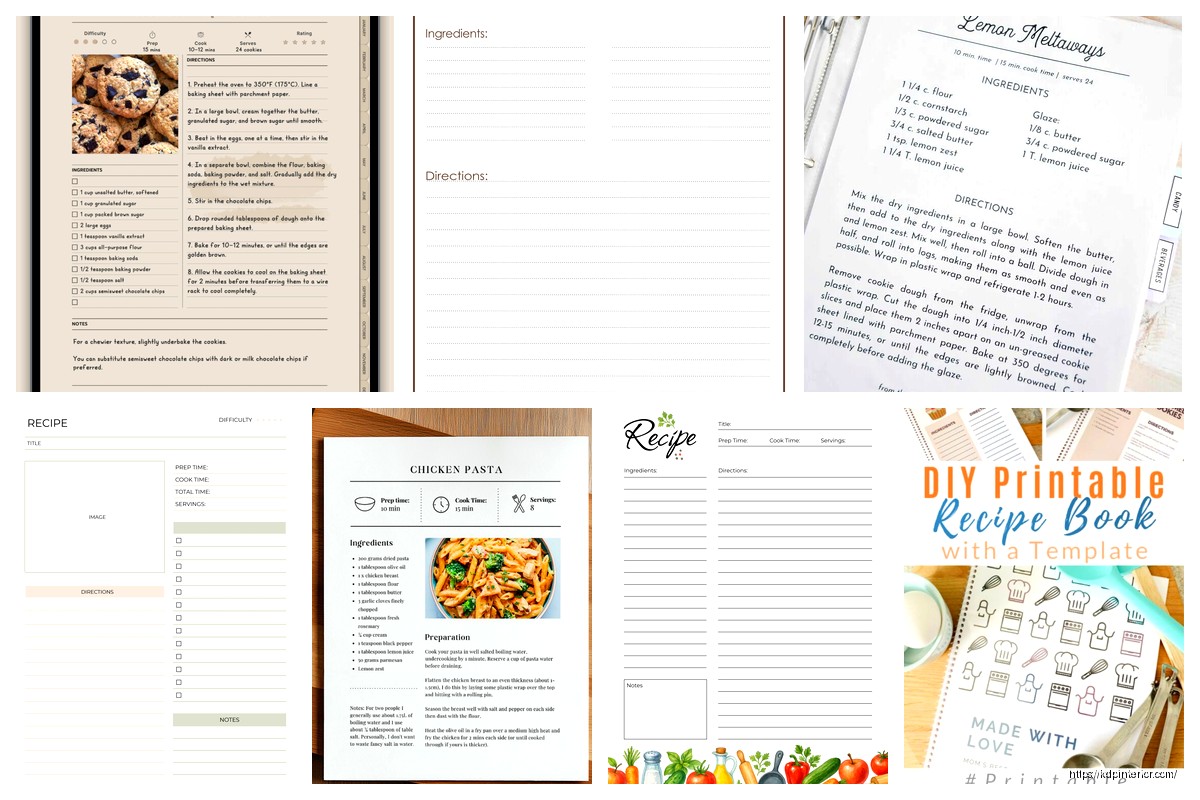
Okay so I just finished redesigning my recipe template last month and honestly the layout choices make or break whether someone actually uses your book or just leaves it on their shelf collecting dust.
The first thing you gotta understand is that recipe books need way more white space than you think. I see people cramming everything together trying to fit more recipes per page and it’s just… it doesn’t work. When someone’s cooking, they’re standing at the counter with flour on their hands trying to read your ingredient list. If the text is tiny or crammed, they’re gonna get frustrated and never open it again.
So the basic layout I use now has the recipe title at the top obviously, but here’s what matters – leave at least 1.5 inches of margin on all sides. Amazon’s KDP will trim your book and if you put text too close to the edge it gets cut off or looks cramped. I learned this the hard way with my first cookbook where half the page numbers got trimmed because I didn’t understand bleed and trim settings.
Each recipe should get its own page or spread. Don’t try to fit two recipes on one page unless they’re super simple like “mix three ingredients” type stuff. The layout I use most is:
The ingredients list needs to be in a larger font than the instructions. I use 12pt for ingredients and 10pt for instructions. Sounds backwards right? But when you’re measuring stuff out you need to see those ingredients clearly.
Oh and another thing about fonts – don’t get fancy with the body text. I spent like three days testing different font combinations last year while binging that cooking show on Netflix (the one with the British guy, can’t remember the name). Anyway, serif fonts like Garamond or Minion Pro work best for the actual recipe text because they’re easy to read at different sizes.
For titles you can do something more decorative but keep it readable. I like Bebas Neue or Playfair Display for recipe titles. Just don’t use script fonts that look like handwriting unless you want people squinting and cursing at your book.
The spacing between lines matters too. Set your line height to at least 1.5 for ingredient lists. People need to be able to distinguish between “1 cup flour” and “1 tablespoon salt” at a glance.
This is gonna sound weirdly specific but the way you format your ingredients list affects whether people can actually follow the recipe. I test all my templates by actually cooking from them and my cat knocked over my phone timer during one test and I realized I couldn’t find my place in the recipe because the formatting was confusing.
Use this structure:
So it looks like: “2 cups all-purpose flour (sifted)” not “flour, all-purpose, 2 cups, sifted” which I see in way too many templates online.
Group ingredients by when they’re used if it’s a complex recipe. Like “For the dough:” and “For the filling:” as subheadings. Makes it way easier to prep everything before you start cooking.
Number your steps. Always. I know some fancy cookbooks use paragraphs but those are written by professional chefs for people who already know how to cook. Your audience probably needs clear numbered steps.
Each step should be one action or a closely related group of actions. Don’t write “Mix the dry ingredients then in a separate bowl cream the butter and sugar then combine everything and fold in the chocolate chips” as one step. That’s actually four steps.
Keep steps to 2-3 lines maximum. If a step is longer than that, break it into two steps. When someone’s cooking they’re reading one step, doing it, then coming back to read the next one. Long paragraphs mean they lose their place.
Wait I forgot to mention – put the most important info at the beginning of each step. “Bake for 25 minutes at 350°F” not “At 350°F, for approximately 25 minutes, place the pan in the oven to bake.” Nobody has time for that when the oven’s already heated up.
So photos are tricky with KDP because color printing is expensive and most people do black and white interiors to keep costs down. If you’re doing a full color cookbook, the image should be either:
For black and white books I usually skip photos entirely or just do simple line drawings or icons. The production cost difference is huge – like going from $2.50 per book to $8 per book which kills your profit margins completely.
If you do use images make sure they’re at least 300 DPI. Amazon recommends this but people ignore it and then wonder why their printed book looks blurry. I use images that are 3000×2000 pixels minimum for a full page photo in a 8×10 inch book.
Okay so the pages before your recipes actually matter. You need:
The table of contents needs page numbers that actually match where the recipes are. I use InDesign and it auto-generates the TOC but if you’re using Word or Google Docs you gotta manually update those page numbers before you upload. I’ve published books where the page numbers were off by 2 pages because I added a last-minute intro and forgot to update the TOC. Embarrassing.
At the back of the book include:
The blank notes pages are genius because people actually use them to write cooking notes and it makes your book more valuable to them. I add like 10-15 blank lined pages at the end.
The most popular sizes for recipe books on Amazon are 8×10 inches or 8.5×11 inches. The 6×9 size works if you’re doing a simpler cookbook with fewer images but it feels cramped for recipes with long ingredient lists.
I usually go with 8×10 because it’s big enough to be readable but not so big that it’s awkward to use in the kitchen. The 8.5×11 size is basically a standard sheet of paper and some people think it looks less professional but honestly it’s practical.
For page count aim for at least 100 pages. Amazon’s pricing structure makes books under 100 pages way less profitable. If you’ve only got 50 recipes, add more front matter, back matter, section dividers, or notes pages to hit that 100 page minimum.
Break your cookbook into logical sections – Breakfast, Lunch, Dinner, Desserts, whatever makes sense for your theme. Each section should have a divider page that’s just the section name on an otherwise empty or decorated page.
These dividers help people navigate the book and they add to your page count. Win-win. I usually make the section divider pages more decorative with a larger font or some design elements.
Within each section organize recipes logically. I usually go from simplest to most complex or from lighter dishes to heavier ones. Don’t just throw recipes in random order.
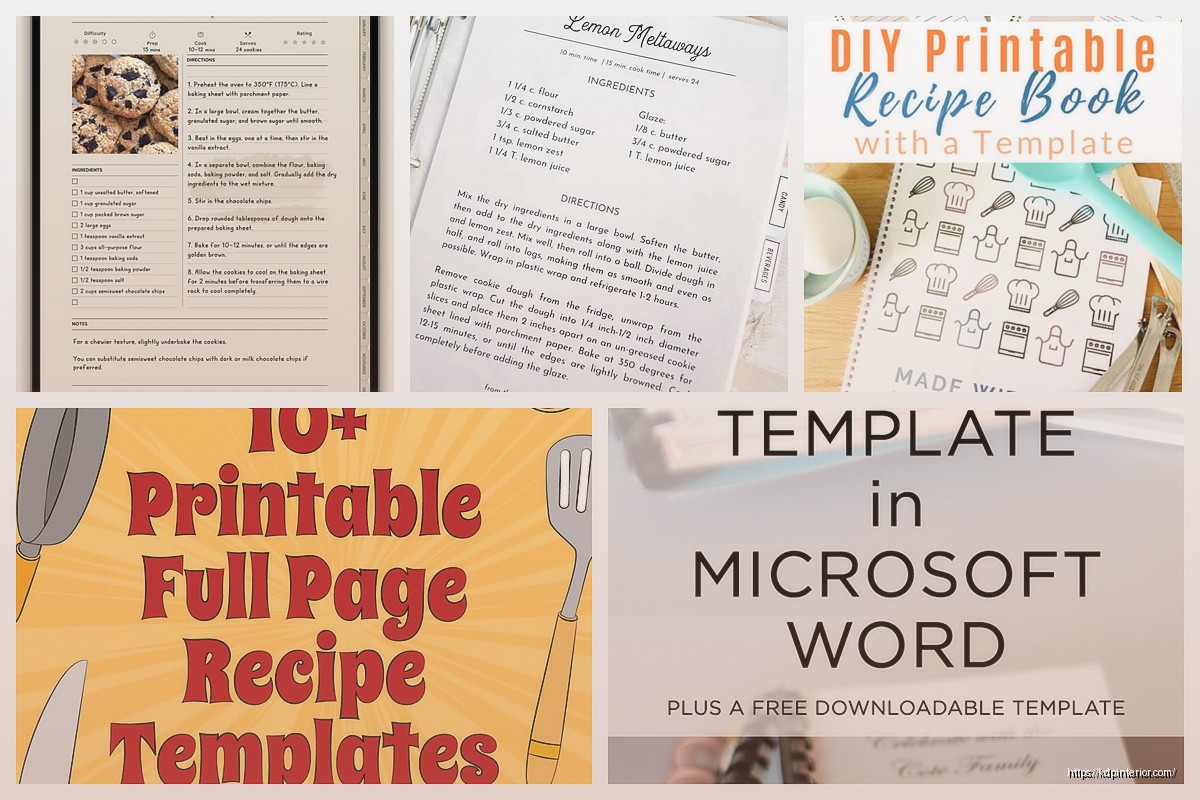
So for creating the actual layout I’ve tried everything. Microsoft Word works but it’s frustrating for precise layout control. Google Docs is even worse honestly. Canva has cookbook templates and they’re decent for beginners but you’re limited in customization.
I use Adobe InDesign now because I’ve been doing this for years but there’s a learning curve. If you’re just starting out, try Affinity Publisher – it’s like $50 one-time payment instead of Adobe’s monthly subscription and it can do most of what you need.
For Word templates, set up master pages with your margin guides and text boxes already positioned. Save it as a template file so you can reuse it for every recipe. Don’t manually format each page from scratch or you’ll go insane.
The key measurements I use for an 8×10 book in Word:
This is gonna sound obvious but print a test copy before you publish. Not just a proof from Amazon but actually print pages on your home printer and try using them while cooking. Stand at your counter and see if you can read the text from 2 feet away. See if the layout makes sense when you’re actually following the recipe.
I test every template by cooking at least 3 recipes from it. You’ll find issues you never noticed on the computer screen. Like I realized my ingredient lists were too close to the spine and when the book was open it was hard to read without breaking the spine. Had to adjust my inside margins.
Another thing – check your gutter. That’s the space where the pages meet at the spine. Text that goes into the gutter gets lost. Leave at least 0.25 inches of blank space in the gutter beyond your inside margin.
People make their recipe titles too small. The title should be the biggest text on the page, period. If someone’s flipping through the book they should instantly see what recipe they’re looking at.
Not leaving enough space between the ingredient list and instructions. These should be clearly separate sections. I usually put a thin line or extra white space between them.
Forgetting about bleed if you’re using background colors or images that go to the edge of the page. Amazon needs 0.125 inches of bleed on all sides. If you don’t set this up right you get white borders on your printed book.
Using too many different fonts. Stick to 2-3 fonts maximum for the whole book. One for titles, one for body text, maybe one for special elements like tips or notes.
Not considering how the book lays flat. Spiral binding or lay-flat binding is ideal for cookbooks but those aren’t options on KDP. So design your layout assuming people will need to hold the book open or weigh it down with something. Don’t put critical info right in the gutter.
Oh and one more thing – make sure your file is actually set up as facing pages if you’re designing spreads. Otherwise your left and right pages won’t mirror correctly and it’ll look weird when printed.
The recipe template I’m using now took me probably 20 hours to perfect but now I can pump out a 100-page cookbook in like a week just by plugging recipes into the template. That’s the goal – create a solid template once and reuse it forever.
DISCOVER OUR FREE BEST SELLING PRODUCTS
Editable Canva Lined Journal: Express Your Thoughts – KDP Template
Lined Pages Journal 120 pages Ready to Upload PDF Commercial Use KDP Template 6×9 8.5×11 5×8 for Notebooks, Diaries, Low Content
Lined Pages Journal 120 pages Ready to Upload PDF Commercial Use KDP Template 6×9 8.5×11 5×8 for Notebooks, Diaries, Low Content
Cute Dogs Coloring Book for Kids | Activity Book | KDP Ready-To-Upload
Daily Planner Diary : Diary Planners for Everyday Productivity, 120 pages, 6×9 Size | Amazon KDP Interior
Wolf Coloring KDP interior For Adults, Used as Low Content Book, PDF Template Ready To Upload COMMERCIAL Use 8.5×11"
Coloring Animals Head Book for Kids, Perfect for ages 2-4, 4-8 | 8.5×11 PDF
Printable Blank Comic Book Pages PDF : Create Your Own Comics – 3 Available Sizes
Notes KDP interior Ready To Upload, Sizes 8.5×11 6×9 5×8 inch PDF FILE Used as Amazon KDP Paperback Low Content Book, journal, Notebook, Planner, COMMERCIAL Use
Black Lined Journal: 120 Pages of Black Lined Paper Perfect for Journaling, KDP Notebook Template – 6×9
Student Planner Journal 120 pages Ready to Upload PDF Commercial Use KDP Template 6×9" 8.5×11" for Low Content book
Recipe Journal Template – Editable Recipe Book Template, 120 Pages – Amazon KDP Interior