-
×
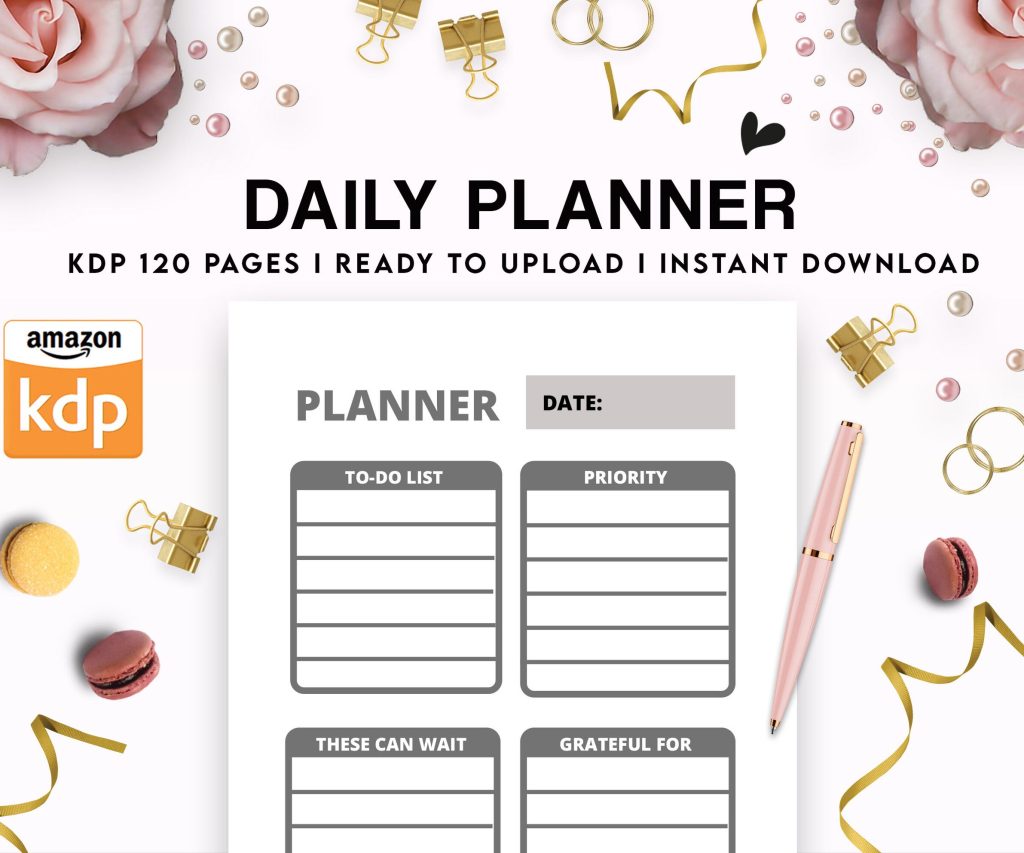 Daily Planner Diary : Diary Planners for Everyday Productivity, 120 pages, 6×9 Size | Amazon KDP Interior
2 × $0.00
Daily Planner Diary : Diary Planners for Everyday Productivity, 120 pages, 6×9 Size | Amazon KDP Interior
2 × $0.00
Subtotal: $0.00
Daily Planner Diary : Diary Planners for Everyday Productivity, 120 pages, 6×9 Size | Amazon KDP Interior
2 × $0.00 Subtotal: $0.00
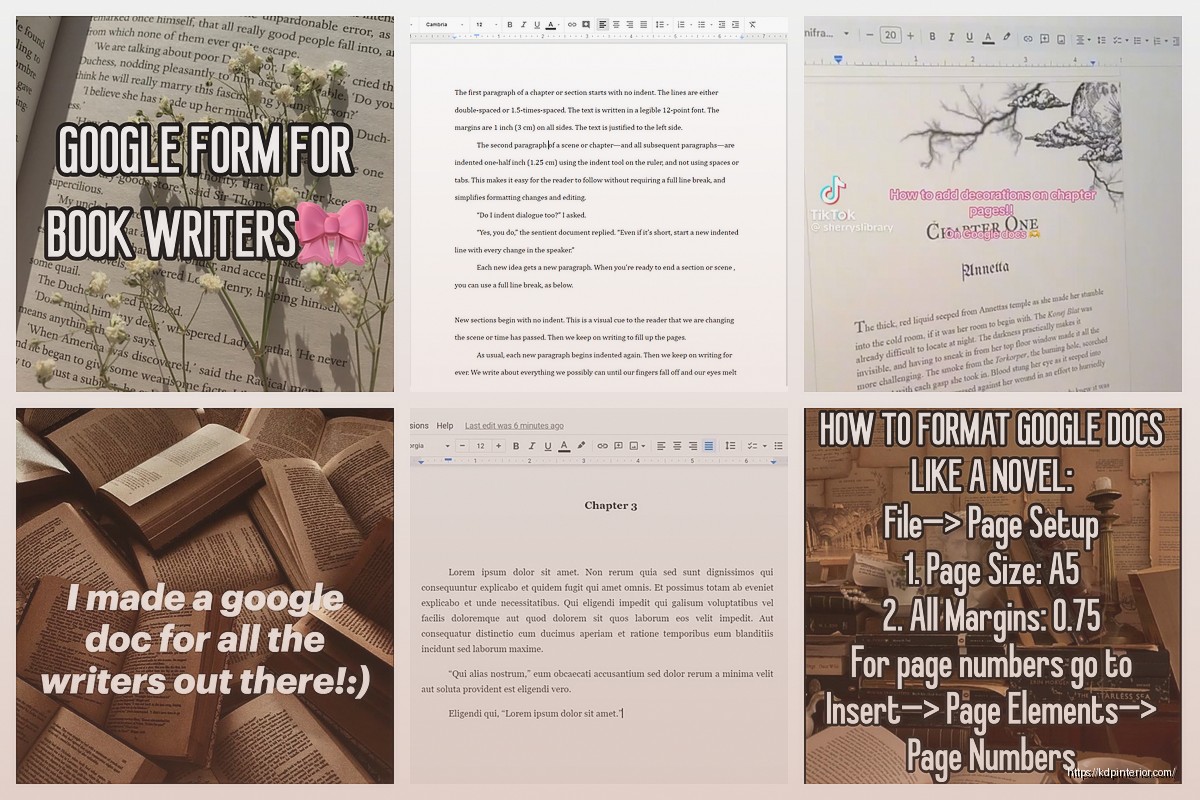
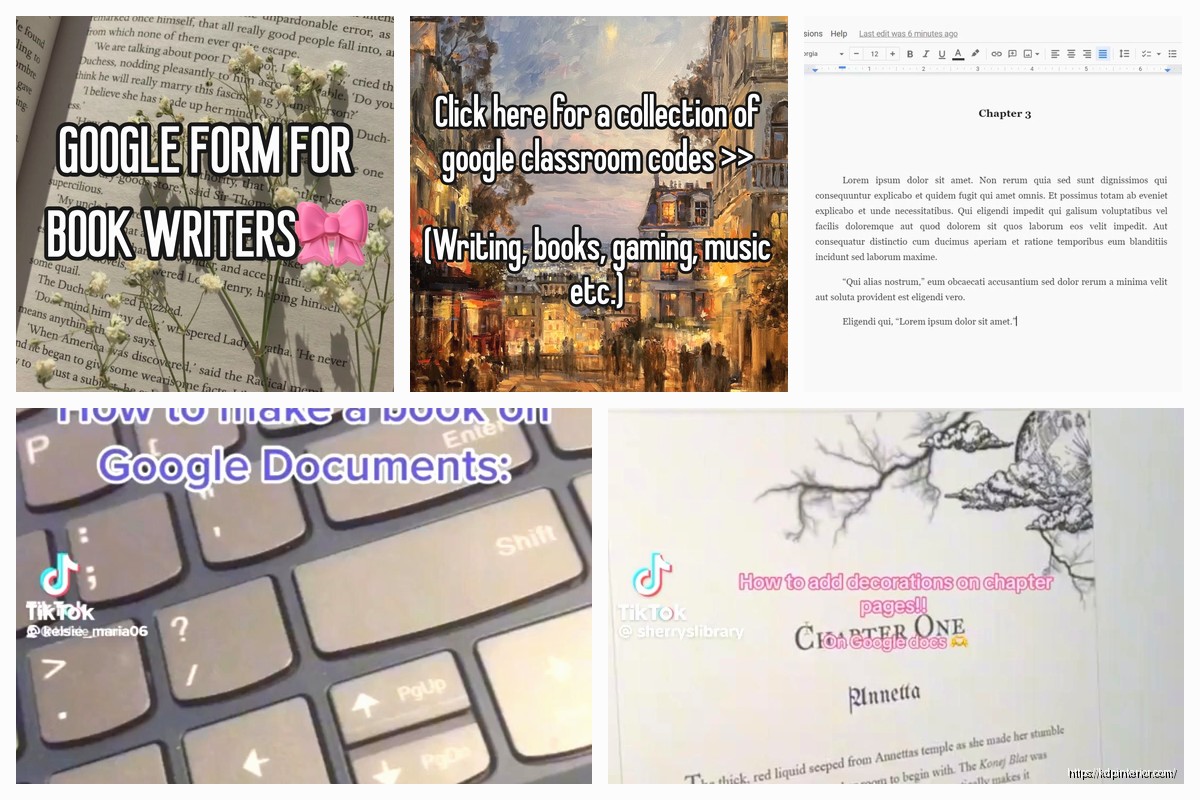
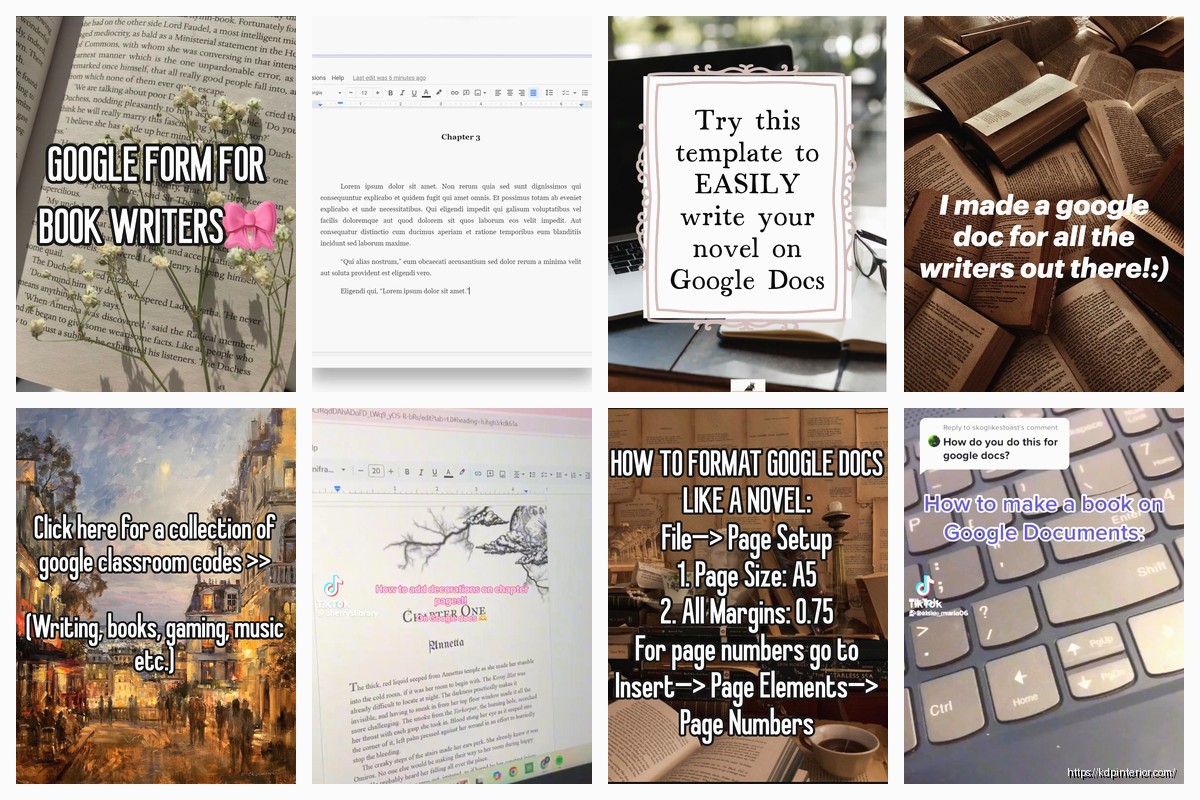
Okay so here’s the thing about writing a book in Google Docs – I literally just finished uploading my 47th book last month and honestly I’ve been using Docs for like 80% of them because it’s just… easier than people think.
First thing you gotta do is actually set up the page size correctly because Google Docs defaults to letter size and that’s gonna mess you up later. Go to File > Page Setup and here’s where it gets specific to what you’re publishing. For a standard 6×9 book (which is what most people do), you need to set custom dimensions. Type in 6 inches width and 9 inches height.
The margins matter too and I see people screw this up constantly. Set your margins to at least 0.75 inches on all sides, but honestly I do 0.8 inches on the inside margin (that’s the gutter where the book binds) because KDP’s preview tool will yell at you if text gets too close to the spine. Top and bottom can be 0.75, outside margin 0.75. This gives you enough white space that your book doesn’t look like a cramped mess.
Don’t get fancy here. I use either Times New Roman or Garamond at 11pt or 12pt. That’s it. I tested like fifteen different fonts two years ago and you know what? Readers don’t care as long as it’s readable. My best-selling book uses Times New Roman 11pt with 1.15 line spacing and nobody has ever complained.
Oh and another thing – turn on the ruler if it’s not showing (View > Show Ruler) because you’ll need to see your indents. First line indents should be 0.3 inches. Select your whole document (Ctrl+A or Cmd+A), then drag that little top triangle on the ruler to the 0.3 mark. Don’t use the Tab key for indents, that’s gonna cause problems when you export.
I write in scenes or chunks, not chapters at first. This is gonna sound weird but I’ll just dump like 2000 words into a section and then later figure out where chapter breaks make sense. Use headings for your chapter titles – Heading 1 style – because this makes navigation way easier and also helps when you’re building your table of contents later.
Here’s something I forgot to mention earlier – turn on automatic saves by checking that “See document status” thing, but honestly Google Docs saves every few seconds anyway. I’ve never lost work in Docs, unlike Word which crashed on me three times last year and I lost a whole chapter once.
For longer books I actually use the document outline feature (View > Show Outline). Every time you use a heading style, it shows up in that left sidebar and you can jump around. When I wrote my 60,000 word guide last spring, I had like 30 chapters and being able to click through them instead of scrolling was the only thing that kept me sane.
My cat knocked over my coffee right in the middle of writing chapter twelve of that book and I was so mad but at least the document was already saved in the cloud so… anyway.
Okay so page breaks are essential. At the end of each chapter, insert a page break (Insert > Break > Page Break or just Ctrl+Enter). This forces the next chapter to start on a new page. Don’t just hit Enter a bunch of times because when you export to PDF or Word, everything shifts and you’ll have weird spacing.
For your front matter – that’s your title page, copyright page, table of contents – put those BEFORE your first chapter. Title page gets its own page break, copyright page gets its own page break, then table of contents.
This is actually super easy if you used heading styles. Put your cursor where you want the TOC, then go to Insert > Table of Contents. Pick the one with page numbers. Google Docs automatically generates it based on your headings. The only annoying part is you have to manually update it if you add chapters – just click on the TOC and hit the refresh button that appears.
I usually do a plain TOC without links for print books because links don’t work in paperbacks obviously, but for ebooks keep the links because readers love clicking through.
If you’re adding images, make sure they’re high resolution – at least 300 DPI. Insert them inline with text (Insert > Image), then right-click and choose “Inline” from the image options. Don’t use “Wrap text” because it causes formatting issues when you export.
Size your images to fit within your margins. I learned this the hard way when I had a bunch of images that looked fine in Docs but got cut off in the print version. Keep them at least 0.5 inches away from all margins.
Here’s where people get confused. You need different formats for different platforms. For KDP print, you want a PDF. Go to File > Download > PDF Document. But wait – before you do that, make sure your document is actually ready.
Check that your page numbers are set up if you want them. Insert > Page Numbers, and pick a format. I usually put them centered at the bottom or on the outside corners (right side for odd pages, left for even pages). You can customize this but honestly the simple centered bottom number works fine for most books.
Ebooks are different and this is where Google Docs gets a little tricky. You need to export as a Word document (.docx) – File > Download > Microsoft Word. Then you upload that to KDP’s ebook converter or use a tool like Calibre to convert it to MOBI or EPUB.
The thing is, ebook formatting doesn’t care about page size or margins the way print does. The text reflows based on the reader’s device. So for ebooks, I actually create a separate Google Doc with these settings:
If you’re working with an editor or beta readers, the commenting feature is incredible. Highlight any text, right-click, and add a comment. Your editor can do the same. You can resolve comments as you fix things, and there’s a whole comment thread history.
Suggesting mode (click the pencil icon, choose “Suggesting”) lets editors make changes that you can approve or reject. I use this with my proofreader and it’s way better than tracking changes in Word because the interface isn’t cluttered.
Oh and you can share the doc with view-only access if you want beta readers to read but not edit. Just click Share and set permissions. I usually give editors “can edit” access and beta readers “can comment” access.
This feature has saved me multiple times. File > Version History > See Version History shows you every change made to the document. You can name versions (like “Draft 1 Complete” or “Post-Editor Review”) and restore old versions if you mess something up.
I accidentally deleted an entire chapter once – don’t ask how, I was working late and tired – and I just went into version history, found the version from an hour before, and restored it. Took like thirty seconds.
Extensions > Add-ons > Get Add-ons. There are some useful tools here:
Grammarly or ProWritingAid – I use the free version of Grammarly integrated with Docs. It catches basic stuff. Not perfect but better than nothing.
Word Counter – Some word count add-ons give you more detailed stats than the built-in counter. Useful if you’re tracking daily word counts or need character counts.
I don’t use many add-ons honestly because they can slow down the document if you have a long manuscript, but those two are solid.
The Google Docs app is actually pretty decent for writing on your phone or tablet. I’ve written entire chapters on my phone while waiting for appointments or whatever. The formatting stays consistent when you switch between devices which is the whole point of using Docs in the first place.
Just make sure you’re working on the right document because I once spent twenty minutes writing in the wrong doc and didn’t realize until I opened my laptop later. That was annoying.
Before you export and upload to KDP, go through this checklist:
Then export your PDF for print and your .docx for ebook. Upload to KDP, use their previewer tool to check how it looks, and you’re basically done.
If your book is over like 50,000 words, Google Docs might start getting a little slow. I’ve had documents with 80,000 words that still worked fine but took a few extra seconds to load. If it gets really laggy, consider splitting your book into multiple docs (one per part or section) and then combining them later by copying and pasting into a master document for export.
Some people write each chapter in a separate doc and that’s fine too, just more organization to keep track of. I prefer one big document unless it’s a really massive book.
wait I forgot to mention – use the word count tool (Tools > Word Count or Ctrl+Shift+C) to track your progress. You can see total words, pages, and even characters. I check this probably too often when I’m writing because I like seeing the numbers go up.
The offline mode works if you enable it in Google Drive settings, so you can write without internet and it’ll sync when you reconnect. I’ve used this on flights and it works perfectly fine, though honestly I usually have internet these days so it’s not a huge thing for me anymore.
That’s pretty much everything I do when writing a book in Google Docs. It’s not complicated once you get the setup right, and the cloud sync thing means you can write from anywhere which is probably the biggest advantage over traditional word processors.
DISCOVER OUR FREE BEST SELLING PRODUCTS
Editable Canva Lined Journal: Express Your Thoughts – KDP Template
Lined Pages Journal 120 pages Ready to Upload PDF Commercial Use KDP Template 6×9 8.5×11 5×8 for Notebooks, Diaries, Low Content
Lined Pages Journal 120 pages Ready to Upload PDF Commercial Use KDP Template 6×9 8.5×11 5×8 for Notebooks, Diaries, Low Content
Cute Dogs Coloring Book for Kids | Activity Book | KDP Ready-To-Upload
Daily Planner Diary : Diary Planners for Everyday Productivity, 120 pages, 6×9 Size | Amazon KDP Interior
Wolf Coloring KDP interior For Adults, Used as Low Content Book, PDF Template Ready To Upload COMMERCIAL Use 8.5×11"
Coloring Animals Head Book for Kids, Perfect for ages 2-4, 4-8 | 8.5×11 PDF
Printable Blank Comic Book Pages PDF : Create Your Own Comics – 3 Available Sizes
Notes KDP interior Ready To Upload, Sizes 8.5×11 6×9 5×8 inch PDF FILE Used as Amazon KDP Paperback Low Content Book, journal, Notebook, Planner, COMMERCIAL Use
Black Lined Journal: 120 Pages of Black Lined Paper Perfect for Journaling, KDP Notebook Template – 6×9
Student Planner Journal 120 pages Ready to Upload PDF Commercial Use KDP Template 6×9" 8.5×11" for Low Content book
Recipe Journal Template – Editable Recipe Book Template, 120 Pages – Amazon KDP Interior