-
×
 Student Planner Journal 120 pages Ready to Upload PDF Commercial Use KDP Template 6x9" 8.5x11" for Low Content book
1 × $0.00
Student Planner Journal 120 pages Ready to Upload PDF Commercial Use KDP Template 6x9" 8.5x11" for Low Content book
1 × $0.00
Subtotal: $0.00
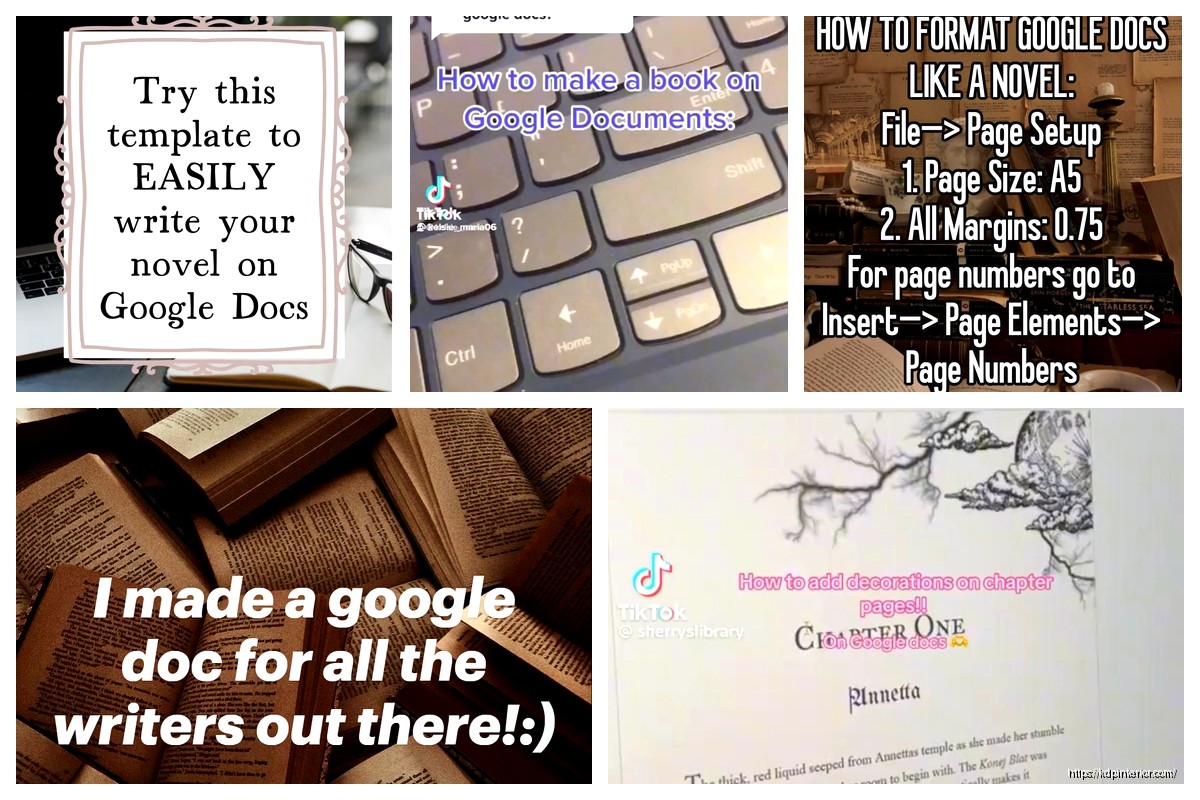
Okay so I’ve been writing books on Google Docs for like three years now and honestly it’s one of the best decisions I made for my workflow. Let me walk you through the whole setup because there’s actually a method to making this work smoothly.
First thing you gotta do is create a dedicated Google Drive folder for your book project. I know it sounds basic but trust me, when you’re juggling multiple projects like I am—currently have 8 books in various stages—having everything organized from day one saves your sanity later.
Inside that main folder I usually create subfolders for research, cover art files, formatting versions, and one called “manuscript drafts.” The actual writing document lives in that drafts folder. Here’s the thing though, don’t just create one massive document and call it a day. I learned this the hard way when Google Docs crashed on me with a 90,000-word manuscript and I lost like 20 minutes of work because the autosave freaked out.
What I do now is break longer books into chapter documents. So if I’m writing a nonfiction book I’ll have separate docs like “Chapter-01-Introduction.docx” and “Chapter-02-Getting-Started.docx” and so on. For shorter books under 15k words you can probably get away with one document but anything longer and you’re gonna want that separation.
This is where most people screw up and then wonder why their formatting is a mess later. Google Docs has this styles feature that nobody uses correctly. You need to set up your heading styles before you start writing.
Go to Format > Paragraph styles and customize your heading styles. I set Heading 1 for my book title, Heading 2 for chapter titles, and Heading 3 for any subheadings within chapters. Normal text should be your body paragraphs obviously.
The reason this matters so much is because when you export to Word or convert to ePub later these styles create your table of contents automatically. I wasted probably 6 hours on my second book manually creating a TOC before I figured this out. Don’t be like past me.
The cloud aspect is honestly the best part. I can write on my laptop at my desk then switch to my phone when I’m waiting at the vet with my dog—she’s got this thing with her paw right now it’s a whole situation—and the document is just there. Same exact version, no syncing issues.
But here’s what really changed my workflow: the suggestion mode. If you’re working with an editor or even just doing your own revisions, turn on suggestion mode instead of directly editing. Click the pencil icon in the top right and switch from “Editing” to “Suggesting.” Now all your changes show up as tracked edits that you can accept or reject later.
I use this when I’m doing my second draft. First draft is just raw writing in editing mode, getting words on the page. Second draft I switch to suggesting mode so I can see what I changed and sometimes I realize my original version was actually better.
Oh and another thing—the comment feature is ridiculously useful. Highlight any text and hit Ctrl+Alt+M (or Cmd+Option+M on Mac) to add a comment. I use this to leave myself notes like “research this stat” or “expand this section later” without breaking my writing flow. You can also tag collaborators by typing + and their email in a comment.
Google Docs automatically saves version history but you should be creating manual save points too. This is gonna sound weird but I create a new version checkpoint every time I finish a major section or hit a word count milestone.
Go to File > Version history > Name current version. I name mine things like “Draft 1 Complete – 25k words” or “Post-Editor Review – March 15.” Then if you need to roll back to an earlier version because you deleted a scene you actually needed, you can go to File > Version history > See version history and restore any previous version.
I had this moment last month where I rewrote an entire chapter, hated it, and wanted my original back. Took me literally 30 seconds to restore the version from two days earlier. Saved that chapter and my deadline.
Okay so here’s where it gets practical for actually publishing. Google Docs isn’t your final publishing format obviously—you need to export to something Amazon KDP or other platforms can use.
For ebooks I export to Microsoft Word format (.docx) first. File > Download > Microsoft Word. Then I use either Calibre or Draft2Digital to convert that Word doc to ePub or Mobi formats. Some people go straight to ePub but I find having the Word version as an intermediary gives me more control.
For print books the process is different. KDP wants a PDF for print and Google Docs’ native PDF export is… not great for book interiors. The margins get weird and it doesn’t handle page breaks properly. What I do instead:
Wait I forgot to mention—before you export anything, do a full read-through in Google Docs’ Print Layout view. Click File > Print and look at the preview. This shows you how things will actually break across pages and you can catch formatting issues before export.
There are some Google Docs add-ons that are genuinely useful for book writing. Go to Extensions > Add-ons > Get add-ons to browse them.
The ones I actually use regularly are ProWritingAid for editing checks (though I still prefer the desktop app honestly), and a word counter called “Better Word Count” that gives you more detailed stats than the built-in counter. There’s also one called “Table of Contents” that auto-generates a TOC based on your heading styles which is pretty slick.
I tried a bunch of others but most are kinda bloated or don’t work consistently. Stick with the basics that solve actual problems.
For nonfiction books especially, you need somewhere to keep your research organized. I used to have separate Google Docs for notes but that got messy fast. Now I use the same document but create a section at the very bottom after my manuscript text that I call “Research Dump.”
I’ll paste URLs, quotes, statistics, whatever I might need to reference. Put a page break before this section so it doesn’t show up when you export the main manuscript. You can also use Google Keep for quick notes that sync with Docs—there’s a Keep sidebar you can open by going to Tools > Keep notepad.
This is super helpful when you’re writing and remember something you need to check. Just jot it in the Keep sidebar without leaving your document.
This bit is crucial if you ever write without internet. I was stuck in an airport last year during that whole system outage thing and couldn’t access my manuscript because I hadn’t set up offline mode. Don’t make my mistake.
On desktop go to Google Drive settings (the gear icon), then check the box for “Offline.” This downloads recent documents so you can access and edit them without internet. Changes sync automatically when you reconnect.
On mobile the Google Docs app has an offline mode too. Open a document while you have internet and it caches locally. You can also pin specific documents for offline access by tapping the three dots menu and selecting “Available offline.”
When you’re ready to send your manuscript to an editor, you have a couple options. You can export and send them a Word doc sure, but working directly in Google Docs is actually way more efficient.
Share the document with your editor (click the Share button, add their email, set permissions to “Editor” or “Commenter” depending on what you want them to do). They can leave comments and suggestions right in the document and you get email notifications for each one.
I usually set my editors to “Commenter” permission first. This means they can highlight text and leave comments but can’t directly change the manuscript. Then for line editing I upgrade them to “Editor” with suggestion mode enabled so I can review every change.
One thing that’s helped me is creating a style guide document in the same folder. Just basic stuff like whether you’re using Oxford commas, how you format numbers, chapter heading style. Share that with editors so everyone’s on the same page literally from the start.
Google Docs has a word counter at Tools > Word count but it’s pretty basic. I keep a separate spreadsheet in the same Drive folder where I log my daily word counts. Sounds obsessive maybe but when you’re trying to hit a deadline it helps to see if you’re on track.
My spreadsheet has columns for date, words written that day, total manuscript words, and notes. Takes like 30 seconds to update after each writing session. I can see my average daily output and project when I’ll finish a draft.
Even if you split into chapters, eventually you need to combine everything for export. Don’t just copy-paste chapters together—that’s a formatting nightmare. Instead use the Google Docs outline feature.
Actually wait, better method: use a master document approach. Create one document called “MASTER-Full-Manuscript” and keep your individual chapter files separate. When you’re ready to export, copy each chapter into the master doc in order. This keeps your working files clean while giving you a complete manuscript for export.
The outline feature (View > Show outline) helps you navigate long documents. It auto-generates based on your heading styles and lets you jump to sections quickly.
Okay so that’s basically the full workflow I use for writing books on Google Docs. It’s not perfect—sometimes the formatting export can be finicky and you gotta clean things up in Word—but the collaboration features and cloud access make it worth the occasional hassle. Plus it’s free which matters when you’re starting out and not making much per book yet.
The key thing is setting up your structure properly from the beginning with those heading styles and keeping your files organized. Do that and the actual publishing part becomes way smoother than if you just wing it.
DISCOVER OUR FREE BEST SELLING PRODUCTS
Editable Canva Lined Journal: Express Your Thoughts – KDP Template
Lined Pages Journal 120 pages Ready to Upload PDF Commercial Use KDP Template 6×9 8.5×11 5×8 for Notebooks, Diaries, Low Content
Lined Pages Journal 120 pages Ready to Upload PDF Commercial Use KDP Template 6×9 8.5×11 5×8 for Notebooks, Diaries, Low Content
Cute Dogs Coloring Book for Kids | Activity Book | KDP Ready-To-Upload
Daily Planner Diary : Diary Planners for Everyday Productivity, 120 pages, 6×9 Size | Amazon KDP Interior
Wolf Coloring KDP interior For Adults, Used as Low Content Book, PDF Template Ready To Upload COMMERCIAL Use 8.5×11"
Coloring Animals Head Book for Kids, Perfect for ages 2-4, 4-8 | 8.5×11 PDF
Printable Blank Comic Book Pages PDF : Create Your Own Comics – 3 Available Sizes
Notes KDP interior Ready To Upload, Sizes 8.5×11 6×9 5×8 inch PDF FILE Used as Amazon KDP Paperback Low Content Book, journal, Notebook, Planner, COMMERCIAL Use
Black Lined Journal: 120 Pages of Black Lined Paper Perfect for Journaling, KDP Notebook Template – 6×9
Student Planner Journal 120 pages Ready to Upload PDF Commercial Use KDP Template 6×9" 8.5×11" for Low Content book
Recipe Journal Template – Editable Recipe Book Template, 120 Pages – Amazon KDP Interior