-
×
 Lined Pages Journal 120 pages Ready to Upload PDF Commercial Use KDP Template 6x9 8.5x11 5x8 for Notebooks, Diaries, Low Content
1 × $0.00
Lined Pages Journal 120 pages Ready to Upload PDF Commercial Use KDP Template 6x9 8.5x11 5x8 for Notebooks, Diaries, Low Content
1 × $0.00
Subtotal: $0.00
Okay so here’s the deal with getting a book actually live on KDP, like the whole workflow from idea to hitting publish. I literally just walked a client through this last week while my cat was screaming at me for dinner, so it’s fresh in my head.
First thing – you gotta know what you’re making. Low-content is different from an actual ebook or paperback with real content. I do both but the workflow splits pretty early on.
For low-content stuff like journals, planners, logbooks – you’re designing interiors in something like Canva, Adobe InDesign, or honestly I use BookBolt a lot because it’s just faster. The “writing” part is minimal. Maybe a few instructional pages, a title page, copyright stuff. You’re really just laying out pages that people will fill in themselves.
For actual books with content – ebooks, paperbacks with chapters and stuff – you need your manuscript done first. I write in Google Docs usually because it’s cloud-based and I’m paranoid about losing stuff. Some people swear by Scrivener but I never got into it. Word works too obviously.
Here’s what I do and this is gonna sound weird but it works. I don’t write start to finish. I make an outline with all my chapter titles and main points, then I just… fill in whatever section I feel like that day. Some days I’m in the mood to write about formatting, other days I wanna tackle marketing chapters. Just get words down.
Your manuscript needs to be pretty clean before you move forward. I’m not saying hire a $2000 editor for a niche planner guide, but at least:
Oh man, okay so formatting. This is where I see people quit because it’s annoying and technical and not the fun creative part.
For ebooks going on Kindle, you need either a .doc file or .epub. Amazon‘s actually pretty forgiving with .doc files now. Just keep your formatting simple – don’t get fancy with fonts and columns and text boxes. Use styles in Word for your headings (Heading 1, Heading 2, etc). This makes your Table of Contents automatic later.
For paperbacks, you need a PDF. But not just any PDF – it needs to be the exact trim size Amazon specifies. Most common is 6×9 inches for non-fiction. You set this up in your document settings BEFORE you start formatting. Otherwise you’re reformatting everything later and trust me that sucks.
I usually format in Word or Google Docs, but here’s the thing – Google Docs is harder to get perfect margins and headers/footers. So for paperbacks I actually export my Google Doc to Word first, then format there.
You need:
Wait I forgot to mention – copyright page is literally just “Copyright © 2024 Your Name. All rights reserved.” You don’t need to register anything fancy for your first book. Just put the page in there.
Once it’s formatted, export as PDF. Check that PDF carefully before uploading. I open it in Adobe Reader and flip through every single page looking for weird spacing, orphaned words, images that got cut off, whatever.
Your cover needs to not look like garbage. I’m serious. You can have the best content in the world but a bad cover kills sales.
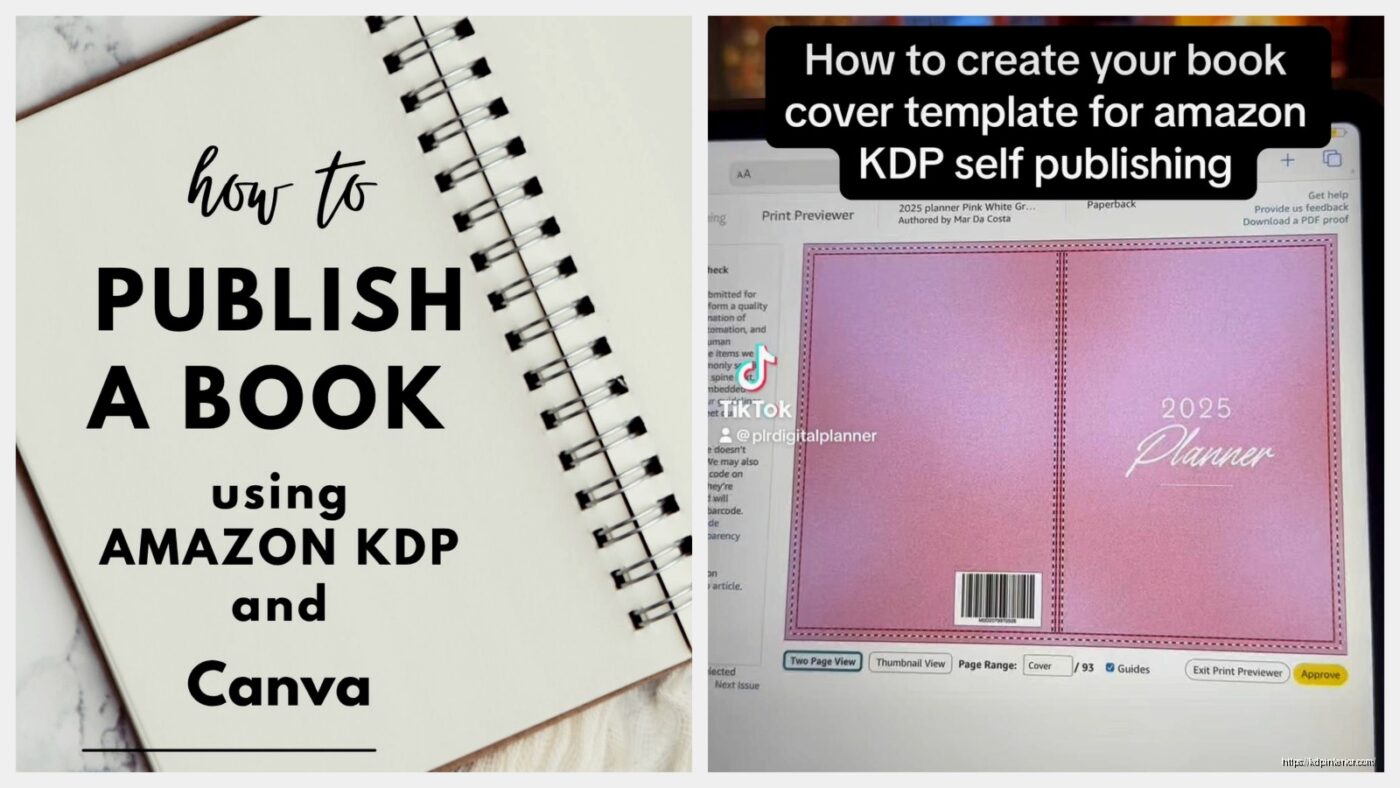
For low-content books, I design most covers myself in Canva Pro. It’s like $13/month and worth every penny. They have templates, you can customize, add your own fonts, whatever. Takes me maybe 30 minutes per cover now.
For ebooks and “real” books, I sometimes still DIY it if it’s a simple niche, but I’ve also paid designers on Fiverr ($25-$100) or 99designs (more expensive but better quality). Depends on the project and how much I think it’ll earn.
Amazon gives you specific dimension requirements. For a 6×9 paperback with, say, 150 pages, your cover width is gonna be different than one with 300 pages because the spine width changes. KDP has a cover calculator tool – use it. I’ve uploaded wrong dimensions before and had to redo everything.
Okay so funny story, my first upload ever I messed up the categories and my book was like competing against Stephen King or something ridiculous. Learn from my mistakes.
Go to kdp.amazon.com, sign in with your Amazon account. You need your tax info set up first – do the tax interview thing, it’s straightforward. If you’re in the US you’ll fill out a W-9 basically.
Click “Create New Title” and choose Paperback, Hardcover, or Kindle eBook. Let’s say paperback.
Fill in all the fields:
For categories, browse Amazon’s bestseller lists in your niche and see what categories those books are in. You can email KDP support after publishing to add up to 10 total categories by giving them the BISAC codes.
Upload your interior PDF (your manuscript). Upload your cover file. Amazon will review them and tell you if there’s issues – usually stuff like margins too small or images too low-res.
Choose your paper type – white or cream. Cream looks more “book-like” and is slightly cheaper, but white is better if you have images or photos. Black and white or color – color is way more expensive to print so your royalty takes a hit.
This is where strategy matters. You set your list price and Amazon shows you what your royalty will be. It depends on:
I usually price paperbacks between $9.99 and $19.99 depending on length and niche. You want at least $3-4 royalty per sale to make it worthwhile. Play with the calculator.
Expanded distribution gets your book on other retailers theoretically, but your royalty drops to like 40% instead of 60%. I don’t usually bother unless it’s a book I’m really trying to push wide.
Honestly ebooks are easier. Same details page setup – title, description, keywords, categories. But uploading is just your .doc or .epub file, and your cover JPG.
Pricing for ebooks – you can enroll in KDP Select (exclusive to Amazon) and get 70% royalty on books priced $2.99-$9.99. Or go wide (non-exclusive) and get 35-70% depending on price. Most of my ebooks are in Select because the promotional tools are worth it.
Use the previewer tool Amazon gives you. It shows how your book looks on different devices. Check for formatting weirdness – images out of place, text running together, whatever.
Preview everything one more time. I cannot stress this enough. My client last month – while I was supposed to be watching that new Netflix show everyone’s talking about – she published without previewing and her page numbers were all messed up. Had to unpublish, fix, reupload. It delays everything.
Check your book description for typos. Check your keywords. Make sure your price makes sense.
Then just… hit publish. Amazon reviews it, usually takes 24-72 hours. You’ll get an email when it’s live.
Order an author copy immediately. It costs you just the printing fee. Check the physical book for issues – colors off, blurry text, bad binding. If there’s problems, you can fix and reupload.
For ebooks, download it to your Kindle or use the Kindle app. Read through it. I’ve caught typos at this stage that I missed everywhere else.
Don’t obsess over sales in the first week. It takes time for Amazon’s algorithm to figure out where your book fits. Keep marketing it – social media, your email list if you have one, Amazon ads maybe.
Since you’re gonna ask anyway – here’s what I do:
Oh and another thing – track your keywords and categories. If you’re not ranking well after a month, change them. You can update your book details anytime without republishing.
I should mention since I do a ton of these – low-content books have extra rules. Amazon’s cracked down on generic content and duplicate interiors. You can’t just upload the same lined journal interior with 50 different covers anymore. They’ll ban your account.
Make unique interiors. Change up the page layouts, add different prompts or headers, use different line spacing. I create interior templates in Canva or BookBolt and then customize each one at least 30-40% before using it for a new book.
Low-content books also don’t qualify for KDP Select usually, so you’re stuck with 35-60% royalties. Price them $5.99-$8.99 typically. The market’s saturated so you gotta niche down hard – not just “gratitude journal” but like “gratitude journal for nurses” or whatever.
Since I’ve been doing this 7 years now, I’ve tried everything. Here’s what stuck:
Wait I forgot to mention – you don’t need all these tools starting out. First few books I published I used free Canva, Word, and just my own research. You can upgrade tools as you start earning.
People rush the upload. They don’t preview. They choose terrible keywords like “book” or “journal” that are way too competitive. They price too low thinking it’ll get more sales, but then they earn like 30 cents per sale and give up.
Also not building a brand. If you’re serious about KDP, publish multiple books in the same niche under the same pen name. Cross-promote them. Build an audience. One random book is hard to make profitable. Ten books in a series or niche compound your earnings.
And this one’s gonna sound obvious but – actually finish the book. I have like 15 half-done manuscripts sitting in my Google Drive because I got distracted by new ideas. Finished and published beats perfect and never done.
The workflow gets faster each time you do it. My first book took me like 3 months from idea to publish. Now I can bang out a simple low-content book in a weekend, or a full nonfiction ebook in 2-3 weeks if I’m focused. It’s just reps, you know? You learn the system, you build templates, you figure out what works.
Anyway that’s basically the whole workflow. Write or design your content, format it properly, make a decent cover, upload to KDP with good keywords and categories, preview everything twice, publish, order a proof, market it a bit. Rinse and repeat. It’s not complicated once you’ve done it a few times, just gotta actually do it instead of overthinking it.
DISCOVER OUR FREE BEST SELLING PRODUCTS
Editable Canva Lined Journal: Express Your Thoughts – KDP Template
Lined Pages Journal 120 pages Ready to Upload PDF Commercial Use KDP Template 6×9 8.5×11 5×8 for Notebooks, Diaries, Low Content
Lined Pages Journal 120 pages Ready to Upload PDF Commercial Use KDP Template 6×9 8.5×11 5×8 for Notebooks, Diaries, Low Content
Cute Dogs Coloring Book for Kids | Activity Book | KDP Ready-To-Upload
Daily Planner Diary : Diary Planners for Everyday Productivity, 120 pages, 6×9 Size | Amazon KDP Interior
Wolf Coloring KDP interior For Adults, Used as Low Content Book, PDF Template Ready To Upload COMMERCIAL Use 8.5×11"
Coloring Animals Head Book for Kids, Perfect for ages 2-4, 4-8 | 8.5×11 PDF
Printable Blank Comic Book Pages PDF : Create Your Own Comics – 3 Available Sizes
Notes KDP interior Ready To Upload, Sizes 8.5×11 6×9 5×8 inch PDF FILE Used as Amazon KDP Paperback Low Content Book, journal, Notebook, Planner, COMMERCIAL Use
Black Lined Journal: 120 Pages of Black Lined Paper Perfect for Journaling, KDP Notebook Template – 6×9
Student Planner Journal 120 pages Ready to Upload PDF Commercial Use KDP Template 6×9" 8.5×11" for Low Content book
Recipe Journal Template – Editable Recipe Book Template, 120 Pages – Amazon KDP Interior